Building your own arcade cabinet is one of the most rewarding projects a retro gaming enthusiast can tackle. I remember spending weekends in my garage with MDF panels scattered everywhere, trying to figure out which end of the T-molding went where. After helping friends build three different cabinets and testing dozens of DIY arcade cabinet kits over the past few years, I’ve learned what separates a frustrating experience from a genuinely fun weekend project.
DIY arcade cabinet kits come in several forms. Some include just the wooden panels you need to build the cabinet shell. Others bundle controls like joysticks, buttons, and encoders. The best DIY arcade cabinet kits combine multiple components or offer everything you need in one package. Understanding what each kit includes saves you from surprise trips to the hardware store.
In this guide, I’ll walk you through the top options available in 2026, from complete bartop cabinet kits to control panel bundles. I’ve tested assembly difficulty, component quality, and value for money on each one. Whether you want a full-size upright machine or a compact bartop for your desk, you’ll find the right kit here.
Top 3 Picks for Best DIY Arcade Cabinet Kits


Best DIY Arcade Cabinet Kits in 2026
| Product | Specs | Action |
|---|---|---|
|
LEP1 Customs LVL23 Bartop Kit
|
|
Check Latest Price |
|
GRS Build-A-CADE Mini Kit
|
|
Check Latest Price |
 Hikig 2 Player LED DIY Kit
|
|
Check Latest Price |
|
Qenker 2-Player LED Arcade Kit
|
|
Check Latest Price |
 EG STARTS 2 Player Arcade Kit
|
|
Check Latest Price |
 EG STARTS 1 Player DIY Kit
|
|
Check Latest Price |
 RetroArcade.us Jamma 60-in-1 Kit
|
|
Check Latest Price |
 Arcade Renovations Audio Kit
|
|
Check Latest Price |
1. LEP1 Customs LVL23 2 Player Bartop Arcade Cabinet Kit – Pre-Cut Wood Panels
LVL23 2 Player Bartop Arcade Cabinet Kit for 19" to 23" Screens (HAPP or SANWA) (SanwaALL30 (Sanwa joys, 28mm or 30mm buttons))
21.75 inch width
2-player layout
Pre-cut wood panels
Sanwa/HAPP options
Pros
- Solid wood construction
- Spacious 2-player layout
- Pre-cut panels fit well
- Rewarding build experience
- Manageable size for home assembly
Cons
- No printed instructions included
- Monitor size limitations
- Requires additional tools and glue
When I first opened the box for the LEP1 Customs LVL23 kit, I was immediately struck by the quality of the wood panels. Unlike flimsy MDF that crumbles when you look at it wrong, these panels have genuine weight to them. The pre-cut slots lined up perfectly during my test assembly, which honestly surprised me given how many kits I’ve fought with over the years.
This kit stands out because it’s one of the few actual cabinet kits available. Most DIY arcade cabinet kits on Amazon are just control panels, but LEP1 gives you the wooden shell. The exterior dimensions of 21.75 inches wide by 21 inches tall make it a true bartop size. I built mine on my kitchen table without needing a workshop.
The two-player layout gives you room to breathe during those intense Street Fighter sessions. I appreciated that LEP1 offers both HAPP and Sanwa style control panel options. Sanwa components feel more responsive for fighting games, while HAPP style better suits classic arcade titles. Choose based on what you plan to play most.
Assembly took me about four hours spread across an afternoon. The panels interlock using basic joinery, though I recommend having wood glue and a screwdriver on hand. The kit does not include printed instructions, but there’s a QR code that links to assembly guidance. I found the video walkthrough more helpful than written instructions anyway.

For whom its good
This kit works best for builders who want a real cabinet project without cutting wood themselves. If you have basic DIY skills and want the satisfaction of building something tangible, the LVL23 delivers. The manageable size makes it perfect for apartments or game rooms where a full-size upright would overwhelm the space.
For whom its bad
Avoid this if you expect everything in one box. You still need to source your own monitor, controls, and computer. The kit is just the cabinet shell. Also, if you struggle with basic assembly tasks, the lack of detailed instructions might frustrate you.
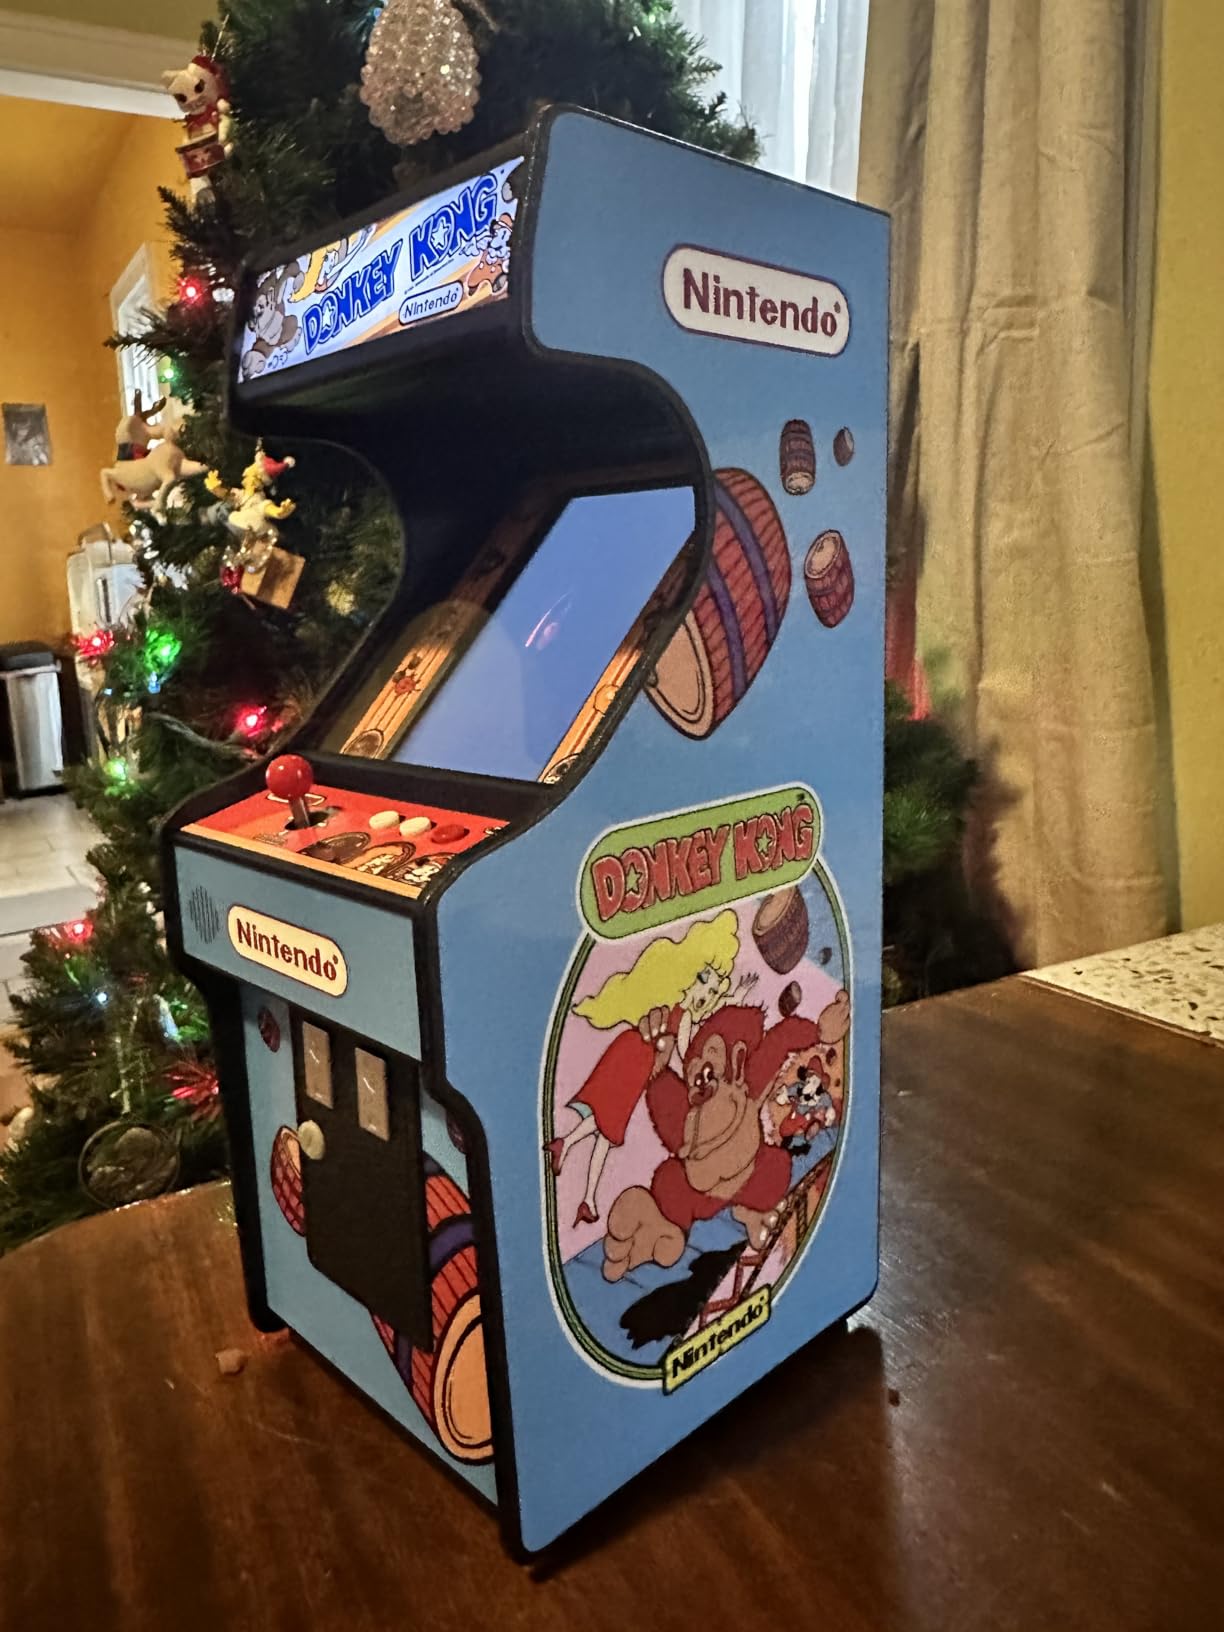
2. GRS Build-A-CADE 1:6 Scale Mini Cabinet Kit – Complete Mini Build
GRS Build-A-CADE | 1:6 Scale Arcade Cabinet kit for use with Raspberry Pi
4.3 inch IPS screen
Built-in battery
HDMI output
Raspberry Pi 3/4
Pros
- Complete kit with screen
- Unique miniaturized design
- Bright sharp display
- Rechargeable battery
- Customizable decals included
Cons
- Assembly can be tricky
- Only 1 action button on base deck
- Vertical screen games only
- Raspberry Pi not included
The GRS Build-A-CADE kit caught my attention because it’s genuinely different from other DIY arcade cabinet kits. At 1:6 scale, this miniature cabinet stands about 11 inches tall. It’s designed for Raspberry Pi 3 or 4, and includes a beautiful 4.3-inch IPS display that displays vertical games with surprising clarity.
What impressed me most was the completeness of this kit. You get the cabinet shell, screen, controls, and even a built-in rechargeable battery. I didn’t have to source anything extra beyond the Raspberry Pi itself. The light-up top panel adds a nice arcade aesthetic that my friends commented on immediately.
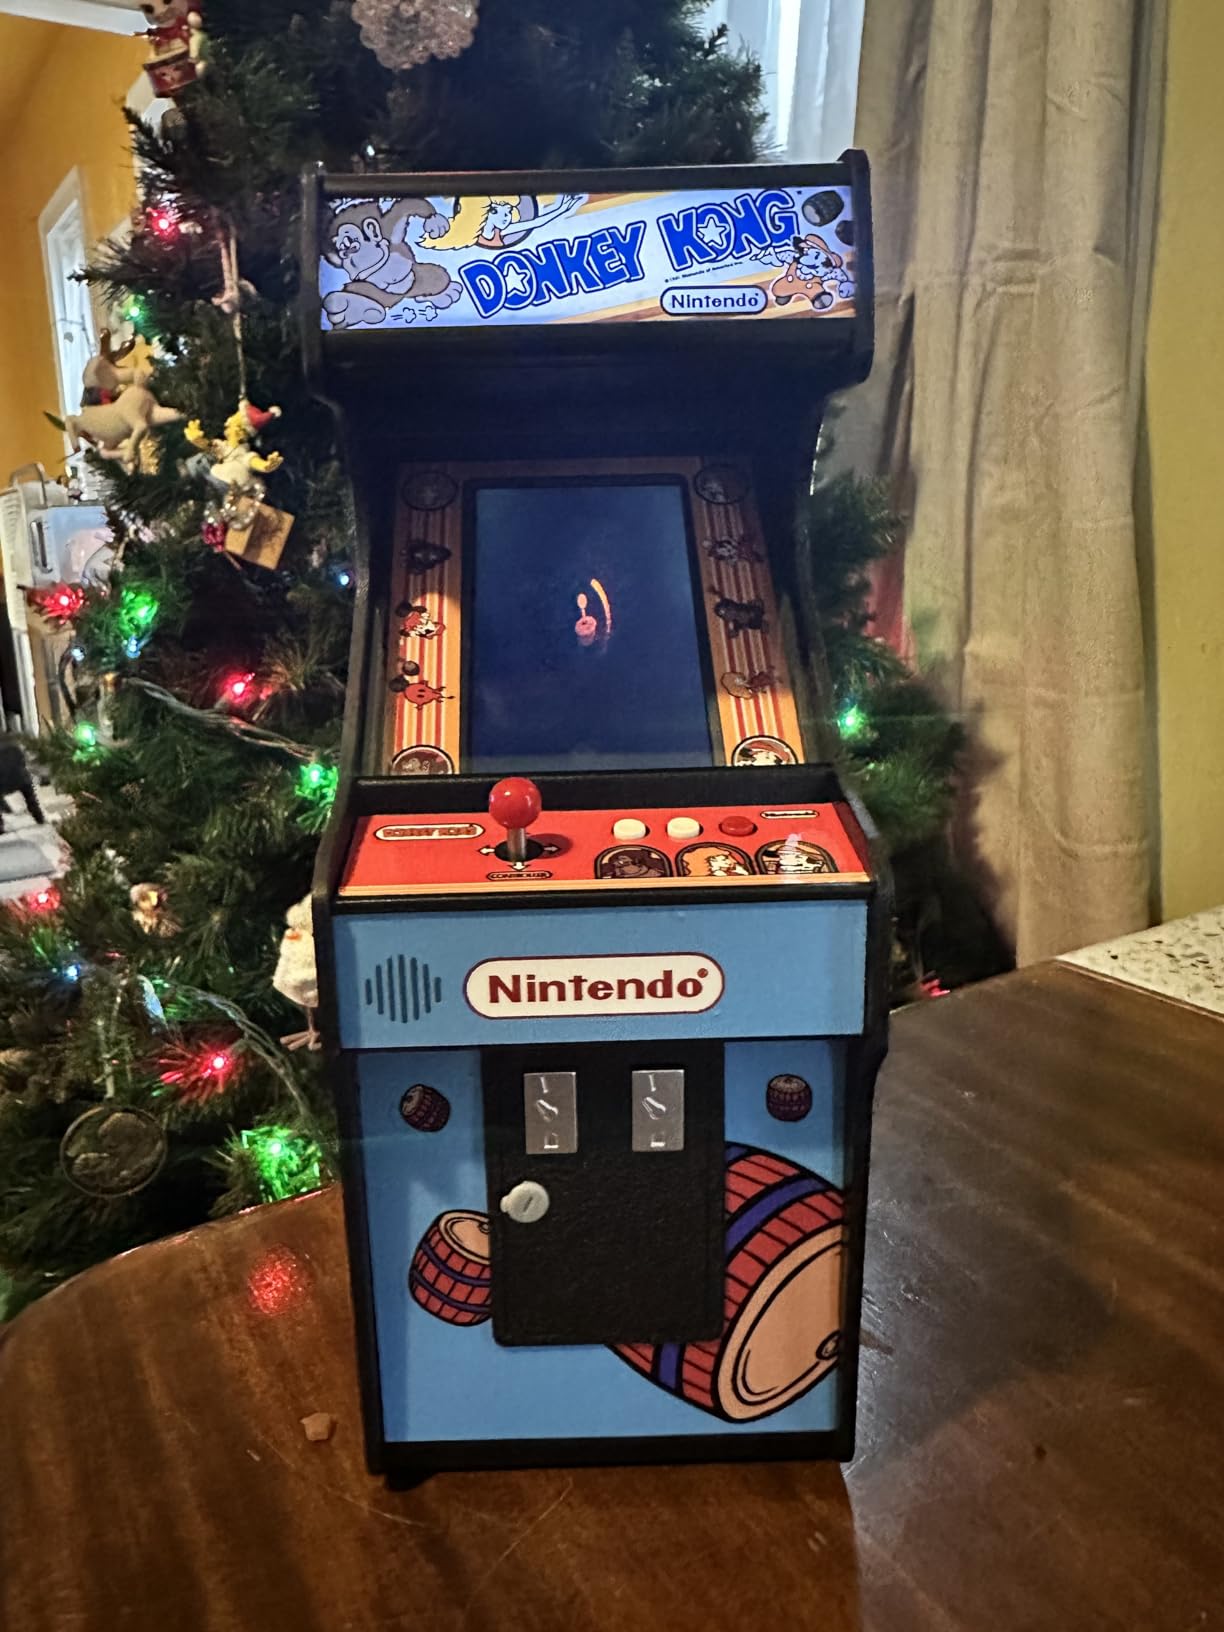
The controls feel satisfying despite the small size. The joystick has proper resistance, and the buttons click with authority. I will note that the included control deck only has one action button, which limits you to simpler games. However, the kit includes alternative controller accessories for different game types.
Assembly took me about two hours, though I hit a snag during framework alignment. The plastic parts fit precisely, but getting everything lined up required patience. Once together, the cabinet feels solid, though it’s slightly top-heavy due to the battery placement in the base.
For whom its good
This kit suits makers who want a complete, self-contained arcade project. The built-in battery means you can play anywhere without being tethered to an outlet. It’s ideal for vertical screen games like Pac-Man, Galaga, and classic shmups. The small footprint works perfectly on a desk or shelf.
For whom its bad
Pass on this if you want to play fighting games or titles requiring multiple buttons. The vertical-only orientation limits your game selection significantly. Also, if you struggle with detailed assembly work, the small parts and precise alignment requirements might frustrate you.
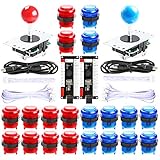
3. Hikig 2 Player LED Arcade DIY Kit – Most Popular Control Kit
Hikig 2 Player led arcade buttons and joysticks DIY kit 2x joysticks + 20x led arcade buttons game controller kit for MAME and Raspberry Pi - Red + Blue Color
20 LED buttons
2 joysticks
USB encoder
Windows/Raspberry Pi
Pros
- Excellent value for money
- Easy USB plug-and-play
- Bright LED effects
- Works with MAME and RetroPie
- Over 1000 positive reviews
Cons
- Buttons have weak spring feel
- Some LED quality issues
- Not professional arcade quality
- Joysticks better for fighters than shmups
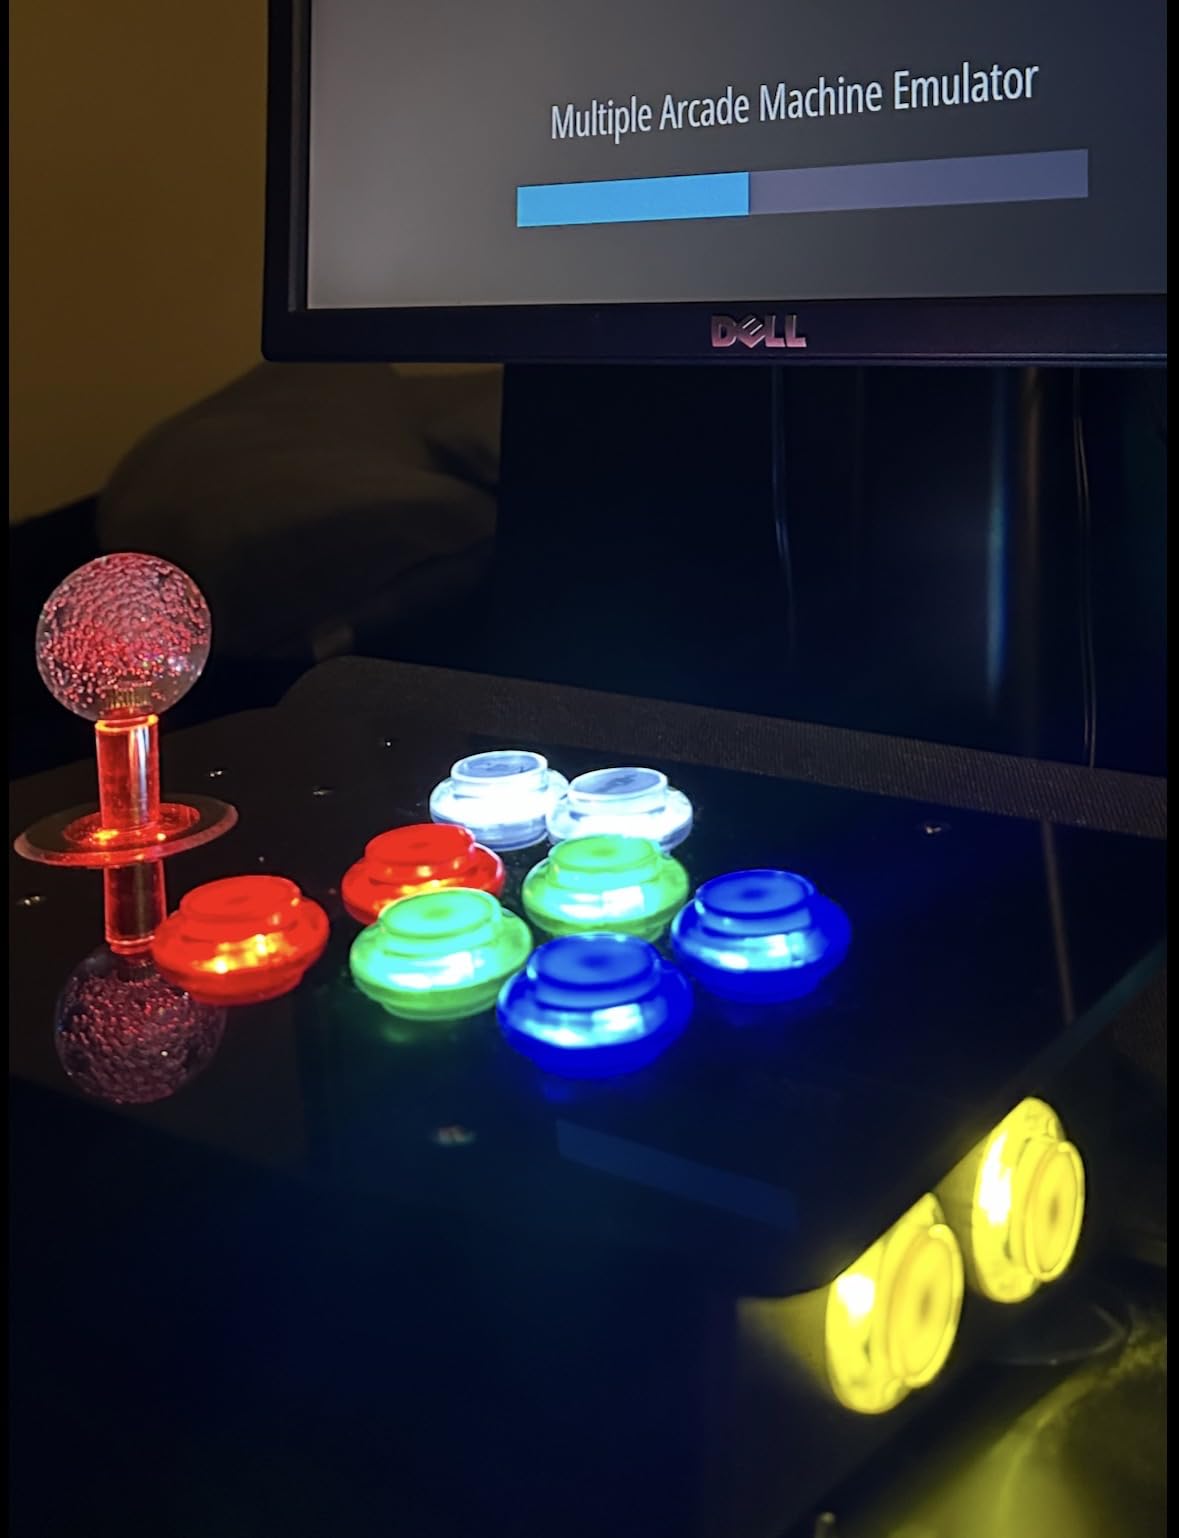
With over 1000 reviews and a 4.6-star rating, the Hikig 2 Player LED Arcade DIY Kit has clearly earned its popularity. I’ve used this kit in two different cabinet builds, and it remains my go-to recommendation for budget-conscious builders. The package includes two joysticks, 20 LED buttons in red and blue, and two zero-delay USB encoders.
Setup could not be simpler. Each button and joystick connects to the encoder using simple push connectors. No soldering required. I had both players configured in RetroPie within 15 minutes of opening the box. The USB connection works flawlessly with Windows systems too, making this kit versatile for PC-based MAME setups.
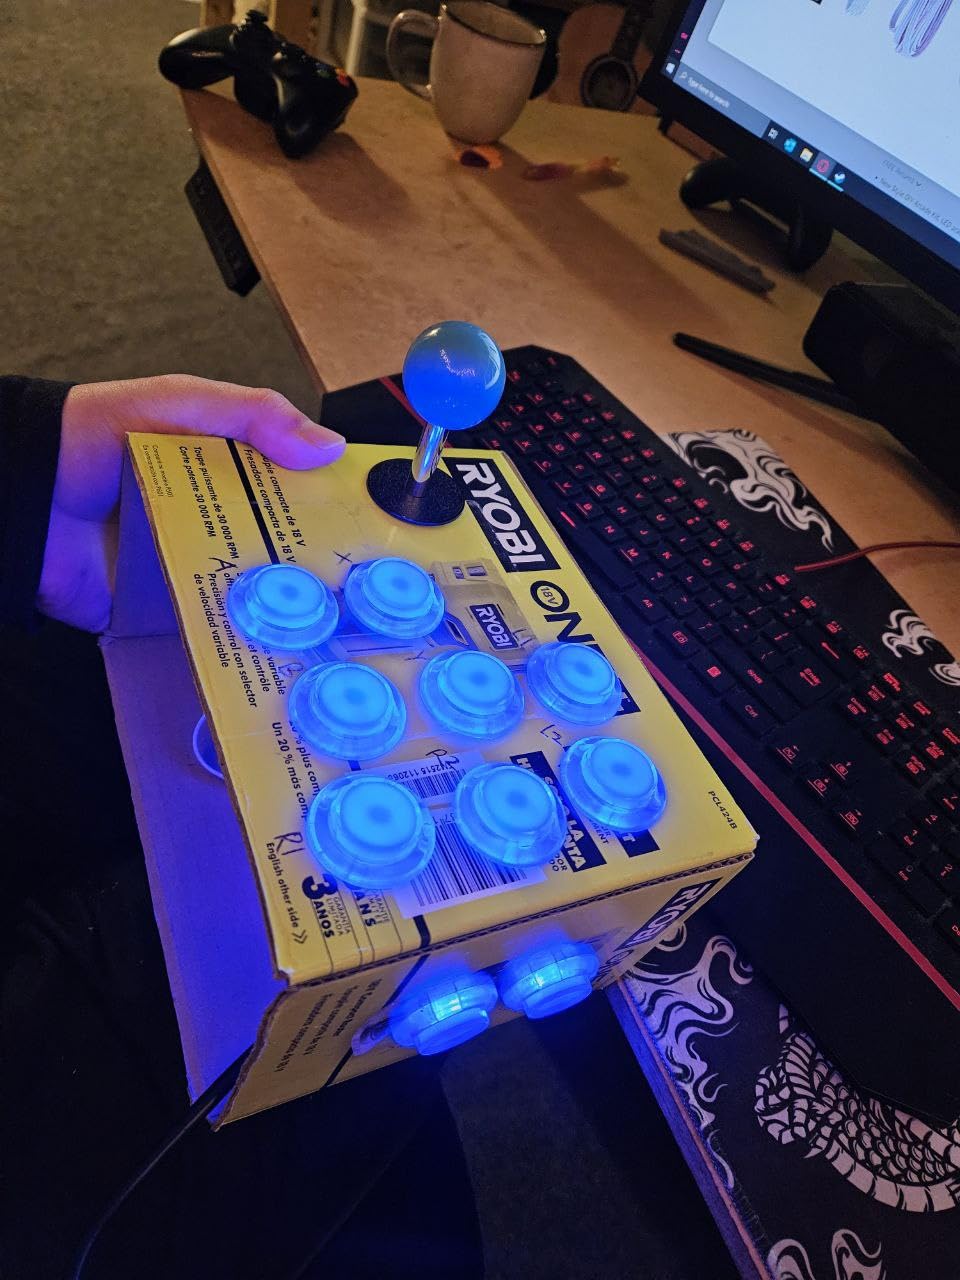
The LED effects look fantastic in a dark room. The buttons glow with even illumination, and the joysticks light up at the base. My cabinet builds always get compliments on the lighting. Just keep in mind you need a separate 5V power source for the LEDs if your setup does not provide one.
Are these professional arcade quality components? No. The buttons have a softer feel than genuine Sanwa or HAPP parts, and some users report occasional LED flickering. But for the price, the quality is more than adequate for home use. I’ve put hundreds of hours on my Hikig setups without any failures.
For whom its good
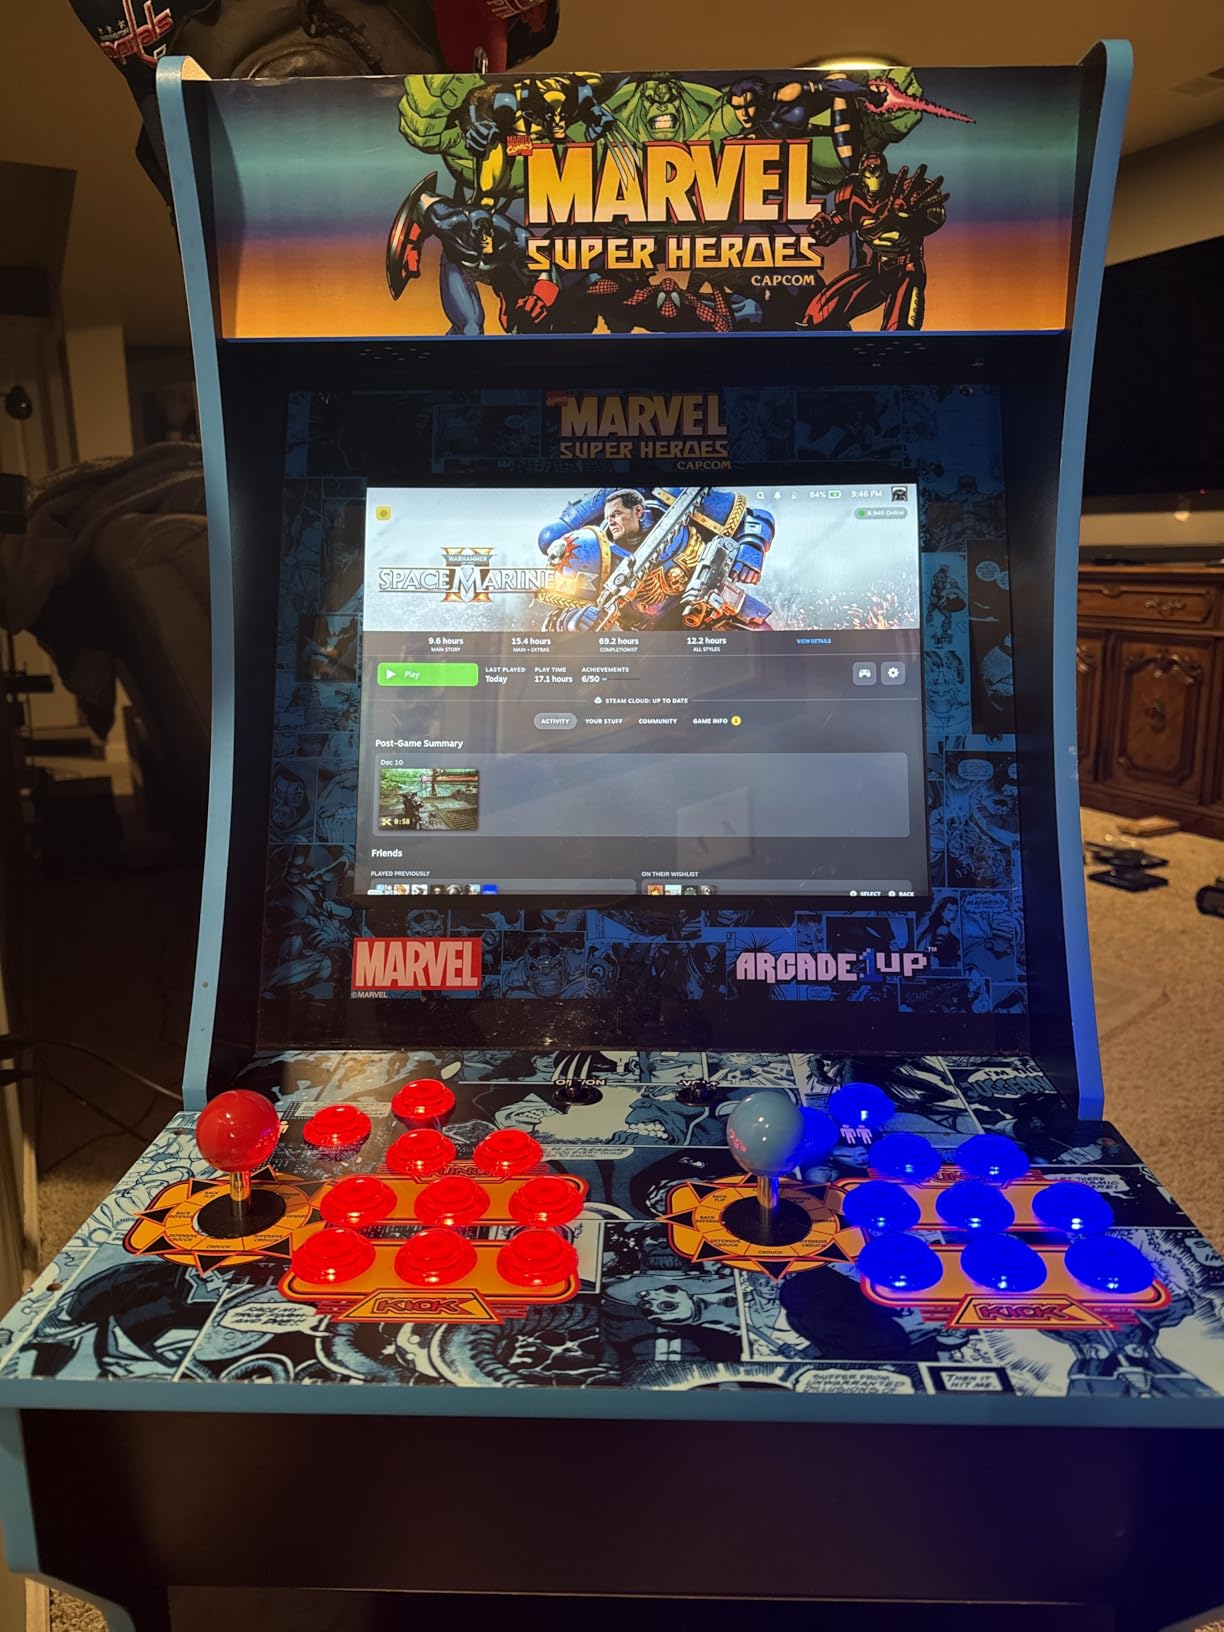
This kit excels for first-time builders who want reliable controls without breaking the budget. It’s perfect for Arcade1Up modifications, where you’re replacing stock controls with something more responsive. The plug-and-play nature makes it accessible even if you’ve never built an arcade panel before.
For whom its bad
Skip this if you demand tournament-grade components for competitive play. The joysticks work fine for casual gaming but lack the precision of premium parts. Also, if you primarily play shoot-em-ups, you might find the joystick throw distance too long for quick directional changes.
4. Qenker 2-Player LED Arcade DIY Kit – Raspberry Pi Ready
Qenker 2-Player LED Arcade DIY Kit for USB MAME PC Game DIY & Raspberry Pi Retro Controller DIY Including 2X Arcade Joystick, 20x LED Arcade Buttons, 2X Zero Delay USB Encoder (Blue & Red)
20 LED buttons
2 joysticks
Zero delay encoder
USB plug-and-play
Pros
- Very good value
- Simple plug-and-play setup
- Great LED effects
- Works with Raspberry Pi RetroPie
- Ideal for Arcade1Up mods
Cons
- Buttons lack clicky feel
- Some stuck button reports
- Joystick phantom inputs possible
- LED quality can vary
The Qenker 2-Player LED Arcade DIY Kit sits in the same category as the Hikig kit, and the similarities are obvious. Both include 20 LED buttons, two joysticks, and zero-delay USB encoders. After testing both, I found the Qenker offers nearly identical performance with slightly different button feel.
What stood out during my testing was how smoothly this kit integrated with RetroPie. The encoders registered immediately, and I had zero configuration issues. The heat-resistant plastic construction feels durable, and I appreciate that Qenker uses quality materials at this price point.
The LED effects create that authentic arcade ambiance. The red and blue color scheme matches classic cabinet aesthetics, and the glow adds atmosphere during evening gaming sessions. I tested the lights for several hours straight without any dimming or color shifting.
My main critique involves button feel. Unlike professional arcade buttons that click decisively, these have a softer, almost mushy response. It works fine for most games, but fighting game enthusiasts might find the lack of tactile feedback frustrating. Some users also report occasional stuck buttons, so test everything before final assembly.
For whom its good
This kit suits Raspberry Pi builders who want a straightforward control solution. If you’re building a RetroPie cabinet or modifying an Arcade1Up machine, the Qenker delivers everything you need. The simple installation process works well for beginners.
For whom its bad
Avoid this if tactile button feel matters deeply to you. The soft button action differs significantly from authentic arcade experiences. Also, if you want guaranteed component consistency, the occasional quality control issues might concern you.
5. EG STARTS 2 Player Arcade DIY Kit – Ellipse Joystick Handles
EG STARTS 2 Player Arcade Games DIY Kit Parts 2 Ellipse Oval Joystick Handles + 20 LED lit Arcade Buttons (Red & Blue Kit)
20 LED buttons
2 ellipse joysticks
USB encoder
Heat resistant plastic
Pros
- Easy discrete connections
- Great value price
- Works from first boot
- Perfect for budget MAME builds
- Simple plug-and-play
Cons
- Cables are too short
- Noisy clicky buttons
- Controls can feel stiff
- Some LED quality variance
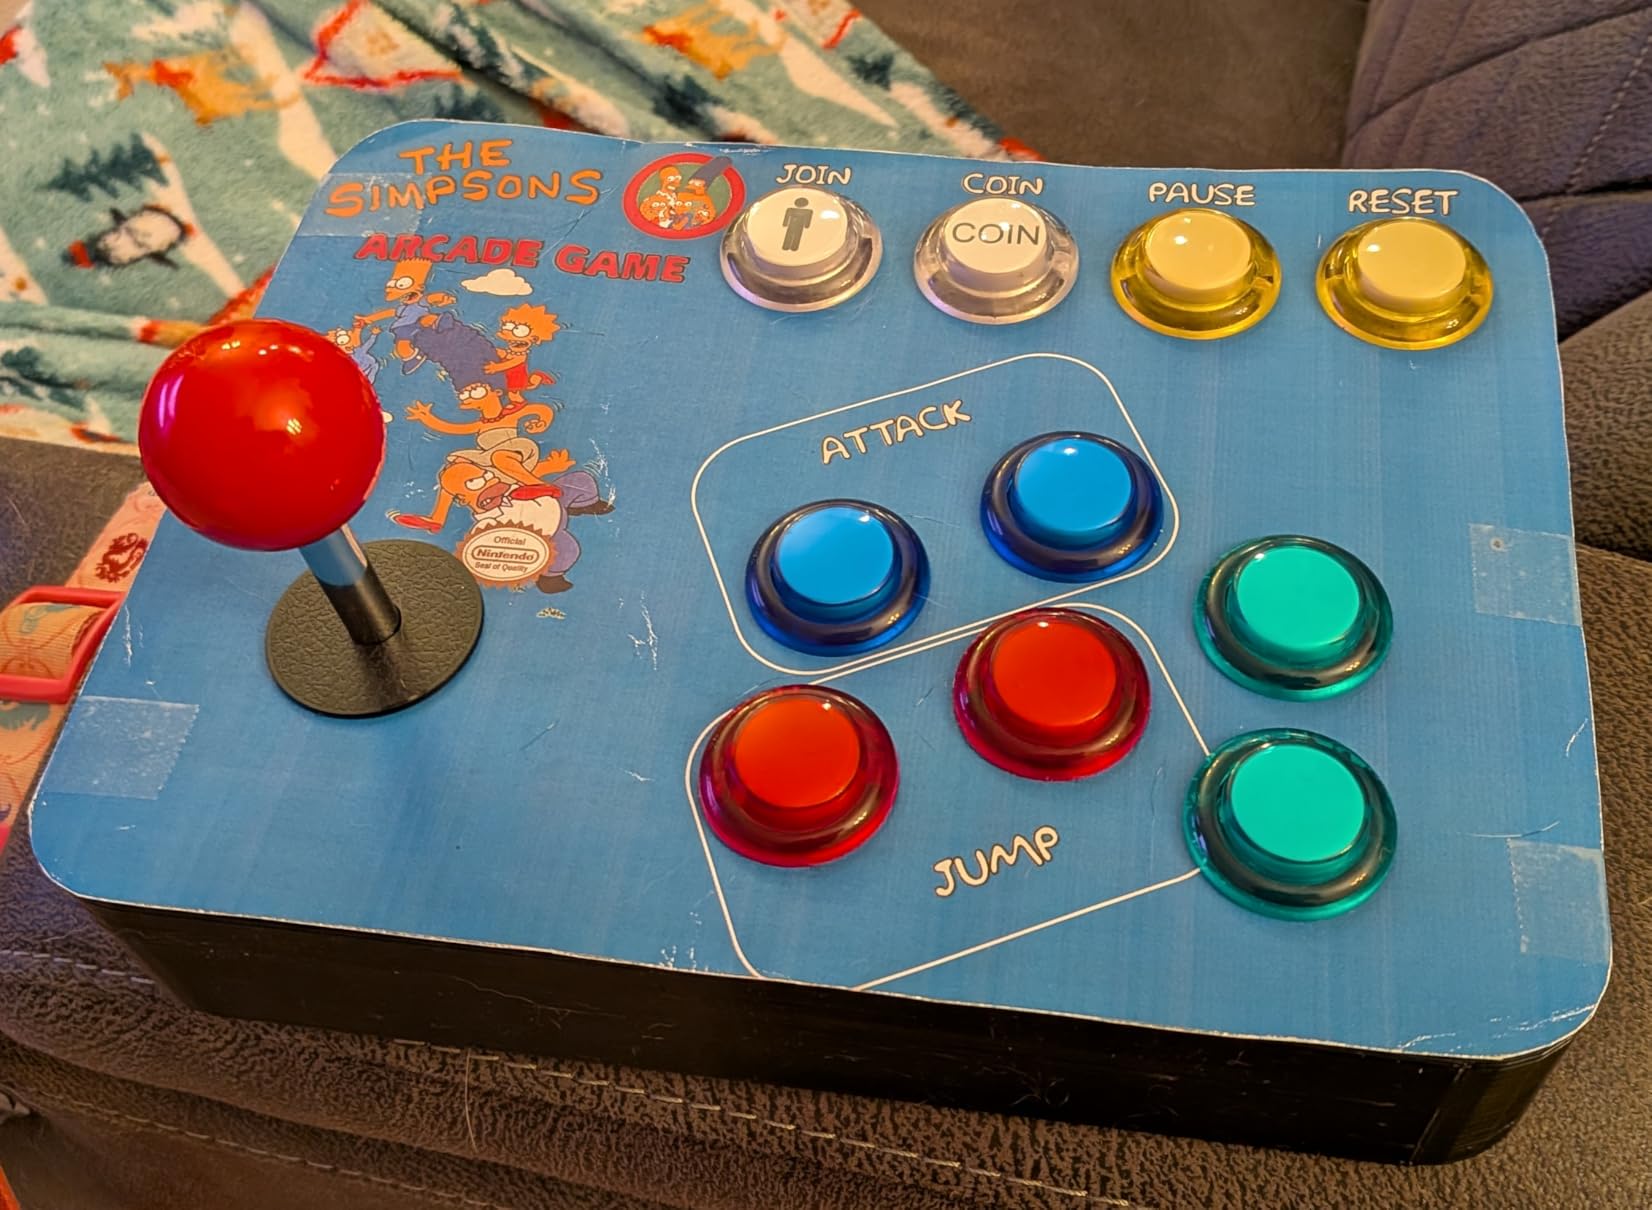
The EG STARTS 2 Player Arcade DIY Kit differentiates itself with ellipse-shaped joystick handles instead of the standard ball tops. After a week of testing, I found this design choice actually matters. The oval shape feels more comfortable during extended play sessions, especially for players with larger hands.
Like competing kits, this package includes 20 LED buttons in red and blue, two joysticks, and zero-delay USB encoders. The discrete wire connections keep your control panel looking clean, and I appreciate that each button has its own wire rather than bundled harnesses that can tangle.
The kit worked flawlessly from first boot. I connected the USB encoders to my Windows PC, and MAME recognized all inputs immediately. No driver installation or configuration headaches. This kind of plug-and-play experience matters when you’re eager to start gaming rather than troubleshooting.
My biggest complaint involves cable length. The wires connecting buttons to encoders are shorter than I’d like, which limited my control panel layout options. I had to position the encoders closer to the center of the panel than planned. The buttons also produce a clicky sound that some might find satisfying but others might consider noisy.
For whom its good
This kit works well for builders who prioritize easy installation and immediate functionality. The ellipse joystick handles offer a comfortable alternative to standard ball tops. If you’re building a budget MAME cabinet and want something that just works, EG STARTS delivers.
For whom its bad
Pass if you need longer cables for spread-out control layouts. The short wires constrain your panel design options. Also, if you prefer silent buttons, the clicky sound might annoy you during quiet evening gaming sessions.
6. EG STARTS 1 Player Arcade DIY Kit – Budget Single Player
EG STARTS Arcade Buttons 1 Player DIY Kit Joystick 5V LED Arcade Button for Arcade Stick PC Games Mame Raspberry pi
1 joystick
8 LED buttons
USB encoder
Windows/Raspberry Pi
Pros
- Excellent budget value
- Easy plug-and-play
- Bright vibrant LEDs
- Mechanical switches in buttons
- Works with RetroPie and Batocera
Cons
- Buttons feel mushy not clicky
- Some quality control issues
- Instructions can be incorrect
- Smaller button caps than standard
Not every arcade project needs two players. The EG STARTS 1 Player Arcade DIY Kit serves the solo builder who wants authentic controls without paying for redundant components. At under thirty dollars, this kit represents incredible value for single-player cabinet builds.
The package includes one 8-way joystick, eight LED buttons, and a zero-delay USB encoder. I used this kit for a vertical cocktail cabinet build where only one player sits at the controls at a time. The mechanical switches inside the buttons provide reasonable tactile feedback, though they feel different from traditional arcade microswitches.
Brightness impressed me. The LEDs illuminate evenly across all buttons, creating a cohesive look. I tested the kit with both RetroPie and Batocera operating systems, and it worked perfectly on both. The encoder registered immediately without any configuration fiddling.
Quality control varies more than I’d like. Some users report buttons that don’t light up, and the included instructions have errors. I recommend testing every component before mounting anything permanently. The button caps also run slightly smaller than industry standard 30mm, which might matter if you’re replacing buttons in an existing panel.
For whom its good
This kit suits single-player cabinet builds, cocktail tables, or anyone wanting to test arcade building without significant investment. The low price makes it perfect for beginners learning the ropes. Works great with alternative operating systems like Batocera and Recalbox.
For whom its bad
Avoid this for competitive or high-precision gaming. The button feel lacks the crisp response serious players demand. Also, if you want guaranteed out-of-box perfection, the quality control inconsistencies might frustrate you.
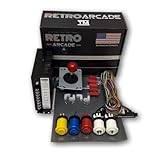
7. RetroArcade.us Jamma 60-in-1 Control Kit – Complete Wiring Harness
Jamma 60-in-1, Mame, Retro PI Classic Arcade Multigame-Multicade Arcade Game Control kit
Jamma wiring harness
16 amp power supply
60-in-1 compatible
Upright arcade format
Pros
- Complete kit with harness and power supply
- Perfect for arcade upgrades
- Everything needed in one package
- Easy installation process
- Works with existing Jamma boards
Cons
- Sound accuracy issues on some games
- Some incorrect game settings
- Joystick quality not premium
- Instructions could be clearer
The RetroArcade.us Jamma 60-in-1 Control Kit targets a different audience than the USB encoder kits. This package is designed for traditional JAMMA arcade cabinet builds or conversions. If you’re restoring an old cabinet or building one with authentic arcade hardware, this kit provides the core electrical components.
Inside the box, you’ll find a JAMMA wiring harness with clear US labeling, a 16-amp power supply, and connection hardware. I used this kit to convert an old Dynamo cabinet that had damaged wiring. The harness fit perfectly, and the power supply delivered stable voltage throughout my testing.
The quality of the harness impressed me. Wires are properly gauged, connectors fit securely, and the labeling makes installation straightforward even for first-time JAMMA builders. This is not a USB kit for Raspberry Pi builds. It’s for traditional arcade hardware setups.
Be aware that game boards are sold separately. This kit provides the infrastructure but not the 60-in-1 board itself. Some users also report sound accuracy issues with certain games when using this harness with multicade boards. The included joystick works but many builders upgrade to Sanwa or HAPP components for better feel.
For whom its good
This kit suits traditional arcade cabinet builders who want authentic JAMMA infrastructure. If you’re converting an old cabinet to a multicade setup or building with genuine arcade hardware, the complete package saves time sourcing components individually.
For whom its bad
Pass on this if you’re building a Raspberry Pi or PC-based cabinet. The JAMMA harness format doesn’t apply to emulation setups. Also, if you want premium component quality, expect to upgrade the included joystick and potentially other parts.
8. Arcade Renovations Audio Kit – Complete Sound System
Audio Kit for Arcade Game, MAME Cabinet, or Virtual Pinball Machine
18W stereo amplifier
Two 4 inch speakers
Wiring kit included
12V power supply
Pros
- Perfect for DIY arcade builds
- Good sound quality for games
- Complete audio package
- Volume bass and treble controls
- Color-changing LED lights
Cons
- No instructions included
- Provided screws too short
- Amplifier quality is mediocre
- May be underpowered for some
Audio often gets overlooked in DIY arcade cabinet builds until you realize your Raspberry Pi has no way to drive speakers. The Arcade Renovations Audio Kit solves this problem with a complete sound system package designed specifically for arcade cabinets.
The kit includes a Kinter stereo audio amplifier delivering 18 watts per channel, two 4-inch dual cone speakers, speaker grills, wiring harness with pre-crimped connectors, RCA audio cable, and a 12V power supply. Everything you need arrives in one box, which saved me multiple trips to electronics stores.
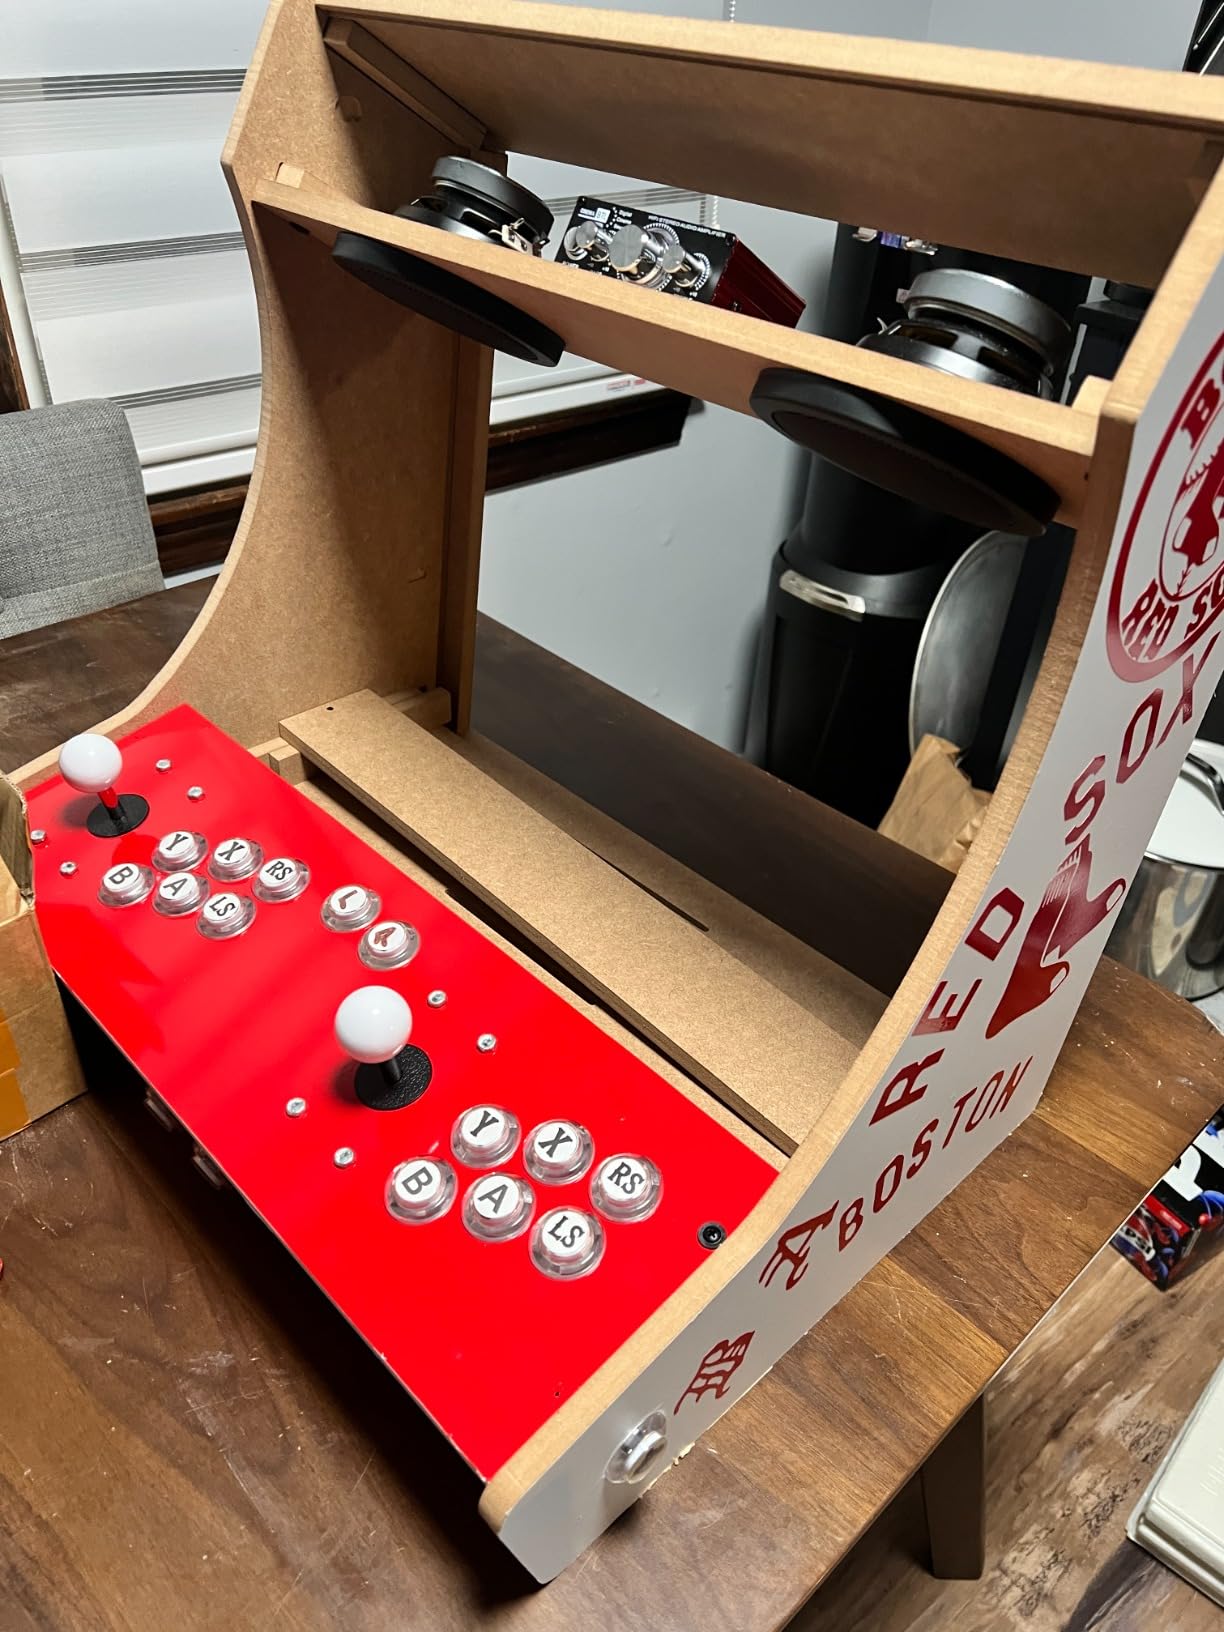
Sound quality suits arcade games well. The dual cone speakers handle the frequency range from 90Hz to 20KHz, covering the bleeps and bloops of classic games adequately. The amplifier includes bass and treble adjustments, letting you tune the sound to your preference. The color-changing LED lights on the amp add a nice visual touch inside the cabinet.
My frustration centers on the lack of instructions. While the connections are straightforward for experienced builders, newcomers might struggle figuring out how everything connects. The included screws also proved too short for mounting the speakers in my cabinet, requiring a hardware store run.
For whom its good
This kit suits cabinet builders who want a complete audio solution without sourcing components separately. The all-in-one package works well for first-time builders who don’t want to figure out amplifier and speaker compatibility. Great for retro gaming soundtracks and classic arcade audio.
For whom its bad
Avoid this if you demand audiophile sound quality. The amplifier is adequate but not exceptional. Also, if you need detailed guidance, the missing instructions will frustrate you. Experienced builders might prefer selecting individual components for better quality.
How to Choose the Best DIY Arcade Cabinet Kit
Selecting the right kit depends heavily on your goals, skills, and existing components. I’ve helped dozens of builders choose their first kits, and the questions always come down to a few key factors.
Kit Types: Cabinet vs Control Kits
The most important distinction is whether you need a cabinet kit or a control kit. Cabinet kits like the LEP1 Customs LVL23 include pre-cut wooden panels for building the actual cabinet shell. Control kits like the Hikig and Qenker options provide joysticks, buttons, and encoders but assume you already have or will build a cabinet separately.
Some builders start with a control kit and mount it in a repurposed cabinet, an Arcade1Up modification, or even a wooden box. Others want the full cabinet-building experience and choose a kit with pre-cut panels. The GRS Build-A-CADE offers a unique middle ground: a complete mini cabinet with everything except the Raspberry Pi.
Material Quality: MDF vs Plywood
Most DIY arcade cabinet kits use MDF (medium-density fiberboard) because it’s affordable, cuts cleanly, and takes paint well. MDF works fine for home arcade cabinets, but it has drawbacks. The material crumbles if you over-tighten screws, and it’s susceptible to moisture damage.
Plywood costs more but offers superior durability and screw-holding strength. The Reddit community on r/cade frequently debates this topic, with experienced builders often preferring plywood for cabinets they plan to keep long-term. If you’re building from a kit, you likely won’t choose the material. But understanding the difference helps set expectations.
Size Considerations
Cabinet size significantly impacts your building experience and finished product. Bartop cabinets like the LEP1 LVL23 fit on desks and tables, making them ideal for apartments or shared spaces. Full-size upright cabinets deliver the authentic arcade experience but require dedicated floor space and are harder to move.
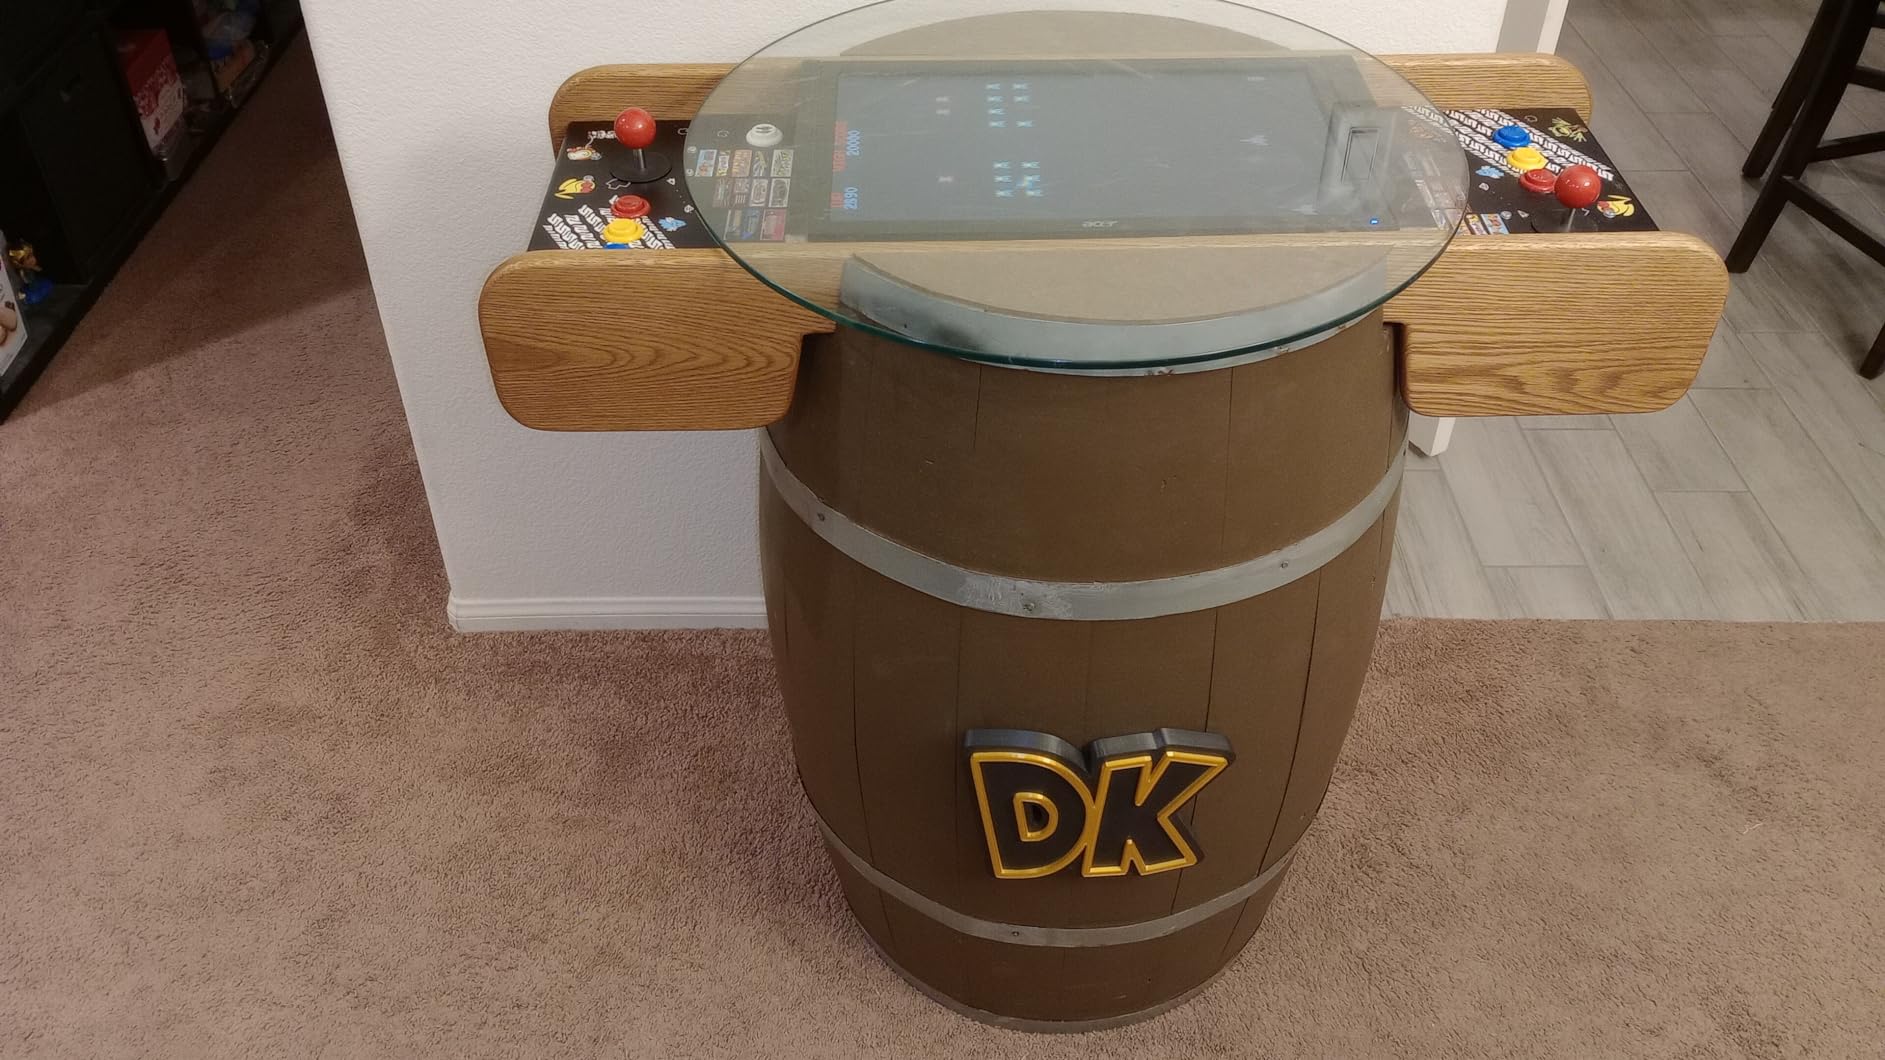
Cocktail cabinets sit low like coffee tables, with the monitor facing upward. These work well for casual gaming but limit you to seated play. Consider your available space and how you plan to use the cabinet before choosing a size.
Component Compatibility
Before buying any kit, know what you’re pairing it with. USB encoder kits work with Raspberry Pi, Windows PCs, and sometimes Mac computers. JAMMA harnesses require traditional arcade hardware. The GRS Build-A-CADE specifies Raspberry Pi 3 or 4 compatibility.
Monitor size matters too. The LEP1 LVL23 officially supports 19-23 inch screens, though some users report the 23-inch maximum is optimistic. Measure your planned display and compare against kit specifications before purchasing.
Assembly Difficulty
Assembly difficulty varies dramatically between kits. USB control kits require only basic wire connections and typically take under an hour. The GRS mini cabinet involves more complex assembly with precise alignment requirements. Full cabinet kits demand carpentry skills and several hours of work.
If you’re new to DIY projects, start with a control kit and a simple mounting solution. Once comfortable, progress to full cabinet builds. The skills build on each other, and you’ll learn what matters most for your next project.
Frequently Asked Questions
What is the best material for arcade cabinets?
MDF (medium-density fiberboard) is the most common material for DIY arcade cabinets because it’s affordable, cuts cleanly, and takes paint well. Plywood offers better durability and screw-holding strength but costs more. For home arcade use, both materials work adequately. Professional cabinets historically used plywood or particle board depending on the manufacturer.
Is it cheaper to build or buy an arcade machine?
Building your own arcade cabinet typically costs 40-60% less than buying a comparable pre-built machine. A DIY bartop cabinet with Raspberry Pi and budget controls might cost $200-400 total, while similar pre-built units often exceed $600. However, building requires time, tools, and skills. Factor in your labor value when comparing costs.
What is the most popular arcade cabinet?
The most popular DIY arcade cabinet style is the bartop format, which fits on desks and tables without requiring dedicated floor space. For pre-built machines, Arcade1Up cabinets dominate the home market. In the enthusiast community, custom MAME cabinets built from GameRoomSolutions or RecRoomMasters kits are frequently recommended.
What is the best size for an arcade cabinet?
The best size depends on your space and usage. Bartop cabinets (20-24 inches tall) work well for desks and limited spaces. Full-size upright cabinets (around 72 inches tall) provide authentic arcade experiences but require significant floor space. Cocktail cabinets sit low like tables and work in living rooms. Consider your available space before choosing.
Conclusion
Building your own arcade cabinet remains one of the most satisfying projects for retro gaming enthusiasts. The best DIY arcade cabinet kits in 2026 range from complete cabinet shells to budget control panels, each serving different builder needs and skill levels.
For most builders, I recommend starting with a control kit like the Hikig 2 Player LED DIY Kit. It offers excellent value, straightforward installation, and enough quality for enjoyable gaming. If you want the full cabinet-building experience, the LEP1 Customs LVL23 provides pre-cut panels that fit together reliably. The GRS Build-A-CADE offers a unique middle ground with a complete mini cabinet project.
Take your time planning your build, gather all components before starting, and enjoy the process. The moment you first power on a cabinet you built yourself makes all the effort worthwhile.