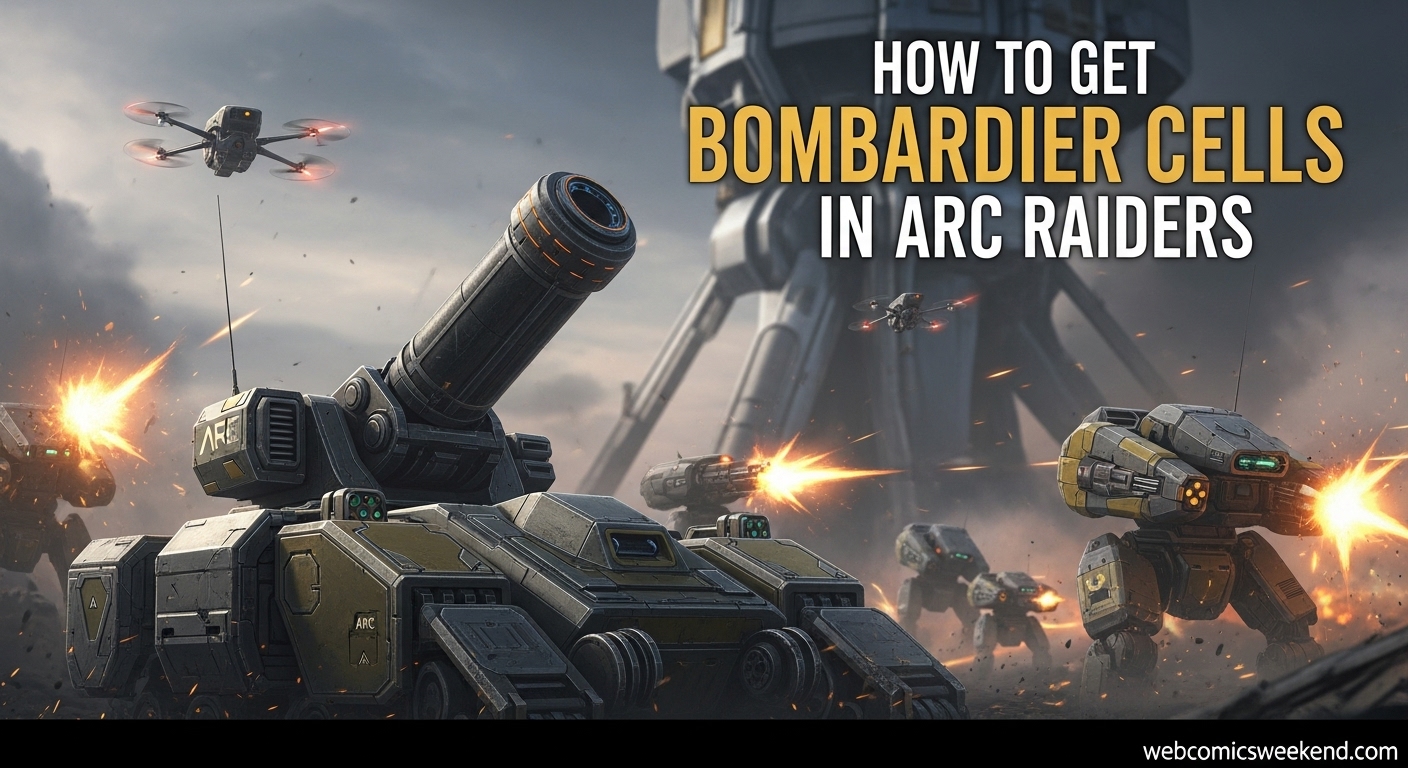
Let me tell you something straight – if you’re playing ARC Raiders and you’re not hunting Bombardiers, you’re seriously missing out on some of the most valuable loot in the game. I’ve spent countless hours tracking down these mechanical nightmares, and I’m here to share everything I’ve learned about farming Bombardier Cells efficiently.
When I first started going after Bombardiers, I’ll admit I got my butt handed to me more times than I can count. These things are no joke – they’re like the Bastion’s bigger, angrier cousin with a serious artillery complex. But after learning the ropes and developing some solid strategies, I’ve turned Bombardier hunting into one of my most profitable activities in the game.
What Are Bombardier Cells and Why Do You Need Them?
Before we dive into the hunting strategies, let’s talk about what Bombardier Cells actually are and why they’re worth your time. From my experience, these are some of the most sought-after crafting materials in ARC Raiders, and for good reason.
Bombardier Cells are epic-tier items that drop exclusively from Bombardier ARCs. I’ve found they’re essential for several high-end crafting recipes and workshop upgrades. According to the ARC Raiders Wiki, you can recycle them into valuable materials like Advanced Mechanical Components and ARC Alloy, but that’s just scratching the surface.
What really makes them valuable is their use in workshop upgrades. For example, you need 6 Bombardier Cells to craft a Refiner 3 – that’s some serious end-game crafting right there. At 5,000 credits each when sold, they’re also a great way to boost your in-game economy when you’re running low on cash.
Where to Find Bombardiers?: The Best Spawn Locations
Okay, let’s get to the meat of this guide – where the heck do you actually find these things? I’ve scoured every map in the game, and I can tell you that Bombardiers aren’t exactly common spawns. They’re like the unicorns of the ARC world, but when you do find them, it’s totally worth the hunt.
Top Bombardier Spawn Maps
Based on my extensive research and countless hours in-game, here are the best maps to find Bombardiers:
| Map Region | Reliable Spawn Spots | Success Rate | My Personal Experience |
|---|---|---|---|
| Buried City | Plaza Rosa and surrounding blocks | High | This is my go-to spot. I’ve had the most consistent spawns here, especially around the Town Hall and Parking Garage areas. |
| The Spaceport | Upper interior rings, near top Raider hatch | High | Great for Night Raid variants. The multi-level buildings provide excellent cover for fighting. |
| The Blue Gate | Near Raider’s Refuge, Trapper’s Glade | Medium | I’ve found them roaming alone here, but they’re usually accompanied by Hornets and Wasps. |
| Dam Battlegrounds | Various underpasses and structures | Low-Medium | Less consistent, but the underpasses provide good tactical advantages when you do find one. |
My Favorite Farming Routes
Let me share my personal farming routes that have given me the best results:
Buried City Loop: I start at Plaza Rosa and make a circuit around the surrounding blocks. I clear out any air threats first (those pesky drones can ruin your day), then I’ll climb to the rooftops to get a good vantage point. The key here is patience – Bombardiers have a respawn timer, so if you don’t find one immediately, hold a nearby building and recheck after a few minutes.
Spaceport Sweep: I focus on the upper interior areas and the space near the top Raider hatch. During Night Raids, I’ve noticed Bombardier variants tend to spawn more frequently. The slotted-window rooms are perfect for fighting them safely.
Understanding the Bombardier: Tactics and Behavior
Now, let’s talk about what you’re actually up against. Bombardiers are no ordinary ARC – they’re ground-based artillery units that can ruin your day if you’re not prepared. I’ve learned their patterns the hard way, so let me save you some pain.
How Bombardiers Fight (And How to Counter Them)
From my experience fighting dozens of these things, here’s what you need to know about their behavior patterns:
| Bombardier Behavior | What It Means for You | My Counter Strategy |
|---|---|---|
| Mortar-focused artillery | Fires until you break line of sight | Every shot I take is followed by immediate repositioning. I never stay in one spot for more than 2-3 seconds. |
| Predictive targeting | Can “thread” mortars through narrow openings | Window slits are death traps if you linger. I vary my positioning constantly. |
| Spotter drone support | Spotters mark you for accurate mortar fire | My first priority is always eliminating Spotters. They respawn, so I keep clearing them. |
| Vulnerable recovery window | Brief pause after firing mortar volley | This is my golden opportunity to attack. I time my grenades and heavy shots for this window. |
| Close-range kinetic burst | Don’t let them get too close | I maintain medium range and respect their personal space. |
Weak Points: Where to Hit Them Hard
This is where the real strategy comes in. Bombardiers might look intimidating, but they’ve got some serious weak points if you know where to look. I’ve learned these through trial and error (mostly error, honestly):
Leg Joints: Those yellow “kneecaps” on each leg are your primary targets. When I break these, it slows the Bombardier down significantly and exposes inner sections for even more damage. I usually start here to cripple their mobility.
Rear Cylinder: There’s a prominent yellow canister on the back that’s basically a “destroy me” button. When I land a good hit here, it can disable the unit quickly. The trick is getting to it – I often use lure grenades to make the Bombardier turn and expose this weak point.
Post-Volley Window: This isn’t a physical weak point, but it’s the most vulnerable time to attack. Right after the Bombardier finishes a mortar volley, there’s a brief recovery period. This is when I unload my heaviest weapons and grenades.
Loadouts That Actually Work: My Recommended Gear
Let me tell you something – going into a Bombardier fight with the wrong loadout is like bringing a knife to a tank fight. I’ve learned this lesson the hard way, and I want to save you the frustration.
Best Weapons for Bombardier Hunting
After testing dozens of weapon combinations, here’s what consistently works for me:
| Slot | My Top Picks | Why They Work |
|---|---|---|
| Primary | Anvil or Ferro | These battle rifles pack serious punch per shot. I use them for precision strikes on the leg joints and rear cylinder. |
| Heavy/Launcher | Hullcracker or any launcher with heavy ammo | This is my finisher. Once I’ve broken the weak points, I switch to heavy to end the fight quickly. |
| Grenades | Wolfpack, Blaze, Snap/Trigger, Stun | Wolfpack is my go-to for armor breaking. Blaze stacks are incredible for sustained damage. I save Snap/Trigger for opening fights. |
| Utility | Lure, Smoke, Shields/Heals | Lure grenades are essential for exposing the rear cylinder. Smoke is my escape plan when things get hairy. |
My Pro Loadout Combinations
Let me share my personal favorite loadout that’s never let me down:
Primary: Anvil with heavy ammo Heavy: Hullcracker with backup launcher ammo Grenades: 2x Wolfpack, 2x Blaze, 1x Stun Utility: Lure, Smoke, Medkit
This setup gives me everything I need – precision damage, armor breaking, area denial, and escape options. I’ve taken down Bombardiers in under 30 seconds with this loadout when everything goes right.
Solo Tactics That Actually Work
I know what you’re thinking – “But I play solo, can I really take down a Bombardier by myself?” Absolutely! I’ve done it dozens of times, and I’m going to share exactly how I do it.
My Step-by-Step Solo Strategy
- Scout and Clear: Before I even think about engaging a Bombardier, I clear the area of smaller threats. Those Spotter drones are priority number one – they make the Bombardier way too accurate.
- Positioning is Everything: I always fight from layered cover. In Buried City, I use buildings with offset doorways and stairwells. In Spaceport, I prefer rooms with narrow window slits. The key is having multiple escape routes.
- The Shoot-Shift Rhythm: I’ve developed a rhythm that works perfectly – 2-4 accurate shots at weak points, then immediately move to a different position. I never stay in one spot long enough for the mortar to find me.
- Explosives First: I start every Bombardier fight with my strongest grenades. Two Wolfpacks or stacked Blazes can strip most of its armor before I even switch to my primary weapon.
- Finish Strong: Once the Bombardier is weakened, I switch to my heavy weapon and focus on the rear cylinder. This usually ends the fight quickly.
My Solo Farming Routine
When I’m specifically farming Bombardier Cells, I follow this routine:
- Map Selection: I usually stick to Buried City or Spaceport for the most consistent spawns.
- Time Management: I aim to finish each Bombardier fight in under 30 seconds. This minimizes the risk of third-party interference.
- Loot Discipline: Immediately after the kill, I pop smoke and prioritize grabbing the Bombardier Cells first. I’ve learned the hard way that other players love to swoop in right after a big fight.
- Quick Extraction: I don’t stick around to sort through all the loot. I grab the Cells and any other high-value items, then extract immediately.
Team Tactics: Bringing Friends Makes It Easier
Look, I love a good solo challenge, but sometimes you just want to make things easier. When I’m playing with friends, we’ve developed some team strategies that make Bombardier hunting almost too easy.
Role Distribution
When I’m running with a squad, we divide roles like this:
Spotter Hunter: One player focuses exclusively on killing Spotter drones as they spawn.
Weak Point Specialist: Another player focuses on leg joints and mobility disruption.
Heavy Damage: The third player handles the heavy weapons and focuses on the rear cylinder.
Support/Healing: If we have a fourth player, they handle healing and utility grenades.
Coordinated Attacks
The beauty of team play is coordination. We time our attacks so that as soon as the Bombardier finishes its mortar volley, everyone unloads simultaneously. I’ve seen Bombardiers go from full health to destroyed in literally seconds with good team coordination.
What to Expect: Bombardier Cell Drops and Loot
Let me manage your expectations a bit – Bombardier Cells aren’t guaranteed drops. I’ve had fights where I got 3-4 Cells, and others where I got none. That’s just how RNG works in this game.
Drop Rates and What You’ll Get
Based on my experience and community reports, here’s what you can expect:
| Debris Type | Possible Drops | Drop Frequency |
|---|---|---|
| Main Debris | Bombardier Cell, ARC Alloy, ARC Powercell, Advanced ARC Powercell, ARC Performance Steel, Mechanical Components, Medium Gun Parts, Launcher Ammo | Bombardier Cells: ~60-70% chance |
| Small Debris | Bombardier Cell, ARC Alloy, ARC Powercell, Advanced ARC Powercell, ARC Performance Steel, Mechanical Components | Bombardier Cells: ~30-40% chance |
Pro Tip: Bombardier Cells can drop from both the main chassis AND the smaller debris pieces that get blown off during the fight. I always make sure to loot everything, not just the main body.
Advanced Tips and Tricks
I’ve picked up some advanced techniques that really separate the amateurs from the pros. Let me share some of my secret sauce:
Environmental Advantages
I’ve learned to use the environment to my advantage:
Skylights: In buildings with skylights, I can drop grenades directly on the Bombardier without exposing myself at all.
Multi-level Structures: I use different floors to break line of sight and reposition quickly.
Narrow Corridors: These force the Bombardier into predictable movement patterns and limit its mortar effectiveness.
Timing and Patience
The biggest mistake I see new players make is rushing the fight. I’ve learned that patience is key:
Wait for the Right Moment: I don’t engage until the Bombardier is in a favorable position.
Respect the Cooldowns: I keep track of my grenade cooldowns and save them for critical moments.
Know When to Disengage: Sometimes the best strategy is to back off and reset the fight. I’m not too proud to retreat when things go wrong.
Common Mistakes to Avoid
Let me save you some pain by sharing the mistakes I’ve made (and seen others make) when hunting Bombardiers:
Positioning Errors
Staying in One Place Too Long: I used to think I could just hide behind cover and pew-pew away. Nope. The Bombardier’s predictive targeting will find you eventually.
Fighting in Open Areas: This is suicide. I always make sure I have multiple cover options and escape routes.
Ignoring Height Advantage: High ground isn’t just a meme – it’s a tactical necessity. I always try to fight from elevated positions when possible.
Loadout Mistakes
Bringing the Wrong Ammo: Light ammo weapons just don’t cut it against Bombardiers. I learned this the hard way after wasting countless rounds.
Not Enough Grenades: You can never have too many grenades. I always pack more than I think I’ll need.
Forgetting Utility Items: Smoke and lure grenades have saved my life more times than I can count. I never leave base without them.
FAQ: Your Bombardier Cell Questions Answered
I get a lot of questions about Bombardier Cells, so let me answer the most common ones:
How many Bombardier Cells can I get from one fight?
From my experience, you can get anywhere from 1-4 Bombardier Cells per fight, depending on RNG and how thoroughly you loot all the debris pieces.
What’s the best map for farming Bombardier Cells?
I’ve had the most consistent success in Buried City, particularly around Plaza Rosa. The Spaceport is a close second, especially during Night Raids.
Do Bombardier Cells have any uses besides selling?
Absolutely! They’re essential for high-end crafting, particularly for upgrading your Refiner to level 3. You can also recycle them for valuable crafting materials.
How long does it take for Bombardiers to respawn?
In my experience, Bombardiers can respawn on a relatively short cycle in active areas. If you clear an area and wait a few minutes, there’s a good chance another one will spawn.
Can I solo a Bombardier with basic gear?
Technically yes, but I wouldn’t recommend it. I’ve tried it with basic loadouts, and it’s extremely difficult and time-consuming. You’ll have a much better experience with proper gear.
What’s the fastest way to kill a Bombardier?
In my experience, the fastest method is using two Wolfpack grenades followed by heavy weapon fire to the rear cylinder. I’ve killed them in under 20 seconds with this approach.
Final Thoughts and Pro Tips
After hundreds of hours hunting Bombardiers and farming their Cells, I can tell you that it’s one of the most rewarding activities in ARC Raiders. The thrill of the hunt, the satisfaction of a perfectly executed takedown, and the value of the loot make it all worthwhile.
Here are my final pro tips for Bombardier Cell hunting success:
- Always Be Prepared: I never go hunting without checking my loadout and making sure I have enough ammo and grenades.
- Learn the Patterns: Every Bombardier behaves slightly differently. I take the first minute of any fight to observe its patterns before going all-in.
- Don’t Get Greedy: I’ve lost countless Cells because I stuck around too long looting. Grab the Cells and get out.
- Stay Calm Under Fire: It’s easy to panic when mortars are raining down around you. I’ve learned to stay calm and stick to my strategy.
- Learn from Each Fight: Every Bombardier encounter teaches me something new. I’m always analyzing what worked and what didn’t.
Remember, farming Bombardier Cells is a marathon, not a sprint. Some days you’ll get lucky and find several Bombardiers in quick succession. Other days, you might hunt for hours without finding a single one. That’s just the nature of the game.
If you want more tips on ARC Raiders, be sure to check out my other guides on webcomicsweekend.com, including my comprehensive guide on how to complete Out of the Shadows in ARC Raiders and my tips for finding Rusted Gears efficiently.
Happy hunting, Raiders! And remember – when you hear that distinctive mortar whistle, it’s either time to fight or time to run. Choose wisely!
Want to stay updated on the latest ARC Raiders strategies and guides? Bookmark this page and check back regularly for new tips and tricks as the game evolves!