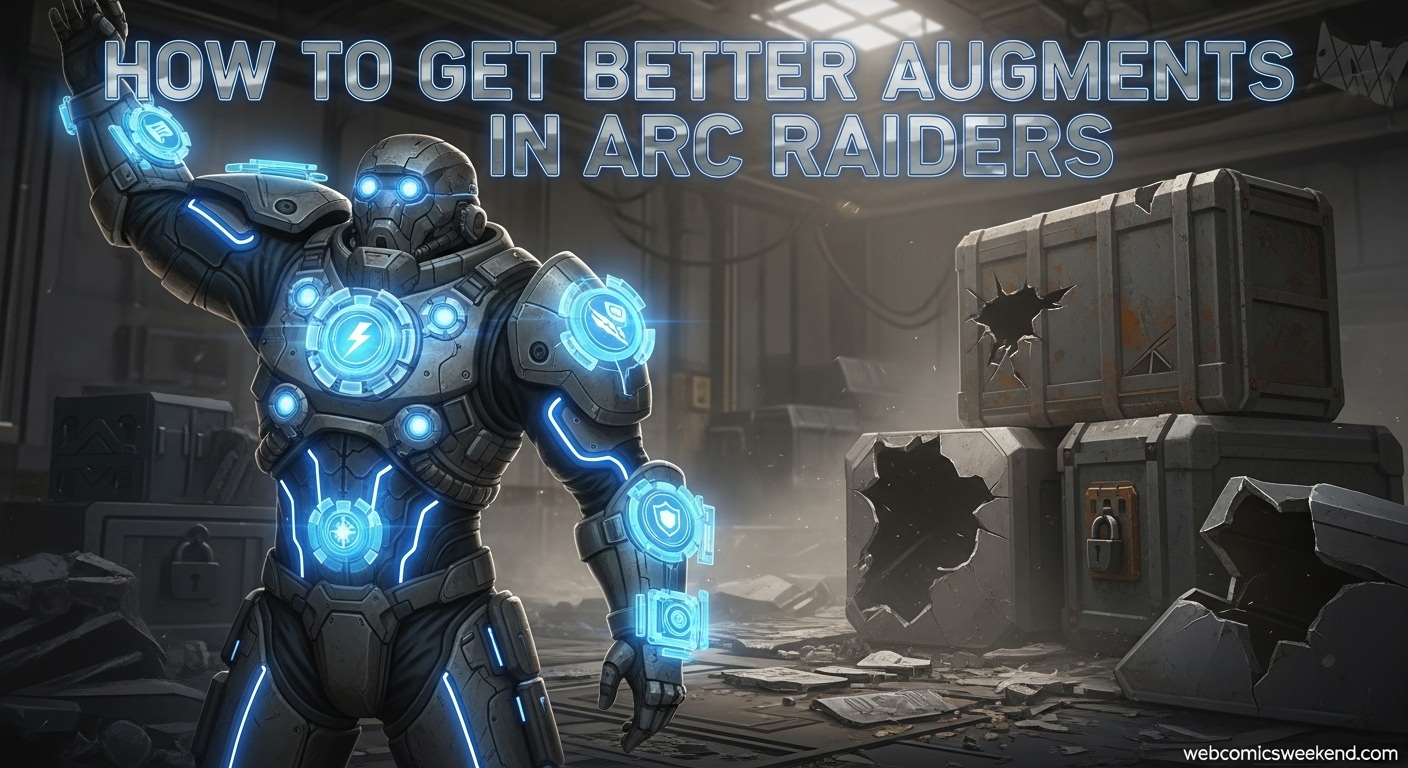
Hey there, fellow Raider! If you’re anything like me, you’ve probably spent countless hours scavenging through ruins, fighting off ARC machines, and wondering why your gear just isn’t cutting it anymore. Well, I’ve been there, done that, and I’m here to share everything I’ve learned about getting those sweet, sweet augments that’ll make your raids so much easier.
When I first started playing ARC Raiders, I was stuck with the basic Free Loadout Augment for what felt like forever. My backpack was tiny, I could barely carry anything, and don’t even get me started on how quickly I’d go down in fights. But after months of trial and error (and way too many deaths), I’ve figured out the best ways to get those top-tier augments that’ll transform your gameplay.
Why Better Augments Matter in ARC Raiders?
Let me tell you something – augments aren’t just minor upgrades in this game. They’re completely game-changing. I remember the first time I crafted a Mk.3 Looting augment. Suddenly, I could carry twice as much loot, survive longer, and actually make some real progress in the game. It was like night and day!
Better augments give you:
- More backpack space for those precious resources
- Higher weight capacity so you’re not constantly over-encumbered
- Better shield compatibility for surviving tough fights
- Special augmented slots for trinkets, utilities, grenades, and healing items
- Unique abilities that can save your life in sticky situations
Trust me, once you experience the difference between a basic augment and a top-tier one, you’ll never want to go back.
The Four Main Ways to Get Better Augments
After countless raids and more deaths than I care to admit, I’ve found there are really four reliable ways to get better augments in ARC Raiders. Let me break down each method for you.
1. Looting Locked Areas (My Favorite Method)
This is hands-down my favorite way to get top-tier augments. There’s nothing quite like the thrill of finding a rare key and unlocking a room that could contain the augment of your dreams.
What you need to know:
- Locked areas are scattered across all four maps
- You need rare, one-time-use keys to access them
- The best augments I’ve found have come from Spaceport and Blue Gate zones
- These rooms have a much higher chance of dropping top-tier gear
My personal strategy: I always run night raids when I’m hunting for keys and locked rooms. The enemy AI is lighter in certain sectors, which means I can hit multiple locked areas in a single run. Just last week, I found three keys in one night raid and walked away with a Mk.3 Combat augment that I’d been trying to get for weeks!
Pro tip: Don’t waste your keys on the first locked room you find. Scout the area first and prioritize rooms in high-level sectors – these tend to yield the rarest augments and bonus loot.
2. Crafting at the Gear Bench (The Reliable Method)
If you’re like me and hate relying on RNG, crafting is your best friend. I can’t tell you how many times I’ve been saved by having a well-upgraded Gear Bench.
Here’s what you need to do:
- Upgrade your Gear Bench to unlock higher-tier blueprints
- Gather rare materials from raids and dismantled equipment
- Reach Mk. 3 Gear Bench level to craft the strongest augments
My experience: I spent weeks saving up resources to upgrade my Gear Bench to Mk. 3, and it was worth every single resource. Now I can craft exactly the augment I need instead of hoping for lucky drops. The material cost is steep, but being able to reliably craft top-tier augments has completely changed how I approach the game.
Resource management tip: Always dismantle old augments and gear you don’t need anymore. You’ll get back valuable materials that you can use for crafting better stuff. I keep a “dismantle pile” in my inventory and break everything down at the end of each raid.
3. Buying from Lance (The Expensive but Guaranteed Method)
Sometimes you just need to cut to the chase and buy what you need. Lance is your go-to trader for augments, and while it’ll cost you, it’s guaranteed.
What you should know:
- Higher-tier augments cost more credits
- Credits are earned naturally through raids
- It’s the most predictable path to improvement
- Not all augments are available from Lance (especially Mk. 3 ones)
My approach: I usually save up my credits for a few days, then go on a big spending spree at Lance’s shop. I focus on buying augments that complement my playstyle – since I’m more of a loot-focused player, I prioritize Looting augments over Combat ones.
Money-making tip: Focus on high-value loot during your raids. Things like rare materials, valuable components, and special items sell for more credits. I’ve found that doing targeted “credit runs” where I ignore everything except high-value items can net me enough credits for a top-tier augment in just a few raids.
4. PvP Looting (The High-Risk, High-Reward Method)
Now, this method isn’t for everyone, but if you’re confident in your combat skills, looting other players can be incredibly rewarding.
The basics:
- Defeated raiders often drop rare or unique items
- There’s always a chance to find special augments
- It’s not guaranteed, but the potential rewards are huge
- Be ready for retaliation – other players want your gear too!
My personal story: I’ll never forget the time I managed to take down a fully-geared raider who was carrying a Mk.3 Tactical augment with healing capabilities. That single drop completely changed how I approached difficult missions. Of course, I’ve also been on the receiving end of some brutal PvP losses, so always weigh the risks!
PvP strategy: If you’re going to engage in PvP, make sure you’re prepared. I always go in with my best combat gear, plenty of healing items, and an escape route planned. The last thing you want is to lose your hard-earned gear because you got greedy.
Complete Augment Comparison Table
To help you make informed decisions about which augments to pursue, I’ve put together this comprehensive comparison table. I spent hours compiling this data from my own experience and research, so you don’t have to!
| Augment Name | Weight Limit | Backpack Slots | Safe Pocket Slots | Quick Use Slots | Augmented Slots | Shield Compatibility | Best For |
|---|---|---|---|---|---|---|---|
| Free Loadout Augment | 35.0 | 14 | 0 | 4 | None | Light | Beginners |
| Looting Mk. 1 | 50.0 | 18 | 1 | 4 | None | Light | Looting focus |
| Combat Mk. 1 | 45.0 | 16 | 1 | 4 | None | Light/Medium | Combat beginners |
| Tactical Mk. 1 | 40.0 | 15 | 1 | 5 | None | Light/Medium | Tactical play |
| Looting Mk. 2 | 60.0 | 22 | 2 | 4 | 3 Trinket | Light | Serious looters |
| Combat Mk. 2 | 55.0 | 18 | 1 | 4 | 1 Grenade | Light/Medium/Heavy | Combat focused |
| Tactical Mk. 2 | 45.0 | 17 | 1 | 5 | 1 Utility | Light/Medium | Tactical players |
| Looting Mk. 3 (Survivor) | 80.0 | 20 | 3 | 5 | 1 Utility | Light/Medium | Max loot capacity |
| Looting Mk. 3 (Cautious) | 70.0 | 24 | 2 | 5 | 1 Binoculars | Light | Balanced looting |
| Combat Mk. 3 (Aggressive) | 65.0 | 18 | 1 | 4 | 2 Grenade | Light/Medium/Heavy | Offensive combat |
| Combat Mk. 3 (Flanking) | 60.0 | 20 | 2 | 5 | 3 Utility | Light | Mobile combat |
| Tactical Mk. 3 (Defensive) | 60.0 | 20 | 1 | 5 | 1 Shield Recharger | Light/Medium/Heavy | Defensive play |
| Tactical Mk. 3 (Healing) | 55.0 | 16 | 3 | 4 | 3 Healing | Light/Medium | Support players |
Blueprint Farming Locations for Crafting
Since crafting is such an important part of getting better augments, I want to share my favorite blueprint farming spots. These are the locations where I’ve had the most success finding the blueprints needed for crafting top-tier augments.
Dam Battlegrounds Broken Bridge
This is my go-to spot for blueprint farming. Head to the area beneath the raised highway where it ends, between Raider Outpost East and East Broken Bridge. You’ll find a raider cache spawn in a small gap there. I check this location every single time I play Dam Battlegrounds – it’s that reliable!
How to get there: Use the zipline from the ground, or if you’re feeling brave, drop from the highway above and use a vault to grab the ledge mid-fall.
Dam Battlegrounds Dam Ledge
Another excellent farming route is further up the dam itself on the lower section of the map. Approach from the right side and make your way along the narrow sidewalks on the ledge of the Floodgates, lowering each bridge section as you go.
What to look for: Two of the doors along this path will be barricaded. Opening them not only reveals rare loot containers but often nets you a blueprint or two. Don’t forget to search the area just southeast of this spot too – raider caches can spawn among the debris.
Blue Gate Village
This spot requires a key, but it’s absolutely worth it. Locked areas tend to yield blueprints far more often than open ones, and Blue Gate Village is one of the best for this. If you have a key to spare, this should be your first choice.
Destroying ARC Surveyors
This is a more advanced method, but incredibly rewarding. Surveyors are some of the toughest ARC units, but they’re also among the most rewarding for rare blueprints.
How to do it: Wait until they begin transmitting – that’s when the exposed core appears. Unload your Heavy Ammo on the core for maximum damage. Keep shooting off armor panels as they fall, since those often drop valuable blueprints once the Surveyor is destroyed.
Best location: I find the most Surveyors at Buried City. It’s dangerous, but the blueprint drops make it worth the risk.
My Personal Augment Progression Strategy
After playing ARC Raiders for months, I’ve developed a pretty solid strategy for augment progression that I want to share with you. This is the path I recommend for most players:
Early Game (First 10-20 hours)
- Stick with the Free Loadout Augment initially
- Save up credits for a Mk. 1 augment from Lance
- Focus on Looting Mk. 1 if you want to build resources faster
- Upgrade your Gear Bench to Level 1 as soon as possible
Mid Game (20-50 hours)
- Craft or buy Mk. 2 augments
- Start hunting for keys to access locked areas
- Upgrade Gear Bench to Level 2
- Begin specializing in your preferred playstyle (Looting, Combat, or Tactical)
Late Game (50+ hours)
- Push for Mk. 3 augments through crafting
- Upgrade Gear Bench to Level 3 (this is crucial!)
- Focus on getting the specific Mk. 3 variant that suits your playstyle
- Consider PvP for rare drops if you’re confident in your skills
Advanced Tips for Augment Optimization
I’ve learned some advanced techniques that really help maximize the effectiveness of your augments. These are the little things that separate good players from great ones:
Augment Synergy
Different augments work better with different playstyles and loadouts. For example:
- If you’re using a Looting augment, pair it with light weapons and focus on evasion
- Combat augments work best with medium/heavy weapons and aggressive play
- Tactical augments shine when you’re using utility items and playing support
Resource Management
- Always dismantle old augments rather than selling them
- Keep a stockpile of basic materials for emergency crafting
- Prioritize upgrading your Gear Bench over buying individual augments
Raid Planning
- Plan your raids based on what you’re trying to achieve
- If you need blueprints, hit the farming spots I mentioned
- If you need credits, focus on high-value loot areas
- If you’re hunting for rare augments, prioritize locked areas
Common Mistakes to Avoid
I’ve made plenty of mistakes in my ARC Raiders journey, and I want to help you avoid them. Here are the most common pitfalls I see players fall into:
Spreading Resources Too Thin
Don’t try to upgrade everything at once. Focus on one path – either crafting or buying – and stick with it until you see results.
Ignoring the Gear Bench
I can’t stress this enough – upgrading your Gear Bench is more important than buying individual augments in the long run.
Wasting Keys on Low-Level Areas
Save your rare keys for high-level sectors. The augment quality is significantly better in these areas.
Forgetting About Augment Durability
Augments lose durability when you die (in increments of 30). Try not to die with your best augments equipped!
FAQ About Getting Better Augments
How long does it take to get Mk. 3 augments?
From my experience, it typically takes 50-100 hours of gameplay to reliably get Mk. 3 augments, depending on how efficiently you farm resources and blueprints. The Gear Bench upgrade to Level 3 is the biggest time investment.
What’s the best augment for beginners?
I recommend starting with the Looting Mk. 1 augment. The extra backpack space and weight capacity will help you gather resources faster, which in turn helps you upgrade everything else more quickly.
Can I change augments during a raid?
No, augments cannot be swapped out during a raid. Choose wisely before you start, and make sure it matches your planned activities for that run.
Do augments affect movement speed?
Some augments do affect movement speed indirectly through weight capacity. A heavier augment might slow you down if you’re carrying lots of loot, but the augment itself doesn’t have a movement speed penalty.
What’s the difference between the Mk. 3 variants?
Each Mk. 3 variant is specialized for different playstyles:
- Survivor: Maximum weight capacity and safe pocket slots
- Cautious: Balanced stats with survival bonuses
- Aggressive: Combat-focused with grenade slots
- Flanking: Mobile combat with utility slots
- Defensive: Shield-focused with recharger ability
- Healing: Support-focused with medical slots
Is it better to craft or buy augments?
In the early game, buying from Lance is faster. In the late game, crafting is better because you can get Mk. 3 augments that aren’t available for purchase. I recommend a mix of both – buy early augments, craft late-game ones.
Final Thoughts
Getting better augments in ARC Raiders is a journey, not a destination. I’m still finding new ways to optimize my loadout and discovering better augments even after hundreds of hours of play. The key is to be patient, strategic, and willing to adapt your approach based on what’s working.
Remember, the best augment is the one that fits your playstyle. Don’t just chase the highest tier – find what works for you and master it. Whether you’re a loot-hungry scavenger, a combat-focused warrior, or a tactical support player, there’s an augment out there that’ll make your ARC Raiders experience so much better.
I hope this guide helps you on your journey to becoming the ultimate Raider. If you found this helpful, be sure to check out our other gaming guides for more tips and strategies. And if you have any questions or want to share your own augment experiences, drop them in the comments below!
Happy raiding, and may your loot be plentiful and your augments be legendary!
Want more gaming content? Check out our Ultimate Plants vs Brainrots Cards Guide or our Fisch Rod Tier List for more gaming strategies!