Let me tell you something right off the bat – when I first jumped into Escape from Tarkov, I had absolutely no clue what I was doing. The tutorial throws you into the deep end with barely any guidance, and if you’re anything like me, you probably felt overwhelmed and confused. But don’t worry! I’m here to walk you through every single step of the tutorial so you can actually complete it and get started with your Tarkov journey.
I remember staring at my screen thinking, “Where do I even go? What do I do?” The game doesn’t hold your hand, and that’s part of what makes it so intense and rewarding. After spending hours figuring this out (and dying more times than I’d like to admit), I’ve put together this comprehensive guide to help you navigate the tutorial like a pro.
What You Need to Know Before Starting?
Before we dive into the step-by-step walkthrough, there are a few things I want you to understand about the tutorial in Escape from Tarkov. Unlike most games that baby you through the basics, Tarkov’s tutorial is more like a “learn by doing” experience. You’re thrown into a modified version of the Ground Zero map, which is actually the beginner-friendly map in the game.
Important Note: If you’re an existing player who’s been playing before the 1.0 release, you might need to reset your account to access the tutorial mission called “Tour.” I know this sounds rough – losing all your progress – but it’s the only way Battlestate Games designed it for PvE mode. Don’t worry too much though, since PvE is less stressful than PvP, and you’ll get back on your feet quickly.
Complete Tutorial Walkthrough
Alright, let’s get into the meat of this guide. I’m going to walk you through every single step of the tutorial exactly as I experienced it. Follow these instructions carefully, and you’ll be extracting in no time.
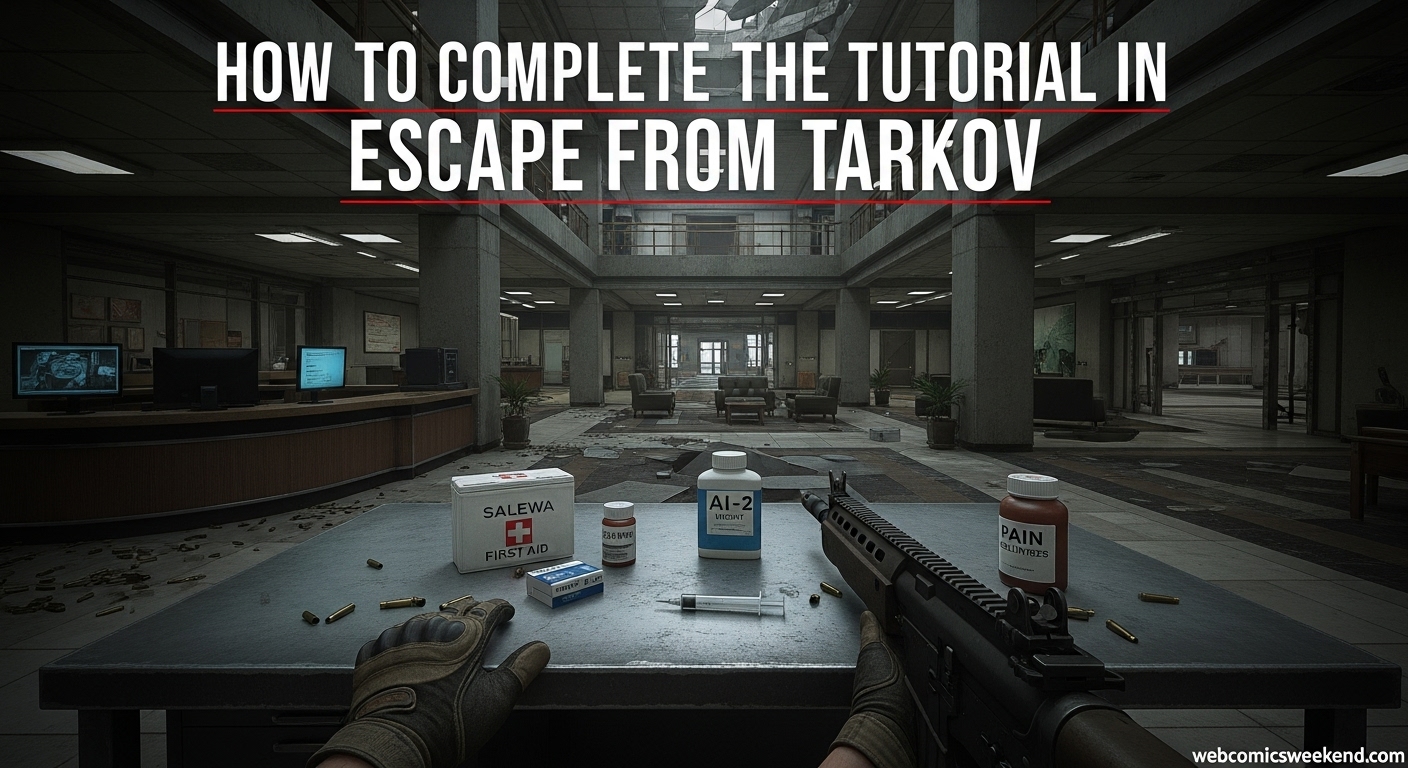
Step 1: Starting in the Terragroup Building
When you first begin the tutorial, you’ll find yourself in the Terragroup building’s lobby area. This is your starting point, and it’s where you’ll get your first taste of looting in Tarkov.
What to do:
- Look for the desk in the center of the lobby
- Loot all the healing items you can find on this desk
- You’ll see a white notebook with a tape on top of it
- Grab that tape and press M to listen to it
I remember when I first did this, I almost missed the tape completely. It’s not super obvious, so make sure you’re thorough in your looting. The tape is crucial because it advances you to the next objective. Once you’ve listened to the entire tape, you’ll get your next objective marker.
Step 2: Finding the Barricaded Entrance
After listening to the tape, you need to locate the barricaded entrance. Here’s where things can get a bit tricky if you don’t know where to look.
Navigation:
- Face the barricaded entrance
- Turn to your right
- Head straight down the hallway that leads to the parking lot
This path is pretty linear, so you shouldn’t get lost as long as you follow these directions. I found that taking it slow and checking my surroundings helped me get familiar with the layout.
Step 3: Getting Your First Weapon
Now for the exciting part – getting your first real weapon! In the hallway leading to the parking lot, you’ll come across something very important.
What to look for:
- A dead body in the hallway
- On this body, you’ll find:
- A Salewa (first aid kit – super important!)
- An MPX submachine gun
- Three magazines for the MPX
Pro tip: Grab everything from this body! The Salewa is especially valuable because you’ll need it for a side quest later on. I made the mistake of leaving it behind once, and I regretted it when I needed it for a quest.
Once you have the MPX, make sure to equip it. The next part of the tutorial involves combat, and you’ll want to have this weapon ready. Trust me, trying to fight with just a pistol is not fun (I learned this the hard way).
Step 4: First Combat Encounter
Alright, this is where things get real. At the end of the hallway, turn left into the parking lot area. You’ll encounter your first real fight here.
What to expect:
- 2-3 Scavs (AI enemies) will be waiting for you
- Use the cars in the parking lot for cover
- Take them out systematically
I remember my heart pounding during this first fight. The Scavs aren’t too tough, but if you’re new to Tarkov’s combat system, it can be intimidating. Take your time, use cover, and don’t rush. After you eliminate them, make sure to loot their bodies for extra resources. You can find healing items, ammo, and sometimes better weapons.
Combat Tips:
- Aim for the head for quick takedowns
- Use short, controlled bursts
- Keep moving to avoid getting hit
- Don’t forget to heal if you take damage
Step 5: Moving Through the Parking Lot
After clearing the initial Scavs, you need to make your way through the parking lot to the next area.
Navigation:
- Go to the opposite side of the parking garage
- You’ll see sandbags – vault over them to get outside
- Be prepared for more Scavs outside
When I first did this, I got surprised by additional Scavs outside. They’re not expecting you, so you have the element of surprise, but stay alert. Clear them out before moving forward.
Step 6: Entering the Second Building
Once you’re outside, cross the street and head to the second building on your right. This should be the only building you can actually enter, so it’s pretty hard to miss.
Inside the building:
- Head straight through the hallway
- Eliminate any enemies you encounter
- At the end of the hallway, look for a closed door on your left
- Open this door and head toward the staircase
I found this building to be a bit maze-like, but as long as you follow the main hallway and look for that door on the left, you’ll be on the right track.
Step 7: Finding the Back Entrance
Follow the staircase down and keep following the path. You’ll eventually reach the back entrance of the building. Before heading outside, there’s something important you should do.
Before leaving:
- Look for tents in the area
- On tables in the tents, you’ll find:
- A-1 Medkits
- CARs (medical supplies)
- Splints
Looting Table: Medical Supplies Available
| Item | Quantity | Usefulness |
|---|---|---|
| A-1 Medkit | Multiple | High – Essential for healing |
| CARs | Multiple | Medium – For specific quests |
| Splints | Multiple | Medium – For leg injuries |
I can’t stress enough how important it is to grab these medical supplies. They’ll save your life in future raids, and you’ll need them for various quests. I always make sure to clear out this area completely before moving on.
Step 8: Final Approach to Extraction
Now you’re in the home stretch! After looting the medical supplies, head outside and turn left. You’re looking for the extraction point.
What to look for:
- A green flare next to a gated fence
- Head toward the corner near this flare
- This is your Klimov Street extraction point
When I first reached this point, I was so relieved. The tutorial can be pretty intense, especially if you’re new to the game. Seeing that green flare felt like a beacon of hope!
Step 9: Extracting Successfully
Once you reach the Klimov Street extraction point, you’ll need to wait for the extraction timer to complete. This usually takes about 30 seconds to a minute.
Extraction Tips:
- Stay alert during extraction – enemies can still attack you
- Make sure you have space in your inventory for any loot you want to keep
- Don’t leave until you see the extraction complete message
After successfully extracting, you’ll be brought back to the Escape from Tarkov lobby where you can meet all the traders, grab quests, and really start your Tarkov journey!
2026 Common Problems and Solutions
I want to share some issues I ran into during my first few attempts at the tutorial, and how I solved them. Maybe you’ll encounter these too, so it’s good to be prepared.
Problem: Can’t Find the Tape
Sometimes the tape on the notebook can be hard to spot, especially if you’re not used to Tarkov’s looting system.
Solution: Make sure you’re thoroughly checking the desk area. The tape is small and might blend in with other items. Use your looting key (default is F) to pick it up.
Problem: Running Out of Ammo
The MPX only comes with three magazines, and if you’re not accurate with your shots, you might run out.
Solution: Make every shot count. Aim for the head to conserve ammo. Also, loot the Scavs you kill – they often have extra ammo.
Problem: Getting Lost in the Building
The second building can be confusing, especially with all the similar-looking hallways.
Solution: Stick to the main path and look for the closed door on the left at the end of the hallway. That’s your landmark for the staircase.
Problem: Dying to Scavs
The Scavs can be tough if you’re new to Tarkov’s combat system.
Solution: Use cover effectively, take your time, and don’t rush. Heal when you need to, and remember that it’s okay to retreat and reposition.
Essential Tips for Tutorial Success
Based on my experience, here are some crucial tips that will help you complete the tutorial successfully:
Inventory Management
Tarkov’s inventory system can be overwhelming at first. Here’s what I learned:
- Organize as you go: Don’t just stuff items randomly in your inventory
- Prioritize medical supplies: These are more valuable than extra ammo early on
- Leave space for quest items: You never know what you’ll need for future quests
Combat Fundamentals
The combat in Tarkov is very different from other shooters:
- Aim carefully: This isn’t a run-and-gun game
- Use cover: Always have something between you and enemy fire
- Manage your stamina: Sprinting too much will affect your aim
- Learn to heal quickly: Practice using medical items in your inventory
Movement and Positioning
How you move in Tarkov is just as important as how you shoot:
- Move slowly when in unknown areas: Noise attracts attention
- Use crouch and prone: These can save your life in firefights
- Check corners: Always assume enemies are around the next corner
What Happens After the Tutorial?
Once you complete the tutorial, you’ll have access to the full game. Here’s what I discovered when I first finished:
Access to Traders
You’ll be able to meet and interact with various traders in the lobby:
- Prapor: Weapons and ammo
- Therapist: Medical supplies
- Skier: General goods and equipment
- Peacekeeper: Western weapons and gear
Each trader has their own specialty and quest lines, so building relationships with them is crucial for progression.
Quest System
The real game begins with quests from these traders. I found that completing quests is the best way to:
- Earn experience
- Get better equipment
- Unlock new items and areas
- Learn more about Tarkov’s story
Hideout Access
You’ll also get access to your hideout, which is your base of operations. Here you can:
- Craft items
- Rest and recover
- Upgrade modules for better benefits
- Store extra equipment
2026 Advanced Tips for New Players
Now that you’ve completed the tutorial, here are some advanced tips I wish I knew when I started:
Understanding the Health System
Tarkov’s health system is complex and realistic:
- Different body parts: Head, chest, stomach, arms, and legs all have separate health
- Bleeding: Must be stopped with bandages or you’ll continue to lose health
- Fractures: Require splints to heal
- Pain: Can be managed with painkillers
Ammo Matters More Than Guns
I learned this lesson the hard way – having the right ammo is more important than having the best gun:
- Penetration power: Different ammo types have different penetration values
- Damage: Higher damage doesn’t always mean better performance
- Armor effectiveness: Some ammo is better against armored targets
Learn the Maps
Ground Zero is just the beginning. I recommend:
- Study maps offline: Use the offline mode to learn map layouts
- Learn extraction points: Nothing worse than surviving a raid only to die because you can’t extract
- Memorize key locations: Know where good loot spawns and common enemy positions
Frequently Asked Questions
I’ve compiled some common questions that new players often have about the tutorial:
How long does the tutorial take to complete?
From my experience, the tutorial usually takes about 15-30 minutes if you know what you’re doing. If you’re new, it might take 45 minutes to an hour as you get familiar with the controls and mechanics.
Can I replay the tutorial?
Unfortunately, you can’t replay the tutorial on the same character. However, you can create a new character if you want to go through it again. I found this helpful when I wanted to practice the basics.
What happens if I die during the tutorial?
If you die during the tutorial, you’ll lose any items you had on you, but you can restart the tutorial mission. Don’t worry too much about dying – it’s part of the learning process in Tarkov.
Do I need to complete the tutorial to play the main game?
Yes, completing the tutorial is necessary to unlock access to traders and the main quest system. I recommend taking your time and learning as much as you can during this phase.
Can I skip the tutorial?
While there might be ways to skip parts of the tutorial, I strongly recommend completing it. The tutorial teaches essential mechanics that you’ll need throughout the game. I tried skipping some parts initially and regretted it later.
Final Thoughts
Completing the Escape from Tarkov tutorial is your first step into one of the most intense and rewarding gaming experiences I’ve ever had. When I first started, I was frustrated and confused, but now I can’t get enough of the game.
Remember these key takeaways:
- Take your time and learn the mechanics
- Don’t be afraid to die – it’s part of the process
- Loot everything you can, especially medical supplies
- Practice your combat skills in the tutorial
- Enjoy the journey, not just the destination
The tutorial might seem daunting at first, but trust me, once you complete it, you’ll feel a huge sense of accomplishment. And you’ll be much better prepared for the challenges that await you in the main game.
I hope this guide helps you complete the tutorial successfully. If you have any questions or run into problems, don’t hesitate to reach out. The Tarkov community is generally helpful, and there are always experienced players willing to help newcomers.
Good luck out there, and I’ll see you in Tarkov!
Want more guides like this? Bookmark this page for future updates and check back regularly for new Escape from Tarkov content. I’m always updating my guides with the latest information and tips to help you dominate in Tarkov!