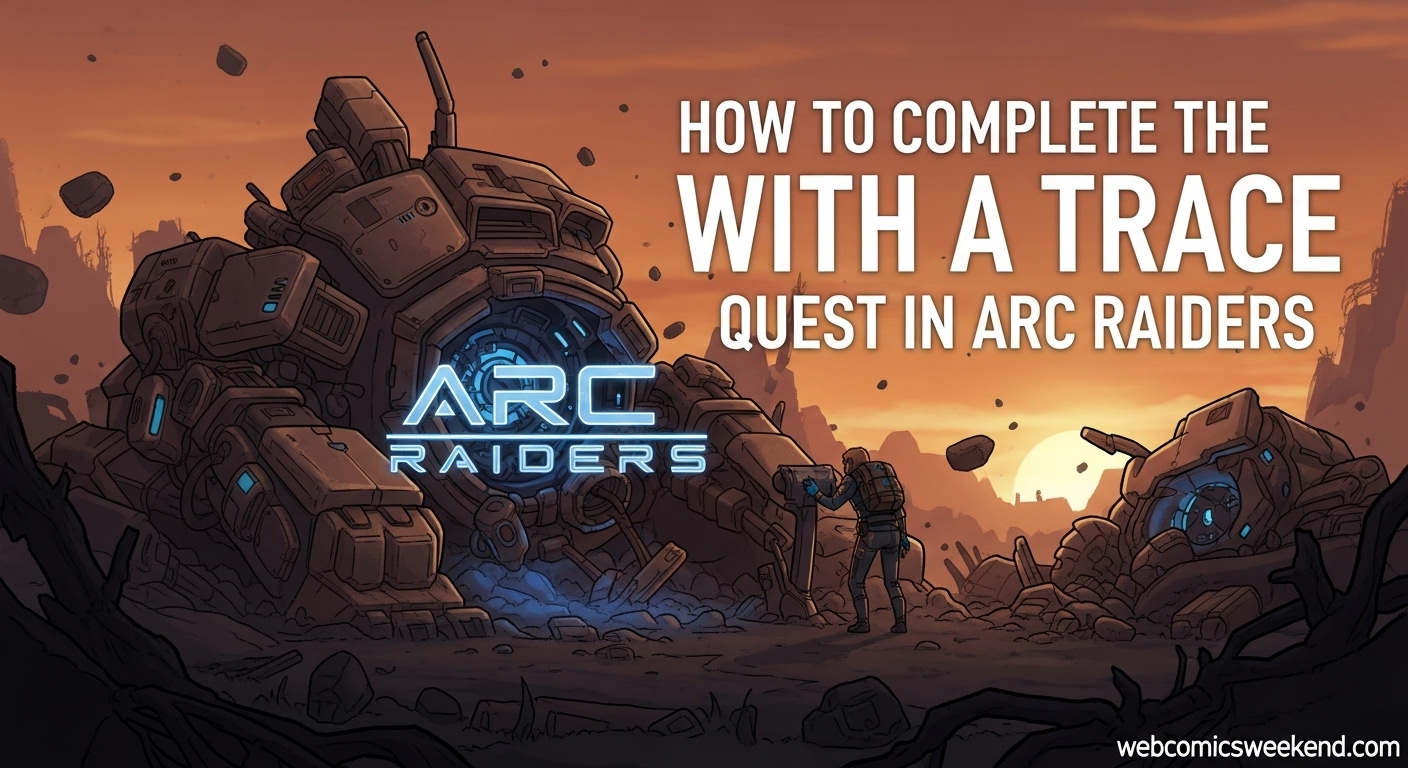
I remember when I first stumbled upon the “With a Trace” quest in ARC Raiders. Like many of you, I thought it would be straightforward – just find some locations and investigate some wreckage, right? Boy, was I wrong! This quest had me running in circles for what felt like hours, and I’m here to make sure you don’t make the same mistakes I did.
After spending way too much time wandering around Blue Gate and getting frustrated with the quest tracker’s misleading updates, I finally figured out the exact steps to complete this quest efficiently. Today, I’m going to share everything I’ve learned so you can breeze through this quest and claim your rewards without all the headaches.
What Makes This Quest So Tricky?
Before we dive into the step-by-step guide, let me explain why so many players (myself included) struggle with this quest. The “With a Trace” quest has two main objectives that seem simple on paper but can be incredibly confusing in practice:
- Reach the Barren Clearing
- Find signs of who brought down the ARC machines
The problem? The quest objectives update even when you’re not in the right area! I can’t tell you how many times I thought I was in the right spot only to realize I was hundreds of meters away from where I needed to be. It’s like the game is playing tricks on you, and trust me, it’s not just you – this is a common frustration among players.
Quest Overview: What You Need to Know?
Let me break down everything you should know before starting this quest:
| Quest Detail | Information |
|---|---|
| Quest Giver | Shani |
| Location | Blue Gate map only |
| Difficulty | Medium (due to confusing objectives) |
| Estimated Time | 15-30 minutes (once you know where to go) |
| Required Items | None, but bring weapons for defense |
| Rewards | Medium Shield, Looting Mk 2 Augment |
Pro Tip: I recommend bringing a free loadout for this quest. You don’t need any specific items, and since there’s a good chance you’ll encounter hostile ARC machines and possibly other players, you’ll want to be prepared for combat without risking your valuable gear.
Step 1: Reaching the Barren Clearing
Alright, let’s get into the nitty-gritty. The first objective is to reach the Barren Clearing, which is located on the western edge of the Blue Gate map. Here’s exactly how to get there:
Finding the Right Location
The Barren Clearing is basically an ARC graveyard – you’ll know you’re in the right place when you see a massive ARC machine debris field. It’s located directly west of Raider’s Refuge, and if you’re looking at your map, you’ll want to head to the area beneath the “ren” in “Barren” on the map label.
Common Mistake: Don’t make the same error I did! The quest objective will often update and mark this step as complete even when you’re still several hundred meters away. Don’t fall for it – keep heading west until you actually reach the clearing itself.
What to Expect at Barren Clearing
When you arrive at Barren Clearing, you’ll find:
- A large ARC machine in the center of the clearing
- Multiple smaller ARC debris pieces scattered around
- Plenty of hostile ARC enemies (Snitches and Hornets are common here)
- Potential other players in the area
Combat Strategy: Before you start investigating, I strongly recommend clearing the area of enemies first. Not only does this make your investigation safer, but you can also loot the fallen enemies for extra items. Energy weapons work particularly well against the ARC enemies you’ll encounter here.
Step 2: Investigating the First Location
Now for the first investigation part of the quest. This is where many players get confused, so pay close attention to these details.
Finding the Investigation Spot
Once you’re at Barren Clearing, you need to find the specific spot to investigate. Here’s exactly what you’re looking for:
- Locate the large ARC machine – It’s the massive robot with legs in the center of the clearing
- Move to the southwest side – Go around to the southwest part of this machine
- Find the severed leg – You’ll see one of the robot’s legs that’s been separated from the main body
- Look for the spherical object – There’s a large, spherical grey object on the ground in front of this leg
When you approach this spherical object, you should see an “Investigate” prompt appear on your screen. Click it, and you’ll complete the first part of the quest.
Personal Experience: I spent a good 20 minutes running around the main ARC machine body trying to interact with it before I realized I needed to go to the severed leg. Don’t be like me – head straight for that southwest leg area!
Step 3: Moving to Adorned Wreckage
After completing the first investigation, your quest will update to the next objective: inspecting the Adorned Wreckage and finding a communications device.
Getting to Adorned Wreckage
Adorned Wreckage isn’t too far from Barren Clearing, which is good news. Here’s how to get there:
- Direction: Head southeast from Barren Clearing
- Landmarks: You’ll pass Trapper’s Glade on your way
- Map Reference: Adorned Wreckage is located southwest of Raider’s Refuge and Trapper’s Glade
Travel Tip: The journey between these two locations is relatively short, but stay alert. The path can be dangerous with ARC enemies and potentially hostile players. I recommend moving cautiously and using cover when possible.
What to Expect at Adorned Wreckage
When you arrive at Adorned Wreckage, you’ll notice:
- A large, colorful rocket-like structure covered in graffiti (this is the main “adorned” wreckage)
- Multiple smaller debris pieces around the area
- Usually a good number of ARC enemies, including Leapers
- High player traffic due to nearby quest objectives
Warning: This area tends to be more dangerous than Barren Clearing. I’ve encountered Leapers here multiple times, and they can be tough to handle if you’re not prepared. Make sure you have decent weapons and maybe some healing items before approaching.
Step 4: Finding and Using the Communications Device
This is the final step of the quest, and it’s another place where players often get confused. The quest description makes it sound like you need to inspect the wreckage itself, but that’s not actually what you need to do.
Locating the Communications Device
Here’s exactly where to find the communications device:
- Look for the main wreckage – The large, colorful rocket-like structure
- Find the smaller rocket-like wreck – There’s a smaller, rocket-shaped piece of debris nearby
- Locate the makeshift desk – Against this smaller wreckage, you’ll see a desk or table setup
- Find the yellow computer – On this desk, there’s a yellow computer terminal
The communications device is this yellow computer terminal. It’s usually highlighted with a quest marker, but if you’re having trouble spotting it, just look for something yellow and electronic on a table near the smaller rocket wreck.
Completing the Quest
Once you find the yellow computer:
- Approach it – Get close enough for the interaction prompt to appear
- Interact with it – Click the prompt to use the computer
- Quest completion – The quest will update and mark as complete
Great News: You don’t need to extract successfully to complete this quest! As soon as you interact with the computer, the quest is done, and you’ll receive your rewards when you return to Shani in Speranza. This means even if you get eliminated right after completing the objective, you’ll still get credit for finishing the quest.
Quest Rewards: What You’ll Get
After putting in all that work (and avoiding all those pitfalls I warned you about), you’ll want to know what rewards are waiting for you. Here’s what you’ll receive for completing the “With a Trace” quest:
| Reward Item | Description | Usefulness |
|---|---|---|
| Medium Shield | A mid-tier defensive shield | Essential for surviving longer engagements |
| Looting Mk 2 Augment | An upgrade to your looting capabilities | Increases looting speed and efficiency |
My Take: While these aren’t the most spectacular rewards in the game, they’re both quite useful, especially if you’re just starting out. The Medium Shield will help you survive tougher encounters, and the Looting Mk 2 Augment will make your future raids more efficient. Every little bit helps in ARC Raiders!
Common Problems and Solutions
Based on my experience and what I’ve seen from other players, here are some common issues you might encounter and how to solve them:
Problem: Quest Objective Updates Too Early
Issue: The quest says you’ve reached Barren Clearing when you’re still far away. Solution: Ignore the quest tracker and follow the map directions I provided. Keep heading west until you actually see the clearing with the large ARC machine.
Problem: Can’t Find the Investigation Spot
Issue: You’re at Barren Clearing but can’t find what to investigate. Solution: Remember to go to the southwest side of the large ARC machine and look for the severed leg with the spherical object in front of it. Don’t try to interact with the main machine body.
Problem: Adorned Wreckage is Too Dangerous
Issue: The area is swarming with enemies and/or players. Solution: Consider approaching from a different angle or waiting for a quieter moment. You can also try to clear enemies from a distance before moving in. Sometimes it’s worth taking the long way around to avoid hot zones.
Problem: Can’t Find the Communications Device
Issue: You’re at Adorned Wreckage but can’t find the computer. Solution: Look for the smaller rocket-like wreckage near the main adorned structure. The yellow computer is on a table against this smaller piece, not on the main wreckage itself.
Advanced Tips for Efficient Completion
If you want to complete this quest like a pro, here are some advanced tips I’ve picked up:
Timing Your Run
Best Time to Attempt: I’ve found that completing this quest during off-peak hours (early morning or late night) results in fewer player encounters, making the whole process much smoother.
Loadout Recommendations
While you don’t need specific items, here’s what I recommend bringing:
- Energy Weapons: Great for taking down ARC enemies quickly
- Medium Range Weapon: Good for dealing with threats at a safe distance
- Basic Healing Items: Just in case you get into a tough spot
- Light Armor: Enough protection without sacrificing mobility
Route Optimization
Instead of going directly to Barren Clearing, consider:
- Spawning near Raider’s Refuge if possible
- Moving west to Barren Clearing first
- Then heading southeast to Adorned Wreckage
- Having an extraction plan for after completion
This route minimizes backtracking and reduces your exposure time in dangerous areas.
Frequently Asked Questions
How long does the With a Trace quest take?
From my experience, once you know exactly where to go, this quest should only take about 15-30 minutes to complete. The main time sink is usually figuring out the correct locations, which is why I’ve provided such detailed directions in this guide.
Do I need to extract to complete the quest?
No, you don’t need to extract successfully! As soon as you interact with the communications device at Adorned Wreckage, the quest is complete. You’ll receive your rewards when you return to Shani in Speranza, regardless of how your raid ends.
Can I complete this quest solo?
Absolutely! I’ve completed this quest multiple times solo. In fact, I sometimes prefer going solo because it attracts less attention from both ARC enemies and other players. Just make sure you’re well-prepared for combat.
What level should I be for this quest?
This is considered an early-game quest, so you can attempt it at relatively low levels. However, I recommend having at least basic equipment and some combat experience before trying it, as the areas can be dangerous.
Why is the quest tracker misleading?
Unfortunately, this seems to be a common issue with several quests in ARC Raiders. The quest objectives often update when you’re in the general vicinity rather than when you’ve actually reached the specific location. It’s frustrating, but now you know to ignore the tracker and follow the actual map locations.
Are there any prerequisites for this quest?
This quest is given by Shani and is typically available early in the game. I don’t recall any specific prerequisites, but you may need to have completed some of the initial tutorial quests first.
What happens if I die during the quest?
If you die after interacting with the communications device, you’ll still get credit for completing the quest. If you die before that point, you’ll need to attempt the quest again on your next run.
Can I complete other objectives while doing this quest?
Definitely! I often combine this quest with other Blue Gate objectives to make the most of each raid. Just be aware that this can make your run more dangerous and complex.
Is this quest worth doing?
In my opinion, yes. While the rewards aren’t spectacular, the Medium Shield and Looting Mk 2 Augment are both useful, especially for newer players. Plus, completing quests helps you progress through the game and unlock additional content.
Will this quest be updated in future patches?
It’s possible, as ARC Raiders is still being actively developed. I recommend checking for patch notes and updates, as quest mechanics and locations can sometimes change with new updates.
Final Thoughts
After spending way more time than I’d like to admit figuring out this quest, I’m confident that this guide will help you complete “With a Trace” without all the frustration I went through. Remember, the key is to ignore the misleading quest tracker and follow the specific locations I’ve outlined.
ARC Raiders is an amazing game with plenty of challenges, and quests like “With a Trace” are just part of the learning experience. Don’t get discouraged if you struggle at first – we’ve all been there, and that’s what makes completing these quests so satisfying.
If you found this guide helpful, make sure to bookmark it for future reference, and feel free to check out our other gaming guides for more tips and tricks. We’ve got comprehensive guides for Plants vs Brainrots, Fisch, and many other popular games.
Happy raiding, and may your extraction be successful!
Want more ARC Raiders content? Check out our latest gaming coverage for tips, tricks, and comprehensive guides to help you dominate every quest and challenge the game throws at you!