Hey there, fellow space explorer! If you’re anything like me, you’ve probably found yourself stuck in a tough spot in The Outer Worlds 2, wishing you could just tweak the game a bit to make things more manageable (or more chaotic!). I’ve spent countless hours tinkering with console commands in this game, and let me tell you, it’s a total game-changer once you know how to access them.
When I first started playing The Outer Worlds 2, I was frustrated that I couldn’t just pull up the console like in other PC games. But after some digging and experimentation, I figured out the whole process, and I’m excited to share everything I’ve learned with you. Trust me, by the end of this guide, you’ll be console commanding like a pro!
Why I Love Using Console Commands in The Outer Worlds 2?
Before we dive into the technical stuff, let me tell you why I think console commands are worth your time. I’m not just talking about cheating your way through the game (though that can be fun too!). Console commands have saved my playthrough multiple times when I’ve encountered bugs or gotten stuck in geometry. They’re also fantastic for experimenting with different builds and playstyles without having to restart your entire game.
I remember this one time I was deep in a mission, and my character got permanently stuck between some crates. Instead of loading back to my last save (which was hours ago), I just used a simple movement command to get myself unstuck. Total lifesaver!
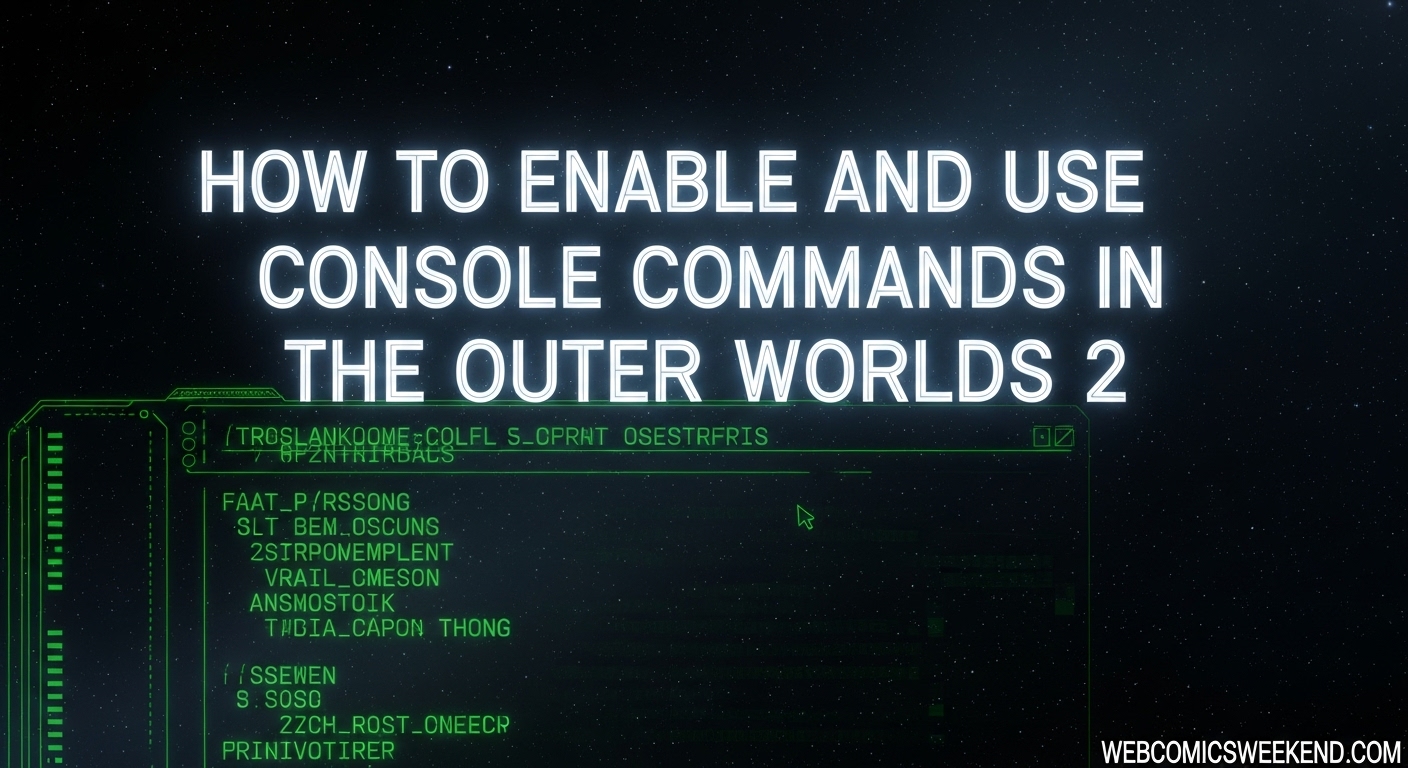
The Big Challenge: Console Isn’t Enabled by Default
Here’s the thing about The Outer Worlds 2 – unlike many other PC games, the developers didn’t exactly make it easy for us to access the console. In fact, they’ve deliberately locked it down. But don’t worry! Where there’s a will, there’s a way, and the modding community has come through for us in a big way.
Step-by-Step: How I Enabled Console Commands?
Alright, let’s get to the good stuff. Here’s exactly how I set up console commands in my game, and how you can do it too:
What You’ll Need First
Before we start, make sure you have:
- The Outer Worlds 2 installed on PC (Steam version works best)
- A file extractor (WinRAR or 7-Zip will do)
- About 5 minutes of your time
The Installation Process
- Download the Mod: First, head over to Nexus Mods and grab the “Console Enabler and BP ModLoader” by KeinZantezuken. This is the magic tool that unlocks everything for us.
- Find Your Game Files: Here’s where some people get confused. You need to locate your The Outer Worlds 2 installation folder. If you’re on Steam, just right-click the game in your library, go to “Manage,” then “Browse Local Files.” This will open up the game’s root directory.
- Navigate to the Right Spot: Once you’re in the game folder, follow this path:
Arkansas > Content > Paks - Create the Magic Folder: Inside the Paks folder, create a new folder named exactly
~mods(including the tilde symbol!). This is crucial – the mod won’t work if you name it anything else. - Extract the Files: Take all the files from the mod ZIP you downloaded and dump them into your new
~modsfolder. Make sure you extract everything – don’t just move the ZIP file itself. - Launch and Test: Fire up The Outer Worlds 2, load your save, and hit the tilde key (
~). If everything worked, you should see the console pop up!
When I first did this, I was so excited when that console appeared. It felt like unlocking a whole new level of the game!
Pro Tips I’ve Learned Along the Way
From my experience, here are some things that can trip you up:
- Keyboard Layout Matters: If the tilde key isn’t working, try switching your keyboard to US English layout. I had this issue when I was using my UK keyboard setup.
- Create Backups: Seriously, back up your save files before you start messing with console commands. I learned this the hard way when I accidentally broke my game with a poorly timed command.
- Achievement Warning: Using console commands will disable achievements for that playthrough. If you care about achievements, do this on a separate save file.
My Favorite Console Commands (The Good Stuff)
Now for the fun part! Here are all the console commands I’ve found most useful. I’ve organized them into categories so you can easily find what you need.
Essential Gameplay Commands
These are the commands I use most frequently:
| Command | What It Does | How to Use |
|---|---|---|
Combat.NoDamage | Toggle godmode on/off | Combat.NoDamage 1 to enable, Combat.NoDamage 0 to disable |
Combat.InfiniteAmmo | Never run out of ammo | Combat.InfiniteAmmo 1 for infinite ammo |
Combat.InfiniteMag | Ammo doesn’t decrease when shooting | Combat.InfiniteMag 1 to enable |
Stamina.Infinite | Unlimited stamina | Stamina.Infinite 1 for endless stamina |
Combat.OneShotKills | One-hit kill enemies | Combat.OneShotKills 1 to become unstoppable |
I can’t tell you how many times Combat.NoDamage has saved me during tough boss fights. It’s perfect when you’re just trying to enjoy the story without constantly dying.
Character Customization Commands
Want to change your character on the fly? These commands are amazing for experimentation:
| Command | What It Does | Example |
|---|---|---|
TraitAddDebug (Name)Trait | Add any trait | TraitAddDebug BrilliantTrait |
TraitRemoveDebug (Name)Trait | Remove a trait | TraitRemoveDebug ResilientTrait |
FlawAddDebug Flaw_Sys_(Name) | Add a flaw | FlawAddDebug Flaw_Sys_EasilyDistracted |
FlawClearDebug Flaw_Sys_(Name) | Remove a flaw | FlawClearDebug Flaw_Sys_EasilyDistracted |
PerkPurchase Perk_Player_(Name) | Add any perk | PerkPurchase Perk_Player_Bulletshield |
RemovePerk Perk_Player_(Name) | Remove a perk | RemovePerk Perk_Player_Bulletshield |
SetAptitudeDebug (Background) | Change your background | SetAptitudeDebug ExConvict |
I love using these to test different character builds. Sometimes I’ll add a bunch of combat perks just to see how powerful I can become, then remove them and try a stealth build instead.
Item and Equipment Commands
Need specific items? These commands have you covered:
| Command | What It Does | Example |
|---|---|---|
AddItemDebug (Item name) | Spawn any item | AddItemDebug Weapon_Pistol_Heavy |
AddItemDebug (Item name) (amount) | Spawn multiple items | AddItemDebug Ammo_HeavyRifle 100 |
AddItemDebug Collectible_ED_LockboxKey 1 | Get Advanced Decryption Key | Spawns a key for locked containers |
When I was stuck on a puzzle and couldn’t find the right key, AddItemDebug Collectible_ED_LockboxKey 1 was a total lifesaver. I don’t recommend using it constantly, but for those frustrating moments? Perfect.
Advanced Combat Commands
For those who want to fine-tune their combat experience:
| Command | What It Does | How to Use |
|---|---|---|
Combat.CritAlways | Always score critical hits | Combat.CritAlways 1 |
Combat.IgnoreArmor | Ignore enemy armor | Combat.IgnoreArmor 1 |
Combat.ForceKillCam | Always see kill cams | Combat.ForceKillCam 1 |
Combat.NoKillCam | Disable kill cams | Combat.NoKillCam 1 |
Combat.TimeDilationInfinite | Infinite time dilation | Combat.TimeDilationInfinite 1 |
Combat.CritAlways is ridiculously fun to use – you feel like an absolute powerhouse when every single hit is a critical!
Movement and Exploration Commands
These are great for getting around or fixing movement issues:
| Command | What It Does | How to Use |
|---|---|---|
SlideEnabled | Enable/disable sliding | SlideEnabled 1 |
SlideAttackEnabled | Attack while sliding | SlideAttackEnabled 1 |
SetPlayerMaxParkourDistance | Set maximum parkour distance | SetPlayerMaxParkourDistance 500 |
SetPlayerParkourClimbUpHeightMax | Set maximum climbing height | SetPlayerParkourClimbUpHeightMax 200 |
I once used the parkour commands to make my character super mobile – it felt like I was playing a completely different game!
Camera and Visual Commands
For those who like to tweak their visual experience:
| Command | What It Does | How to Use |
|---|---|---|
WeaponFOV (number) | Set weapon field of view | WeaponFOV 80 |
TPVCamera.EnableDebugOffset | Enable camera debug offset | TPVCamera.EnableDebugOffset 1 |
TPVCamera.DebugOffset (number) | Set camera offset distance | TPVCamera.DebugOffset 50 |
I’m pretty particular about my field of view settings, so WeaponFOV has been invaluable for getting the perfect perspective.
Troubleshooting Common Issues I’ve Encountered
Even with the best instructions, things can go wrong. Here are some problems I’ve run into and how I fixed them:
Console Won’t Open
This is the most common issue I see. If your console isn’t opening:
- Double-check that you put the files in the right folder (
Arkansas > Content > Paks > ~mods) - Make sure you named the folder exactly
~mods(with the tilde) - Try switching your keyboard to US English layout
- Restart your game (and sometimes your PC)
Commands Aren’t Working
If the console opens but commands don’t work:
- Make sure you’re typing them exactly as shown (case-sensitive!)
- Some commands require a 1 or 0 after them to toggle on/off
- Check that you have spaces in the right places
Game Crashes
Sometimes certain commands can cause instability:
- Avoid using too many commands at once
- Some visual commands can conflict with each other
- If the game crashes, try disabling the last command you used
My Personal Console Command Workflow
After using console commands extensively, I’ve developed a routine that works really well for me:
- Start Clean: I always begin a playthrough without any console commands to experience the game as intended
- Save Often: I create multiple save files, especially before using major commands
- Use Sparingly: I only pull out console commands when I genuinely need them
- Experiment Safely: When trying new commands, I do it on a test save first
- Document Everything: I keep a text file of my favorite commands for quick reference
When I Think Console Commands Are Worth Using?
Let me be real with you – console commands aren’t for everyone, and that’s okay. Here’s when I think they’re most valuable:
- When You’re Stuck: If you’re stuck in a bug or geometry, commands can save your playthrough
- For Experimentation: Want to try different builds without restarting? Commands are perfect
- Accessibility: If you have difficulty with certain game mechanics, commands can help
- Content Creation: If you’re making videos or streams, commands can help you get specific shots
- Second Playthroughs: Once you’ve beaten the game normally, commands can make replaying more fun
When I Avoid Using Console Commands?
There are definitely times when I steer clear of console commands:
- First Playthrough: I always recommend experiencing the game normally first
- Achievement Hunting: If you care about achievements, avoid commands entirely
- Multiplayer: Never use commands in multiplayer (though The Outer Worlds 2 is single-player)
- When You’re Learning: Part of the fun is learning the game mechanics naturally
FAQ: Console Commands in The Outer Worlds 2
Will using console commands break my game?
In my experience, as long as you’re careful and back up your saves, console commands are pretty safe. I’ve never permanently broken my game, but I have had to reload saves a few times when I got carried away with certain commands.
Can I get banned for using console commands?
Nope! The Outer Worlds 2 is a single-player game, so there’s no anti-cheat system to worry about. You can use console commands freely without any risk of being banned.
Do console commands work on console versions of the game?
Unfortunately, console commands are PC-only. You’ll need to be playing on a computer to access them, as they require modding the game files.
Will console commands disable achievements?
Yes, using console commands will disable achievements for that playthrough. If you want to earn achievements, I recommend using console commands on a separate save file.
Can I use console commands to fix bugs?
Absolutely! This is one of the best uses for console commands. I’ve used them to fix everything from getting stuck in geometry to fixing broken quests.
How do I find more console commands?
The mod comes with a “Cheats” folder that contains text files with all available commands. You can also check the mod’s Nexus page for community-discovered commands.
Can I undo console commands?
Most commands can be toggled off by using the same command with a 0 instead of 1. For things like added items or perks, you’ll need to use the corresponding remove command.
Will console commands affect my game performance?
Generally, no. Most console commands just change game variables and don’t impact performance. However, some visual commands might affect FPS if you’re already running on a lower-end system.
Can I use console commands in New Game+?
Yes, console commands work in New Game+ just like they do in a regular playthrough. Just remember they’ll still disable achievements.
What’s the most powerful console command?
In my opinion, Combat.NoDamage 1 is the most powerful because it makes you essentially invincible. But Combat.OneShotKills 1 is a close second for making combat trivial.
Final Thoughts from My Experience
After spending so much time with console commands in The Outer Worlds 2, I can honestly say they’ve enhanced my experience with the game. They’ve helped me overcome frustrating bugs, experiment with different playstyles, and just have fun in ways I couldn’t otherwise.
But remember, they’re tools, not requirements. The game is perfectly enjoyable without them, and there’s something satisfying about overcoming challenges through skill and strategy rather than console commands.
Whether you’re looking to fix a bug, experiment with builds, or just have some fun, I hope this guide helps you make the most of console commands in The Outer Worlds 2. Happy gaming, and may your console adventures be bug-free and exciting!
P.S. If you found this guide helpful, make sure to bookmark it for future reference. I’ll be updating it as new commands and mods become available!