Hey there, fellow space explorer! If you’re anything like me, you’ve probably spent countless hours roaming the galaxy in The Outer Worlds 2, and you know that having the right companions by your side can make or break your adventure. I’ve been playing this game since launch, and let me tell you – upgrading your companions properly is absolutely crucial for surviving the tougher challenges ahead.
When I first started playing, I made the mistake of treating my companions like disposable sidekicks. Big mistake! After getting my butt handed to me one too many times, I decided to dive deep into the companion upgrade system, and what I discovered completely changed how I play the game. Today, I’m going to share everything I’ve learned about upgrading companions in The Outer Worlds 2, so you can avoid the same pitfalls I did.
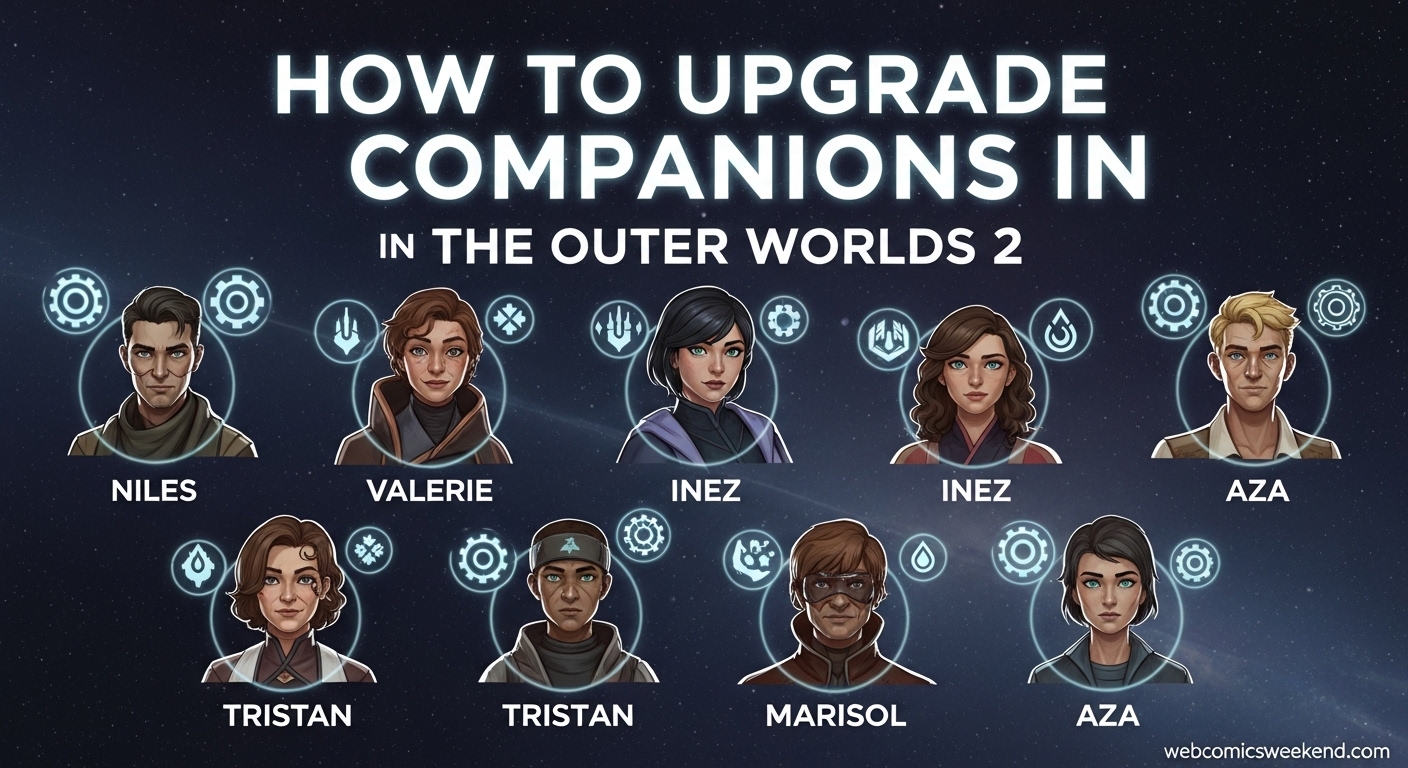
Understanding the Companion Upgrade System
Before we dive into the nitty-gritty details, let’s break down how companion upgrades actually work in The Outer Worlds 2. From my experience, there are two main ways to upgrade your companions:
- Perks – These are passive abilities that companions unlock as they level up
- Mod Kits – These are special upgrades that change your companion’s weapons and armor
What’s really cool about this system is that your companions level up automatically with you, so you don’t have to worry about grinding XP for them separately. However, the choices you make when upgrading them are permanent, so you want to think carefully about each decision.
Companion Perks: Level-by-Level Breakdown
I’ve spent hours testing different perk combinations, and I can tell you that choosing the right perks at the right levels can dramatically change how effective your companions are in combat. Here’s what you need to know:
How Perks Work?
Every time your character levels up, your companions gain XP too. When they reach specific levels (5, 10, 15, 20, 25, and 30), you’ll get to choose between two different perks for each companion. Here’s the kicker – once you choose a perk, you’re stuck with it permanently. No take-backsies!
I learned this the hard way when I accidentally chose the wrong perk for Niles at level 15 and had to live with it for the rest of my playthrough. Trust me, you want to think carefully about these choices.
Level 5 Perks: Setting the Foundation
At level 5, you’ll get your first perk choice for each companion. This is where you start defining their role in your party. For example:
- Niles: You can choose between “I Got ‘Em” (makes enemies target him more) or “I’m Taking ‘Em Down” (gives him armor penetration)
- VALERIE: Choose between “Armor Operation” (gives armor bonus to healed allies) or “Restoration Operation” (instantly heals all party members)
When I was starting out, I always went for the defensive options, but I’ve since learned that sometimes the offensive choices can be more valuable in the long run.
Level 10-15: Building Synergy
By levels 10 and 15, you’re really starting to see your companions develop their unique playstyles. This is where you want to think about how they work together as a team.
For instance, if you’re running Niles as your tank, you might want to pick his “Spotter” perk at level 10, which reveals enemies on the minimap and makes you harder to detect. This pairs perfectly with a stealth-focused playstyle.
Level 20-30: Advanced Specialization
The higher-level perks are where things get really interesting. At level 20, some companions start getting mod versions of their perks that you can actually craft for your own character! This is game-changing stuff, folks.
I remember when Niles hit level 20 and I could craft the Self-Repairing Armor mod for myself. Suddenly, I was feeling much more confident in firefights, knowing I had that extra protection.
Companion Mod Kits: The Real Game-Changer
If perks are the foundation of companion upgrades, then mod kits are where the real magic happens. I can’t stress enough how important mod kits are for maximizing your companions’ effectiveness.
What Are Mod Kits?
Mod kits are special upgrades that you can apply to your companions at workbenches. They change your companions’ weapons and armor, often adding elemental damage or special effects. The best part? Unlike perks, you can change mod kits whenever you want, so you can experiment with different combinations.
How to Get Mod Kits?
This is where things get interesting. Each companion has their own mod kits that you unlock by completing their personal companion quests. Let me break this down for you:
Niles’ Mod Kits
Niles is one of the companions you start with, and his first mod kit comes from completing the “Pressing Cares” quest. When I did this quest, I had to make some tough choices about helping Audra and dealing with the Protectorate transport, but ultimately I got Niles’ basic mod kit.
His mod options include:
- Basic Weapon: Superheated Acceleration Barrel (plasma damage) or Rail Revolver Barrel (shock damage)
- Basic Armor: Rubberized Joint Seals (shock immunity) or Acid-Proof Joint Seals (corrosive immunity)
I personally went with the shock damage option for Niles, and it’s been incredibly effective against mechanical enemies.
VALERIE’s Mod Kits
VALERIE is your other starting companion, and her mod kit comes from the “A Healthy Improvement” quest. This one requires you to find four Advanced Decryption Keys to open a high-security lockbox on your ship.
Her mod options include:
- Basic Weapon: Superheating Coils (more burn damage) or Supercooling Coils (frost damage)
- Basic Armor: Acid-Proof Plating or Static-Resistant Plating
I’ve found that the frost damage option works great for crowd control, especially when you’re facing groups of enemies.
Other Companions’ Mod Kits
The other companions – Inez, Tristan, Marisol, and Aza – each have their own unique mod kits that you unlock through their personal quests. What’s really cool is that some companions, like Inez, have different upgrade paths depending on choices you make during their quests.
Best Companion Builds for Different Playstyles
After spending way too many hours testing different combinations, I’ve discovered some killer builds that work great for different playstyles. Let me share my favorites:
The Tank and Spank Team
If you like to play it safe and let your companions do the heavy lifting, this build is for you:
Niles (Tank):
- Perks: I Got ‘Em, Spotter, Self-Repairing Armor, Full Cylinder, Force Emitter
- Mods: Rail Revolver Barrel, Acid-Proof Joint Seals
VALERIE (Healer):
- Perks: Restoration Operation, Fortitude Supplement Module, Enhanced Emergency Protocols, Preservation Catalyst, Prolonged Defenses
- Mods: Supercooling Coils, Static-Resistant Plating
This is the setup I used when I was first learning the game, and it carried me through some really tough fights. Niles draws all the attention while VALERIE keeps everyone healed.
The Stealth Squad
For those of you who prefer to take enemies out quietly, this build is absolutely devastating:
Niles (Stealth Support):
- Perks: I’m Taking ‘Em Down, Spotter, Ghost Array, Ghost Array Mod, Smokescreen Emitter
- Mods: Rail Revolver Barrel, Reflex Amplifier Caster
Inez (Damage Dealer):
- Perks: Surgical Strike, Hunter’s Mark, Adrenaline Rush, Adrenaline Rush Mod, Perfect Execution
- Mods: High-Velocity Barrel, Adaptive Camouflage Coating
I’ve cleared entire areas without being detected using this setup. It’s incredibly satisfying to watch enemies drop one by one without ever knowing what hit them.
The Elemental Destruction Team
If you want to watch the world burn (or freeze, or shock), this elemental-focused build is pure chaos:
Marisol (Fire Specialist):
- Perks: Elemental Affinity, Elemental Weapon Specialist, Chain Reaction, Elemental Amplifier, Elemental Storm
- Mods: Superheated Acceleration Barrel, Elemental Resistance Plating
Tristan (Shock/Frost Specialist):
- Perks: Tactical Analysis, Weak Point Targeting, Combat Analyzer, Combat Analyzer Mod, Perfect Target
- Mods: Supercooling Coils, Energy Shield Generator
This setup creates elemental combos that can wipe out groups of enemies in seconds. I once cleared a whole room of heavily armored foes in under 30 seconds with this team!
Where to Find Companion Mod Kits?
One of the most common questions I get asked is where to actually find these mod kits. Let me break it down for each companion:
Niles’ Mod Kit Locations
- Basic Mod Kit: Complete the “Pressing Cares” quest on Paradise Island
- Advanced Mod Kit: Complete the “Do More Harm” quest (available later in the game)
When I did the Pressing Cares quest, I found it helpful to explore Westport thoroughly and talk to everyone before making any big decisions. Some of the choices you make can affect how the quest plays out.
VALERIE’s Mod Kit Locations
- Basic Mod Kit: Complete the “A Healthy Improvement” quest by finding 4 Advanced Decryption Keys
- Advanced Mod Kit: Complete the “Better by Factors” quest
The Advanced Decryption Keys can be found in various locations around Arcadia, and some vendors sell them too. I recommend checking every container and talking to every vendor you come across.
Inez’s Mod Kit Locations
- Basic Mod Kit: Complete the “Better Than Nature” quest (this one’s tricky because you need to recruit Inez first)
- Advanced Mod Kit: Complete the “Half Truths in Advertising” and “Full Measures” quests
Inez is probably the most missable companion, so make sure you’re nice to her when you meet her at the Ministry of Accuracy. I almost missed her on my first playthrough!
Tristan’s Mod Kit Locations
- Basic Mod Kit: Complete Tristan’s first companion quest (available after recruiting him at The 2nd Choice bar)
- Advanced Mod Kit: Complete his second companion quest
Tristan’s quests often involve moral choices that can affect your reputation with different factions, so choose carefully based on the playthrough you’re going for.
Marisol’s Mod Kit Locations
- Basic Mod Kit: Complete her first companion quest after recruiting her at Zyranium Manufactory VII
- Advanced Mod Kit: Complete her second companion quest
Marisol is a fire specialist, so her mod kits really enhance her elemental damage capabilities. I love using her against groups of weaker enemies.
Aza’s Mod Kit Locations
- Basic Mod Kit: Complete her first companion quest after recruiting her at Decommissioned Autonomous Extractorium
- Advanced Mod Kit: Complete her second companion quest
Aza is probably the most unique companion, with some really interesting tech-based abilities. Her mod kits can make her an incredible support character.
Advanced Tips for Companion Upgrades
Now that you know the basics, let me share some advanced tips I’ve learned through trial and error:
Timing Your Upgrades
One thing I wish I knew earlier is that timing matters when it comes to applying mod kits. I recommend waiting until you have both the basic and advanced mod kits before making your final decisions, since some combinations work better together.
Synergy Between Companions
Think about how your companions work together. For example, if you have Niles with taunt abilities and VALERIE with healing abilities, they complement each other perfectly. But if you try to run two damage dealers without any support, you might struggle in tougher fights.
Save Before Major Choices
I can’t stress this enough – save your game before making major perk choices or completing companion quests. Some of these decisions can’t be undone, and you don’t want to regret a choice 20 hours later.
Experiment with Different Combinations
Don’t be afraid to experiment! I’ve discovered some amazing combinations by trying out different perk and mod combinations. What works for one playstyle might not work for another, so find what feels right for you.
Common Mistakes to Avoid
Let me save you some frustration by sharing some common mistakes I see players make:
Spreading Perks Too Thin
It’s tempting to try to make every companion good at everything, but I’ve found that it’s better to specialize each companion for a specific role. A jack-of-all-trades companion is rarely as effective as a specialized one.
Ignoring Companion Quests
I’ve seen so many players ignore companion quests because they want to focus on the main story. Big mistake! These quests not only give you mod kits but also develop your relationship with your companions, which can affect the game’s ending.
Forgetting to Apply Mod Kits
It sounds obvious, but I’ve definitely forgotten to apply mod kits after getting them. Make sure you visit a workbench and actually use those mod kits you worked so hard to get!
Not Adapting to Enemy Types
Different enemies are vulnerable to different types of damage. I’ve learned to switch up my companion mods based on what I’m fighting. Mechanical enemies? Load up on shock damage. Organic enemies? Corrosive damage is your friend.
Companion Upgrade Priority Guide
If you’re wondering which companions to upgrade first, here’s my priority list based on my experience:
Early Game (Levels 1-15)
- Niles – He’s your tank and starts with you, so upgrading him first makes sense
- VALERIE – Your healer, also starts with you, crucial for survival
- Inez – If you recruit her early, she’s a great damage dealer
Mid Game (Levels 16-25)
- Tristan – Great for precision damage and weak point targeting
- Marisol – Excellent elemental damage dealer
- Aza – Unique tech abilities that can turn the tide of battle
Late Game (Levels 26-30)
At this point, you should have all companions recruited and upgraded. Focus on optimizing your favorite team for the endgame content.
FAQ: Your Burning Questions Answered
How many companions can I have active at once?
You can have up to two companions active at any time. The rest wait on your ship, but some perks can make them useful even when they’re not in your party.
Can I change companion perks after choosing them?
Unfortunately, no. Once you choose a perk, it’s permanent. That’s why I always recommend saving before making perk choices.
Do companions level up automatically?
Yes! Companions level up automatically with you, so you don’t need to worry about grinding XP for them separately.
What happens if a companion dies?
Companions can be downed in combat, but they’ll get back up after the fight ends. However, they can permanently leave your party based on story choices you make.
Can I romance companions in The Outer Worlds 2?
No, there’s no romance system in The Outer Worlds 2. The focus is on friendship and loyalty through completing companion quests.
How do I know when a companion quest is available?
Companions will have a speech bubble appear over their head when they have a quest available. You’ll also see companion quests marked with their face in your journal.
What’s the best companion combination?
This really depends on your playstyle! I personally love running Niles and VALERIE for a balanced team, but experiment to find what works for you.
Can I get all companions in one playthrough?
Yes, you can recruit all six companions in a single playthrough, but some require specific dialogue choices and quest completions.
Final Thoughts
Upgrading companions in The Outer Worlds 2 is one of the most rewarding aspects of the game. I’ve spent countless hours perfecting my companion setups, and there’s nothing quite like watching your perfectly upgraded team tear through challenging enemies.
Remember, the key to success is understanding how each companion works and building them to complement your playstyle. Don’t be afraid to experiment, save often, and most importantly, have fun with it!
I hope this guide helps you on your journey through the stars. If you have any questions or want to share your own companion builds, drop a comment below. Happy hunting, and may your companions always have your back!
Want more The Outer Worlds 2 content? Check out our other guides on character builds, weapon upgrades, and exploration tips to dominate the galaxy!
P.S. Don’t forget to bookmark this page – I’ll be updating it regularly as I discover new companion upgrade strategies and combinations!