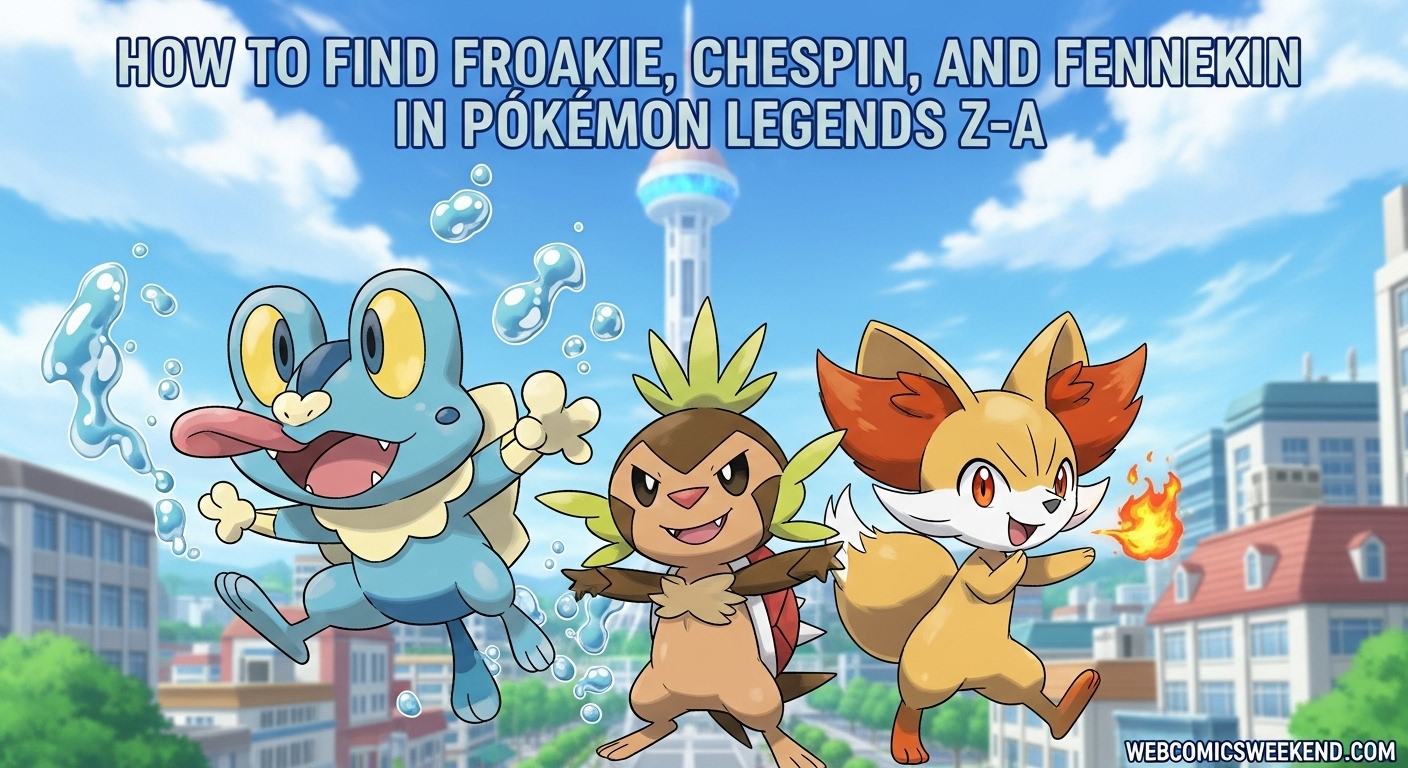
Hey there, fellow Pokemon trainer! If you’re anything like me, you were probably super excited when Pokemon Legends Z-A was announced, but maybe a little disappointed that we weren’t getting the classic Kalos starters as our main choices this time around. Don’t worry though – I’ve got some fantastic news for you! After spending countless hours exploring Lumiose City and completing every side mission I could find, I’m here to tell you exactly how to get your hands on Froakie, Chespin, and Fennekin in Pokemon Legends Z-A.
When I first started my journey in Lumiose City, I chose Chikorita as my starter (don’t judge me, I love grass types!), but I couldn’t stop thinking about those awesome Kalos starters from X and Y. I mean, who wouldn’t want a Greninja, Delphox, or Chesnaught on their team? After doing some serious digging and completing every mission I came across, I discovered that Game Freak actually gave us multiple ways to obtain all three of these fan-favorite Pokemon.
Before You Start: The Main Mission Requirement
Look, I’ll be straight with you – you can’t just run off and grab these guys right at the beginning of the game. Trust me, I tried! Before you can even think about adding Froakie, Chespin, or Fennekin to your team, you need to complete Main Mission 5: “The City in the Shadow of Prism Tower.”
This is the point where the game really opens up, and you’ll start seeing side missions popping up all over Lumiose City with those blue and white exclamation points. I remember finishing this mission and suddenly having a ton of new options available – it’s like the whole city comes alive with possibilities!
Complete Guide to Finding Chespin
Let’s start with my personal favorite of the three – Chespin! This little grass-type hedgehog might look cute, but don’t let that fool you. When I first encountered it, this guy was causing all sorts of trouble!
Side Mission 007: “A Feisty Chespin”
Location: You’ll find this mission just north of Restaurant Le Wow in the Rouge District, between Rouge Sector 2 and Académie Étoile. If you’re having trouble finding it, just fast travel to the Centrico Pokemon Center or Restaurant Le Wow – it’s super close to both.
What You Need to Do: This is probably the most straightforward of the three starter missions. All you have to do is battle and defeat Chespin three times in a row. Sounds simple, right? Well, there are a few things you should know before you jump in:
- Chespin’s Level: When I fought it, Chespin was level 14, so make sure your team is around that level or higher
- Type Advantage: Chespin is a grass-type, so it’s weak to flying, poison, bug, fire, and ice-type moves
- Strategy: I found that using a fire-type Pokemon made this battle incredibly easy. If you have a Fletchling or Litleo by this point, they’ll work great!
Personal Tip: When I was doing this mission, I made the mistake of using only my starter Pokemon for all three battles. Big mistake! By the third battle, my Chikorita was running low on PP and health. I’d recommend having at least two Pokemon ready to go so you can rotate between battles.
The Reward: After you defeat Chespin for the third time, it’ll finally stop causing trouble and join your team! No need to waste any Poke Balls here – it’ll come willingly.
Nature Info: From what I’ve seen, Chespin from this mission always has an Impish Nature, which increases Defense but decreases Special Attack. Not the worst nature in the world, especially if you’re planning to evolve it into Chesnaught!
Wild Chespin Location
If you miss the side mission or just want another Chespin (maybe for breeding purposes?), you can find wild Chespin in Wild Zone 17 after completing Main Mission 24 and achieving Rank C. When I finally unlocked this area, I was surprised by how many Chespin were just roaming around – it’s like they took over the whole zone!
Complete Guide to Finding Fennekin
Next up is the fiery fox Pokemon, Fennekin! This mission was actually my favorite of the three because it felt like a real adventure through Lumiose City.
Side Mission 008: “Get Well, Fennekin”
Location: Head to Magenta Sector 2, which is northwest of Prism Tower. You can fast travel to Magenta Plaza to get there quickly.
What You Need to Do: This one’s a bit more involved than the Chespin mission. When you arrive, you’ll find a sick Fennekin and a character named Branche who’s worried about it. To help Fennekin recover, you’ll need to find a special item called a Revitalizing Twig.
Step-by-Step Walkthrough:
- Talk to the Herbalist: First, you need to visit Café Classe on Vernal Avenue. It’s right beside the Vernal Pokemon Center if you need a reference point. Inside, you’ll find an old man who will tell you about the Revitalizing Twig and mark possible locations on your map.
- Prepare for Wild Zone 5: Before heading out, make sure you have a Pokemon with a Water-type move in your party. Trust me on this – you’ll need it to clear away some sludge blocking your path.
- Navigate Wild Zone 5: Enter from the western entrance and hang a left down into the waterway path behind the benches and streetlight. If it’s your first time here, you’ll need to clear some sludge using that Water move.
- Find the Revitalizing Twig: Follow the waterway until you reach a ledge with a ladder and drop down. Then head right through the pathway blocked with sludge (clear it with your Water-type move).
Personal Experience: When I did this mission, I got super frustrated because I kept picking up the wrong twigs! Here’s the secret – you need to pick up ALL the glowing red twigs in the area, and the correct Revitalizing Twig will always be the LAST one you pick up. I spent like 20 minutes running around before I figured this out!
Watch Out For: There’s an alpha Whirlipede (level 27) in this area that can wreck your day if you’re not prepared. I recommend just running past it unless you’re feeling confident in your team’s abilities.
The Reward: Once you find and give the correct Revitalizing Twig to Fennekin, it’ll recover and happily join your team!
Nature Info: Fennekin from this mission seems to always have a Lonely Nature, which increases Attack but decreases Defense. Interesting choice for a special attacker like Fennekin, but hey, more power to its physical moves if you decide to teach it any!
Wild Fennekin Location
If you want to catch a wild Fennekin, you’ll need to progress quite far in the game. Wild Fennekin can be found in Wild Zone 18, but you’ll need to complete Main Mission 30 and achieve Rank B first. When I finally unlocked this area, I was amazed by how many Fennekin were just chilling on the rooftops – it’s like they own the place!
Complete Guide to Finding Froakie
Last but certainly not least is the awesome water-type ninja frog, Froakie! This mission was definitely the most challenging of the three, but also the most rewarding.
Side Mission 009: “A Challenge from Froakie”
Location: You’ll find this mission just north of the Jaune Pokemon Center on North Boulevard in the northeast part of Lumiose City.
What You Need to Do: Froakie is apparently a parkour master, and to earn its respect (and get it to join your team), you need to complete three obstacle courses within a set time limit. Let me tell you, when I first saw these courses, I thought there was no way I could complete them!
The Three Obstacle Courses:
- First Course: This one’s pretty straightforward and close to the starting point. Just follow the path to the top – nothing too crazy here.
- Second Course: Also relatively simple and near the starting area. Again, just follow the path up.
- Third Course: This is where things get intense! It’s located to the east of the Rouge Pokemon Center at the northernmost point of Lumiose City, and it’s definitely the hardest of the bunch.
Personal Tip for the Third Course: When I first attempted this course, I got stuck at what looked like impossible gaps. There’s no way to jump across them normally, but here’s the secret – you can roll across the gaps! Get close to the edge and press Y to roll. There are two gaps where you need to do this – one just after the first ladder, and another near the end of the course.
Strategy: I recommend practicing the roll move on safe ground before attempting it on the gaps. When I first tried, I kept messing up the timing and falling. Once you get the hang of it though, it’s actually pretty satisfying!
The Reward: After completing all three obstacle courses, Froakie will be so impressed that it’ll join your team immediately!
Nature Info: Froakie from this mission always has a Sassy Nature, which increases Special Defense but decreases Speed. Not ideal for a fast attacker like Greninja, but hey, it’ll make it bulkier on the special side!
Wild Froakie Location
If you want to catch a wild Froakie, you can find it in Wild Zone 16 after completing Main Mission 24 and achieving Rank C. When I found wild Froakie here, they were sitting atop columns in the middle of plazas, and let me tell you – they’re incredibly sneaky! You need to be extra careful when approaching them, or they’ll run away and disappear before you can even throw a Poke Ball.
Alternative Methods to Get All Three Starters
Now, I know what some of you might be thinking – “What if I missed these side missions?” or “What if I want all three on my team?” Don’t worry, I’ve got you covered!
Post-Game Wild Zones
After you complete the main story, you’ll unlock Wild Zone 20, where you can find ALL THREE Kalos starters roaming around. When I first entered this area, I couldn’t believe my eyes – there were Chespin, Fennekin, AND Froakie just hanging out together! This is by far the easiest way to complete your collection if you missed any of the side missions.
Trading Method
If you’re impatient like me and want all three starters right away, there’s a trading method you can use:
- You’ll need two Nintendo Switch devices and two copies of Pokemon Legends Z-A
- Progress both games until you meet Professor Mable and finish Main Mission 3
- On your main device, catch some Pokemon to trade
- Set up a Link Trade using a custom code
- Trade for the starter you want on the second device
- Reset the second device and repeat as many times as you want
Personal Note: I actually used this method to get all three starters early in my playthrough. It takes some time, but it’s totally worth it if you want to complete your starter collection before even reaching the mid-game!
Mega Evolution Potential
One of the coolest things about getting these Kalos starters is their Mega Evolution potential! Later in the game, you’ll be able to Mega Evolve them if you earn their Mega Stones by battling up the ranks in the online Z-A Battle Club.
When I finally Mega Evolved my Greninja for the first time, I was absolutely blown away by how awesome it looked! The same goes for Delphox and Chesnaught – their Mega Evolutions are some of the best in the game, in my opinion.
Important Note: You’ll need a Nintendo Switch Online subscription to access the Z-A Battle Club, so keep that in mind if you’re planning to go for those Mega Evolutions.
Frequently Asked Questions
Can these Kalos starters be shiny?
From what I’ve experienced, the versions you get from the side missions CANNOT be shiny. However, any you encounter in the wild after completing the main story DO have the regular chance of being shiny. I’ve been hunting for a shiny Froakie in Wild Zone 16 for days now – no luck yet, but I’m not giving up!
What level are the Kalos starters when you get them?
When I got them from the side missions, they were all around level 14-15. Wild ones you catch later in the game will be much higher level, usually in the 40-50 range depending on when you encounter them.
Can you breed these starters?
Absolutely! Once you have them, you can breed them at the Pokemon Day Care just like any other Pokemon. I’ve been breeding Chespin to get one with better IVs for competitive battles.
Do these starters have hidden abilities?
Unfortunately, the ones you get from the side missions don’t have their hidden abilities. However, I’ve heard that wild ones in the post-game areas have a chance to have them. I’m still hunting for a Protean Froakie myself!
What’s the best nature for each starter?
Based on my experience:
- Froakie/Greninja: Timid or Jolly for speed
- Fennekin/Delphox: Modest or Timid for special attack
- Chespin/Chesnaught: Adamant or Impish for physical bulk
My Personal Experience and Tips
After spending so much time with these three Pokemon, I’ve developed some personal favorites and strategies that I think you’ll find helpful:
Team Composition: I personally run all three on my main team, and they complement each other perfectly! Froakie handles water and fire threats, Fennekin deals with grass and ice types, and Chespin tanks hits like a boss.
Battle Strategies:
- Froakie is incredibly fast and makes a great revenge killer
- Fennekin has amazing special attack and can sweep teams if set up correctly
- Chespin is surprisingly bulky and can take hits that would KO other Pokemon
Evolution Timing: I usually wait until level 16 to evolve them the first time, and then to their final forms around level 36. This gives them time to learn all their best moves before evolving.
Final Thoughts
Getting Froakie, Chespin, and Fennekin in Pokemon Legends Z-A is definitely worth the effort, in my opinion. These three Pokemon bring back so much nostalgia from the X and Y days, and they’re still incredibly viable in the current meta.
Whether you’re a longtime Pokemon fan like me or just starting your journey in Lumiose City, I highly recommend taking the time to complete these side missions. The satisfaction of having all three Kalos starters on your team is unmatched, and they’ll serve you well throughout your adventure.
Remember to save often, be patient with the obstacle courses, and most importantly – have fun! That’s what Pokemon is all about, after all.
Quick Recap:
- Complete Main Mission 5 first
- Chespin: Battle it 3 times near Restaurant Le Wow
- Fennekin: Find the Revitalizing Twig in Wild Zone 5
- Froakie: Complete 3 parkour courses north of Jaune Pokemon Center
- Wild versions available in post-game areas
Happy hunting, trainers! And may your Poke Balls never fail!
Want more Pokemon Legends Z-A content? Check out our other guides on [webcomicsweekend.com] for tips on finding rare Pokemon, mastering the battle system, and completing every side mission Lumiose City has to offer!
Don’t forget to bookmark this page for future reference – I’ll be updating it as I discover more secrets and strategies for finding these awesome Kalos starters!