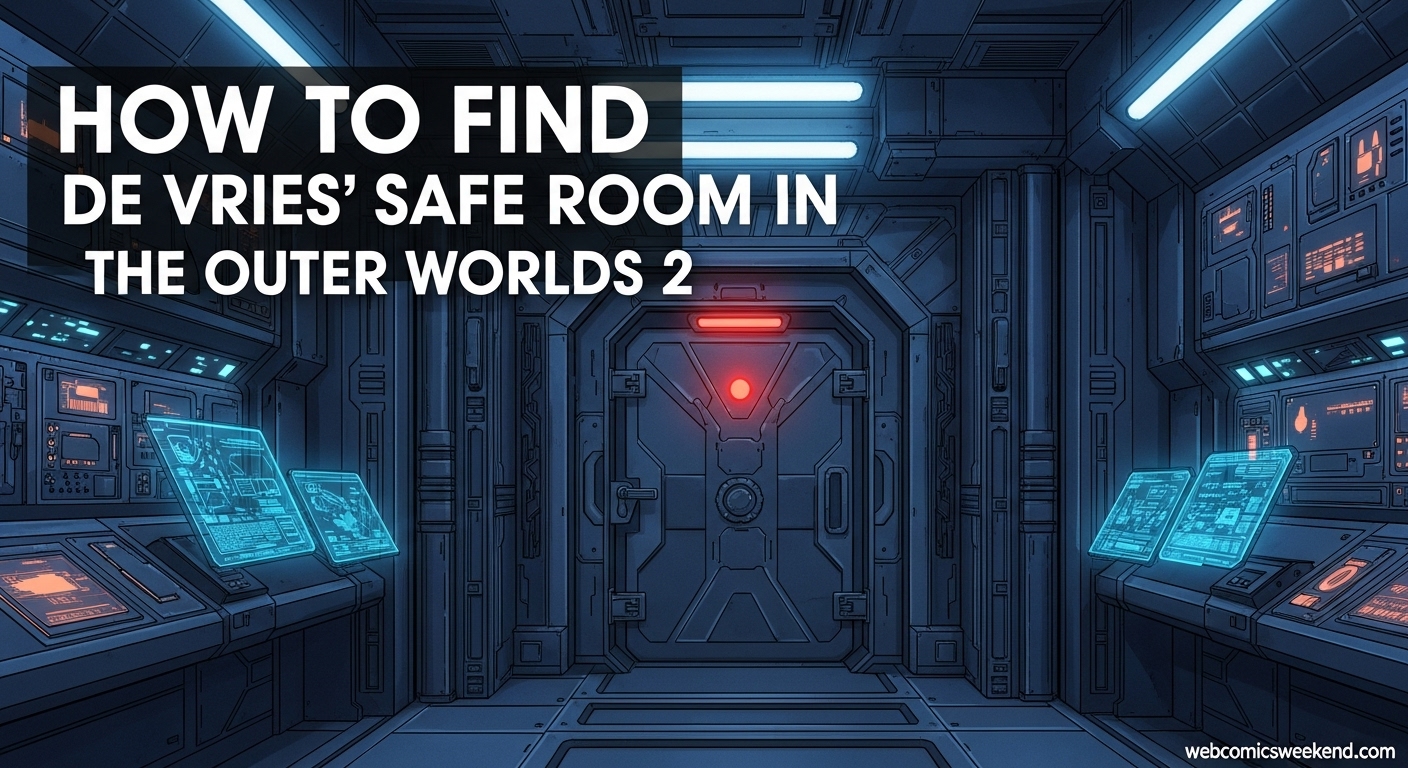
Let me tell you something – when I first got to the part where I needed to find de Vries’ Safe Room in The Outer Worlds 2, I was completely stumped. I mean, there I was, standing in the Vox Relay Station after taking down that tough-as-nails Brigadier Montelli, and the game just gives me this vague objective: “Find de Vries’ Safe Room.” No marker, no clear direction, nothing. Sound familiar? Don’t worry, I’ve got you covered with everything you need to know.
What You Need to Know Before Starting?
Before we dive into the nitty-gritty of finding that elusive safe room, let me give you the lowdown on what you’re getting into. This is all part of “The Saboteur of Paradise” quest, which is one of the main story quests you’ll encounter on Paradise Island. Trust me, this quest is a doozy, but finding de Vries’ Safe Room is the grand finale that makes everything worth it.
When I first started this quest, I had no idea how many different ways there were to approach it. I mean, I thought it was just a simple A-to-B kinda deal, but boy was I wrong. There are actually four different ways to infiltrate the Vox Relay Station, and each one has its own challenges and rewards. But let’s not get ahead of ourselves – first, you need to actually get to the point where you can access the safe room.
Step 1: Getting Information on de Vries
Alright, so before you can even think about finding the safe room, you need to gather some intel on de Vries herself. When I first landed on Paradise Island, I headed straight to Fairfield like the game suggested. In the town hall (that big building with the hologram on top), I found the records room on the right side.
Inside, there’s a datapad on the center table that gives you some crucial info: de Vries lived in a house with red trim and rounded windows. Pretty specific, right? Well, it gets better.
When I got to her house, I found a terminal that gave me some more clues. But here’s where it gets interesting – if you look next to the toilet in her house, there’s actually a lever! I’m not kidding, pull that lever, and a secret door opens up revealing a looted safe, de Vries’ tracker, and another terminal. This is where you learn that she’s holed up in the Vox Relay Station on the northern side of Paradise Island.
Pro tip: Before you leave Fairfield, make sure to visit the Excogitation Chapel and talk to Savannah. She’ll give you de Vries’ password code, which comes in handy later. The code is 15-778, so write that down!
Step 2: Getting to the Northern Part of Paradise Island
Now, here’s where things get tricky. There’s a bridge connecting both sides of Paradise Island, but it’s guarded by hostile Protectorate forces and out of commission. When I first saw this, I thought I was screwed, but there are actually multiple ways to get across:
Option 1: The Bridge Method
You can complete the “For Whom the Bridge Tolls” side quest to get across peacefully, or you can just go guns blazing and take everyone out. I tried the peaceful route first, and it worked out pretty well. You get a writ from Vigilant Hogarth in Westport, but you’ll also need Speech level 3 or higher to get past the guard at the front gate.
Option 2: The Gas Route
This one’s a bit more complicated. You need to get a shield from Delphinia at the Euphoria Coast Automech Repair Center. To get there, you’ll need to complete “The Saga of Malfunctioning Mechanicals” and “An Aegis Against The Miasma” side quests. Once you have the shield, you can bypass the poisonous gas on the western side of the relay.
Option 3: The Raptidon Den Pipe
If you’ve been doing Inez’s side quests, you can clear out the Raptidon Den and enter through a pipe that leads straight to the Vox Relay. Make sure to talk to Cadet Warden Atarah inside and advise her to leave – she’ll give you an armory key that’s super useful later.
Option 4: Help Officer Kaur (My Personal Favorite)
This is probably the best way to get into the Vox Relay, in my opinion. Officer Kaur in Fairfield will send you on a couple of quests that eventually lead to you disabling the Vox Relay’s exterior defenses. It’s more work, but it makes the actual infiltration much easier.
Step 3: Infiltrating the Vox Relay Station
Okay, so you’ve made it to the Vox Relay Station. Now what? Well, this is where things get really interesting. When I first got inside, I was met by Marshal Corbin. Now, depending on your previous choices, this encounter can go a few different ways:
If you’ve helped Corbin before: He’ll actually help you out! He’ll ask you to find Montelli’s terminal to get some dirt on him and find a way to get a keycard. Just follow the waypoints, and you’ll be golden.
If you haven’t interacted with Corbin: Things might get messy. Unless your Speech skill is high enough (I’m talking level 3 or higher), you’ll probably have to fight him. I learned this the hard way on my first playthrough.
Once you’re past Corbin (whether he’s helping you or you’ve… dealt with him), you need to get a blank keycard. It’s in the eastern wing of the station, and let me tell you, this area is heavily guarded. I found that sneaking through the vent system was the best approach – you turn left after entering and use the vents to avoid most of the guards.
But if you’re more of a shoot-first-ask-questions-later type of player (no judgment here), be prepared for a fight. There are multiple soldiers patrolling, plus an autoturret that deploys from the ceiling and some nasty wasps that come out of the walls. My advice? Take out the turret first, then deal with the wasps, and finally the soldiers.
Step 4: The Montelli Boss Fight
Alright, so you’ve made it through the eastern wing, got your keycard encrypted, and now you’re facing the big man himself – Brigadier Montelli. Let me tell you, this guy is no joke, especially if you’re still early in the game.
When I first fought Montelli, I got my butt handed to me. But then I figured out a strategy that works like a charm:
- Stay behind cover: Montelli hits hard, so you’ll want to use the barriers in the arena to protect yourself.
- Use long-range weapons: I found that a Repeater Rifle works great for picking him off from a distance.
- Bio-Grenades are your friend: Toss these at his feet to do consistent damage over time.
- Use your companions: Don’t forget about Niles and VALERIE! Their abilities can keep you safe and healed up.
- Watch for electrified floors: Montelli will electrify the walkways around the stage. When this happens, jump down and fight him up close – his health should be pretty low by this point.
Once you’ve taken Montelli down (congratulations, by the way!), make sure to loot his body. He drops the awesome Chainspark Cannon, which is a fantastic weapon for this stage of the game.
Step 5: Finally Finding de Vries’ Safe Room
Okay, here’s the moment you’ve been waiting for – actually finding de Vries’ Safe Room. After defeating Montelli, head into the room behind where he was standing. This is where it can get a bit confusing because there’s no marker pointing you to the safe room.
Here’s what you need to do:
If you have Hack 3 or higher: You can interact with the terminal at the far end of the room to open de Vries’ secret office directly. Easy peasy.
If you don’t have Hack 3: Don’t worry, there’s another way. Look for the White Chocolate Yummies on the table in the middle of the room. Grab them, and you’ll get de Vries’ rootkit. Use this on the terminal to gain access.
Once you’re in, you’ll find yourself in de Vries’ work room. Interact with the terminal here and exhaust all the dialogue options. This is where you’ll need that code I mentioned earlier – 15-778. If you talked to Savannah back in Fairfield, you should have this. If not, well, hope you’ve been leveling your Hack skill!
The Final Choice: What to Do with the Vox Relay
After you’ve accessed de Vries’ terminal, you’ll have to make a big decision about what to do with the Vox Relay. This choice has some pretty significant consequences, so choose wisely:
Option 1: Destroy the Vox Relay
This sends the relay crashing into Fairfield, killing everyone. It’s… pretty dark, to be honest. If you choose this option, Inez will leave your party in anger later on. Not recommended unless you’re going for an evil playthrough.
Option 2: Send the Relay to Westport
This is a great option if you’ve completed “The Brain Benders of Auntie’s Choice” and everyone has relocated to Fairfield. It’s a nice middle ground that doesn’t result in mass casualties.
Option 3: “Hit it and see if it does anything”
This is the wildcard option. You need the Luck trait to even attempt this, and honestly, I’m not entirely sure what it does. If you’re feeling lucky, go for it!
Option 4: Send the Relay to Space
This is probably the best option overall, but it requires Hack 4. If you’ve been investing in your Hack skill, this keeps everyone safe and gives you the best outcome.
My Personal Tips and Tricks
After going through this quest multiple times (because I’m a completionist like that), I’ve picked up some tips that might help you out:
- Level up your Speech skill: I can’t stress this enough. Having Speech 3 makes dealing with Corbin so much easier, and Speech 5 helps with other parts of the quest too.
- Do the side quests: I know it’s tempting to just rush through the main story, but the side quests really do make this easier. Plus, they give you great rewards and XP.
- Save often: This quest has multiple points where your choices have big consequences. Save before major decisions so you can go back if you don’t like the outcome.
- Bring the right companions: Niles and VALERIE are great for this quest, but if you’ve recruited other companions, consider their abilities when planning your approach.
- Explore everything: The Vox Relay Station has some great loot hidden around. Take your time and explore every room – you never know what you might find.
Common Questions I Get Asked
Since I’ve been helping people with this quest, I’ve noticed some questions come up again and again. Let me answer them for you:
What level should I be for this quest?
I’d recommend being at least level 8-10 before attempting this. The Montelli fight can be tough if you’re underleveled.
Can I go back and get the code from Savannah if I missed it?
Unfortunately, no. Once you leave Paradise Island, you can’t go back. Make sure to get that code before moving on!
What’s the best weapon for Montelli?
I personally found that a combination of a Repeater Rifle for long-range damage and Bio-Grenades for area effect worked best. The Chainspark Cannon you get from him is great for future fights too.
Do I need to complete all the side quests?
No, you don’t need to complete all of them, but they do make the quest easier and give you more options for infiltration.
What happens if I can’t hack the terminal?
If you can’t hack it, make sure you grabbed the White Chocolate Yummies from the table. They give you the rootkit you need to access the terminal.
Wrapping It Up
Finding de Vries’ Safe Room in The Outer Worlds 2 might seem daunting at first, but with the right preparation and approach, it’s totally doable. Remember to explore all your options, level up the right skills, and don’t be afraid to experiment with different approaches.
When I finally found that safe room and made my choice about the Vox Relay, I felt like I had really accomplished something. The sense of satisfaction you get from completing this quest is totally worth the effort.
So there you have it – everything you need to know about finding de Vries’ Safe Room in The Outer Worlds 2. I hope this guide helps you out as much as it would have helped me when I was stuck. Good luck, and enjoy your time in the Outer Worlds!
P.S. If you found this guide helpful, make sure to bookmark it for future reference. And don’t forget to check out our other The Outer Worlds 2 guides for more tips and tricks!