Hey there, fellow Raider! If you’re anything like me, you’ve probably been scratching your head trying to figure out how to complete the Turnabout quest in ARC Raiders. I’ve spent hours grinding through this mission, and let me tell you – it’s not as complicated as it seems once you know what you’re doing.
When I first got this quest from Celeste, I was totally lost. I mean, who wouldn’t be? You’re dropped into this massive Spaceport map with vague directions and told to find some “blackmail files.” But don’t worry – I’m going to walk you through every single step so you can complete this quest efficiently and get those sweet rewards.
What is the Turnabout Quest?
Before we dive into the nitty-gritty, let me give you some context. The Turnabout quest is one of those missions that pops up after you complete the “Digging Up Dirt” quest. Celeste, who’s basically the leader of Speranza (our home base), has this brilliant plan to recover evidence against the OTTM (whatever that stands for!) before they can get their hands on it.
The dialogue from Celeste goes something like: “I got a plan. If we recover the evidence against the OTTM before they get to it, we might get them off our backs once and for all.”
Sounds simple enough, right? Well, as I discovered, there’s a bit more to it than just grabbing some files and calling it a day.
Quest Objectives Breakdown
Let me break down exactly what you need to do for this quest. The objectives are pretty straightforward:
- Go to the North Trench Tower – This is your main destination
- Locate and upload the blackmail files to Celeste – The final step to complete the mission
Now, I know what you’re thinking – “That’s it? Just two steps?” Trust me, the devil’s in the details, and I’m going to cover every single one of them.
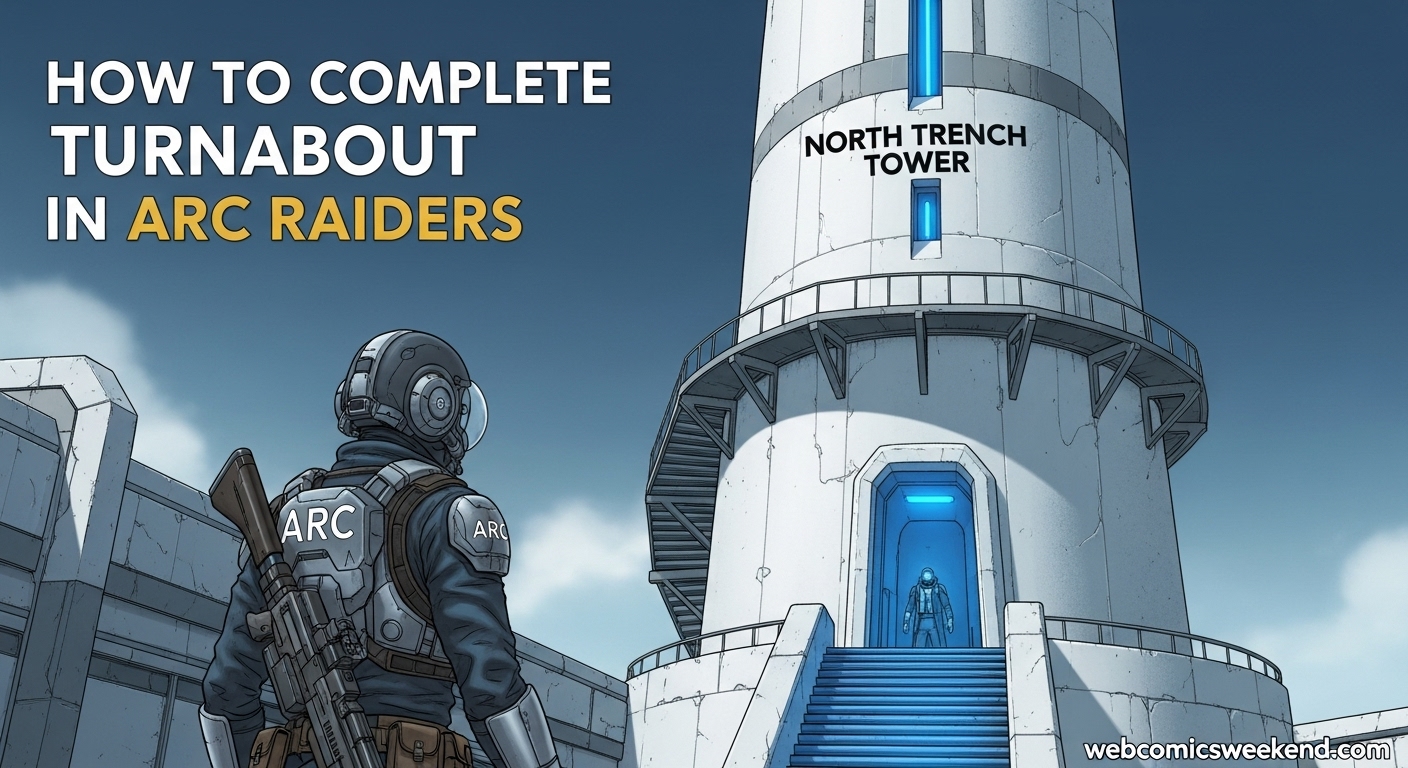
Finding the North Trench Tower: Location Guide
This is where most people get stuck, and I was no exception. The North Trench Tower is located on the Spaceport map, but finding it can be tricky if you don’t know what to look for.
Exact Location Details
From my experience (and multiple failed attempts), here’s exactly where you need to go:
- Map: Spaceport
- General Area: Northern side of the map
- Specific Landmarks:
- To the right of the West Container Yard
- Just beside the East Hangar
- Look for a distinctive white tower – you really can’t miss it once you know what you’re looking for
How to Get There?
I’ve found a couple of different approaches to reach the tower:
Method 1: The Ground Approach
- Head to the northern section of Spaceport
- Look for the blue staircase leading up to the tower
- Take the stairs up to the main entrance
Method 2: The Roof Approach (My Personal Favorite)
- Find a way to get onto the roof of the tower
- Look for a zipline that can take you directly to the upper level
- From the roof, head left to find the room you need
I personally prefer the roof approach because it often means fewer enemies to deal with, but both methods work perfectly fine.
The Spaceport Trench Tower Key: Don’t Forget This!
Okay, this is probably the most important part of the entire quest, and it’s where I messed up the first time. You cannot enter the North Trench Tower without the Spaceport Trench Tower key.
How to Get the Key?
Now, here’s where things get interesting. Based on my research and personal experience, there are a couple of ways to get this key:
Option 1: It’s Given to You According to some sources, you actually receive the key automatically when you accept the quest. I’ve noticed that sometimes it appears in your inventory, other times you need to collect it. Make sure to check your inventory thoroughly!
Option 2: Find It on Dam Battleground If you don’t have the key automatically, you’ll need to find it on the Dam Battleground map. Here’s where I’ve had the most success:
- Check Research buildings – these seem to have the highest drop rate
- Look in Administration buildings – another good spot
- Search desks and lockers – the key can spawn randomly in these containers
- Don’t forget to check nearby buildings with medium to high loot content
Pro Tip: The key spawn is random, so it might take you a few runs to find it. I got lucky on my third attempt, but I’ve heard stories of people taking 10+ tries. Persistence is key here (pun intended)!
What the Key Looks Like?
The Spaceport Trench Tower key is pretty distinctive – it’s a metallic keycard with a blue stripe. Make sure you have it in your inventory before you head to the tower, or you’ll be making a wasted trip (trust me, I learned this the hard way).
Inside the North Trench Tower: Step-by-Step
Alright, you’ve got the key, you’ve found the tower – now comes the fun part. Let me walk you through exactly what to do once you’re inside.
Entering the Tower
- Approach the door – You’ll see that it’s locked (hence the key requirement)
- Use the Spaceport Trench Tower key – The door should unlock
- Enter cautiously – I’ve found that there can be enemies inside, so stay alert
Navigating Inside the Tower
This is where having a good sense of direction helps. Here’s the path I always take:
- Go straight from the entrance – don’t turn anywhere yet
- Find the staircase on your left – this leads up to the second floor
- Take the stairs up to the second level
- Turn left once you reach the second floor
- Look for the yellow console – this is what you’re here for
The Terminal: Your Final Destination
The yellow console (or terminal, as some call it) is where you’ll upload the blackmail files. Here’s what you need to do:
- Approach the terminal – it should be glowing yellow
- Interact with it – press the action button
- Wait for the upload to complete – this usually takes a few seconds
- Watch for the objective update – once it says “complete,” you’re done!
Important Note: Sometimes the upload takes longer than expected. Don’t panic if it doesn’t complete immediately – just wait a bit longer. I’ve had instances where it took up to 10 seconds to register.
Rewards: What Do You Get?
Okay, this is where things get a bit confusing because different sources report different rewards. Let me share what I’ve personally received and what others have reported:
My Personal Experience
When I completed the quest, I received:
- 2x Heavy Gun Parts
- 2x Medium Gun Parts
Other Reported Rewards
However, I’ve seen other players report getting:
- 2x Barricade Kit
- 23,000 XP
What’s the Deal with Different Rewards?
I think the reward discrepancy might be due to:
- Different quest versions – maybe the quest was updated
- Player level differences – higher level players might get better rewards
- Random reward system – some quests in ARC Raiders seem to have randomized rewards
Regardless of what you get, the quest completion itself is worth it for the progression and story advancement.
Tips and Tricks: What I Learned the Hard Way
Let me share some additional tips that I wish I knew before starting this quest:
Preparation is Key
- Bring a good loadout – I recommend having at least one long-range weapon and one close-quarters option
- Stock up on medical supplies – you never know when you’ll need them
- Bring extra ammo – better to have too much than not enough
Timing Your Run
- Go during off-peak hours – fewer players mean less competition for resources
- Check the weather – some weather conditions can make the mission easier or harder
- Plan your escape route – know how you’re getting out before you go in
Enemy Management
- Take out enemies stealthily when possible – this saves ammo and health
- Use the environment – there are plenty of places to take cover
- Don’t get greedy – if you’re overwhelmed, it’s better to retreat and try again
Common Problems and Solutions
Based on my experience and helping other players, here are some common issues you might face:
Problem: Can’t Find the Tower
Solution: Look for the white tower on the northern side of Spaceport. Use the landmarks I mentioned – West Container Yard and East Hangar – as reference points.
Problem: Door Won’t Open
Solution: Double-check that you have the Spaceport Trench Tower key in your inventory. If you don’t, you’ll need to find it on Dam Battleground first.
Problem: Can’t Find the Terminal
Solution: Once you’re on the second floor, look for the yellow console. It’s usually against a wall and should be glowing.
Problem: Upload Won’t Complete
Solution: Make sure you’re interacting with the correct terminal. Wait at least 10 seconds for the upload to register. If it still doesn’t work, try leaving and coming back.
Why This Quest Matters In 2026?
You might be wondering, “Why should I bother with this quest?” Well, let me tell you why I think it’s important:
Story Progression
This quest is part of Celeste’s larger story arc. Completing it helps advance the narrative and unlocks additional content.
Valuable Rewards
Even if the rewards seem small, gun parts are incredibly valuable for upgrading your weapons. Trust me, you’ll want as many as you can get.
Experience Points
The XP from completing this quest (regardless of the exact amount) helps you level up and unlock new abilities.
Preparation for Future Quests
Many players report that completing Turnabout unlocks additional quests from Celeste. If you want to progress through all the content, this quest is essential.
Frequently Asked Questions
How long does the Turnabout quest take?
From my experience, once you have the key, the actual mission takes about 10-15 minutes. However, finding the key can take anywhere from 30 minutes to several hours, depending on your luck.
Can I complete Turnabout solo?
Absolutely! I’ve completed this quest multiple times solo. Just make sure you’re well-prepared with good gear and plenty of supplies.
What level should I be for this quest?
I’d recommend being at least level 15 before attempting this quest. Lower levels might struggle with the enemies, especially if you’re playing solo.
Is the Turnabout quest repeatable?
As far as I can tell, this is a one-time quest. Once you complete it, it’s done for good, so make sure you’re ready when you attempt it.
What happens if I die during the quest?
If you die, you’ll lose any progress you made in that attempt. However, you’ll keep the key if you found it, so you can try again without having to search for it again.
Final Thoughts
Look, I know this quest can be frustrating – I’ve been there. But once you complete it, you’ll feel a real sense of accomplishment. The key is to be patient, prepared, and persistent.
Remember, the most important things are:
- Get the Spaceport Trench Tower key first
- Know exactly where the North Trench Tower is located
- Follow the path inside the tower carefully
- Don’t rush the upload process
I hope this guide helps you complete the Turnabout quest faster and with less frustration than I experienced. If you have any questions or need additional help, feel free to reach out. And hey, if you found this guide helpful, why not check out more of our gaming content for other ARC Raiders tips and tricks?
Happy raiding, and may your loot be plentiful!
Want to stay updated on all the latest ARC Raiders content? Bookmark this page and check back regularly for new guides, tips, and strategies. We’re always adding new content to help you become the best raider you can be!