Hey there, fellow Raiders! If you’re anything like me, you’ve probably been scratching your head trying to figure out how to complete the Life of a Pharmacist quest in ARC Raiders. I mean, when Lance first gave me this quest, I thought it would be a piece of cake – just find some pharmacy and take a few pictures, right? Boy, was I wrong! This quest can be surprisingly tricky if you don’t know exactly where to look or what you’re supposed to be documenting.
I’ve spent hours running around the Buried City, getting shot at by Raiders, and generally making a mess of things before I finally figured out the optimal way to complete this quest. That’s why I’m putting together this comprehensive guide – to save you from the same headaches I went through!
What is the Life of a Pharmacist Quest?
Before we dive into the nitty-gritty details, let me give you some context about what this quest is all about. The Life of a Pharmacist is a story-driven investigation quest given by Lance, who happens to be Speranza’s resident pharmacist and medical expert.
When I first talked to Lance about this quest, he told me: “This place could use a makeover, but I don’t want it looking like your raggedy Raider Dens. See if you can find out how my fellow medical greats used to live.”
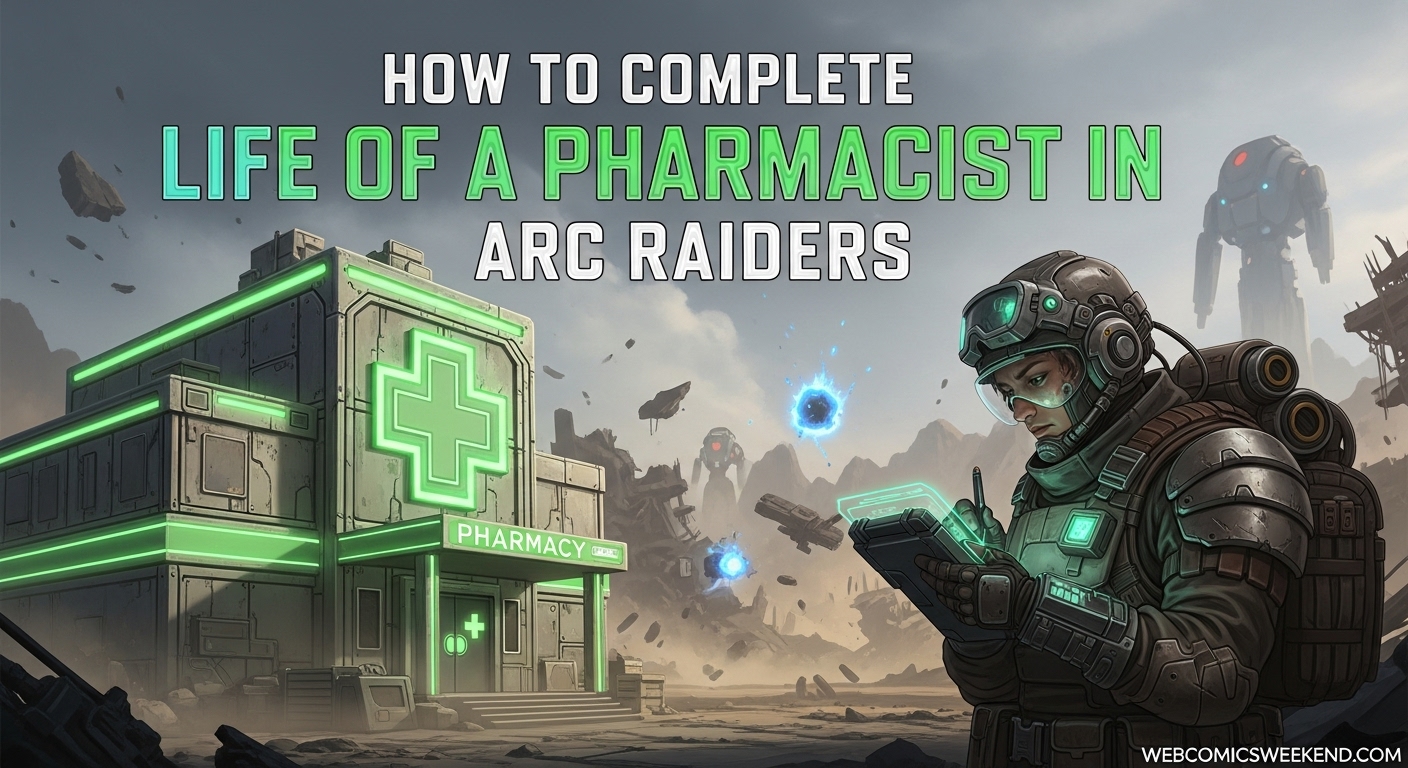
Basically, Lance wants to redecorate his pharmacy and needs some inspiration from pharmacists who lived before the ARC apocalypse. Your job is to head to the Buried City, find the Arbusto Farmacia, and document four different aspects of the pharmacist’s life who used to live there.
Quest Prerequisites and Chain
One thing I wish I knew before starting this quest is that it’s not available right away. You’ll need to complete a few other quests first before Lance will trust you enough to send you on this mission.
From what I’ve gathered through my playthrough, you need to complete the “Espresso” quest for Apollo before this quest becomes available. Some sources also mention it follows the “Unexpected Initiative” quest, so make sure you’ve got those under your belt first.
What’s really cool is that this quest is part of a larger chain. After you complete Life of a Pharmacist, you’ll unlock the “Powering Up The Greenhouse” quest, so it’s definitely worth doing if you want to progress through all the content ARC Raiders has to offer.
Preparing for the Mission
Before you head out to the Buried City, let me share some tips I learned the hard way about preparing for this mission:
Loadout Strategy: Since you don’t need to extract any items for this quest (you’re just documenting things), I highly recommend using a free loadout. There’s no point in risking your good gear when you’re just running around taking pictures! I made this mistake my first time and lost some really nice equipment when I got ambushed by Raiders.
Timing: Try to do this quest during off-peak hours if you’re playing on a populated server. The area around the pharmacy can get pretty crowded with other players, and the last thing you want is to get into a firefight while you’re trying to document some family photos.
Supplies: Bring some basic medical supplies and ammo. Even though you’re using a free loadout, you’ll still want to be prepared for any surprises. The Buried City is no joke, and I’ve been caught off guard more times than I’d like to admit.
Finding the Arbusto Farmacia
Alright, let’s get to the good stuff! The first step in this quest is finding the Arbusto Farmacia in the Buried City. When I first started looking for this place, I spent way too much time wandering around aimlessly, so let me save you that trouble.
The pharmacy is located in the Piazza Arbusto area of the Buried City. Here’s how I found it:
- Deploy into the Buried City (you know the drill)
- Head toward the Piazza Arbusto – it’s pretty central in the Buried City map
- Look for a building with a bright green “FARMACIA” sign and a green medical cross
- The building should be near a collapsed highway (hence the quest description)
When I finally found it, I felt pretty silly for how long it took me. The green sign is actually quite noticeable once you know what you’re looking for! The pharmacy is one of two pharmacies in the area, and if you’ve done the “A Reveal in Ruins” quest for Lance earlier, you might recognize it as the same building where you picked up the ESR Analyzer.
Getting Inside the Pharmacy
Once you’ve found the pharmacy, you’ll notice that the door is locked. Don’t worry, that’s completely normal! You’ll need to breach the door to get inside.
I recommend clearing the area around the pharmacy before you breach the door. The last thing you want is to start the breach animation only to get interrupted by Raiders or other players. Trust me, I’ve been there, and it’s not fun!
After you breach the door, head inside but don’t bother with anything on the ground floor. Everything you need is upstairs in the apartment above the shop. You’ll see a set of stairs to your left – take those up to the first floor.
Documenting the Pharmacist’s Life
Now we get to the meat of the quest! You need to document four different aspects of the pharmacist’s life: their family, hobbies, taste, and skills. Let me walk you through each one step by step.
Documenting the Pharmacist’s Family
When you reach the top of the stairs, you’ll find yourself in a room with three portraits hanging on the wall directly in front of you. This is where you document the pharmacist’s family.
I remember when I first did this, I almost missed it because I was too busy looking around the room instead of straight ahead! Just interact with the portraits, and you’ll get the notification that you’ve documented the pharmacist’s family.
Pro tip: Make sure you get the interaction prompt before moving on. Sometimes the game can be a bit finicky with these interactions, and you don’t want to have to come back later because you thought you got it but didn’t.
Documenting the Pharmacist’s Skills
From the family portraits, turn to your right, and you’ll see a piano in the corner of the room. This is where you document the pharmacist’s skills.
I found this pretty interesting – apparently the pharmacist was quite the musician! When I interacted with the piano, I couldn’t help but wonder what kind of music they used to play. Did they play classical pieces to relax after a long day of dispensing medication? Or maybe they were more of a jazz person?
Anyway, I’m getting off track! Just interact with the piano, and you’ll have documented the pharmacist’s skills.
Documenting the Pharmacist’s Hobbies
Now, head into the next room (it should be adjacent to the room with the portraits and piano). In this room, look to your left, and you’ll find some flower pots or plants sitting on a dresser or cabinet against the wall.
This is where you document the pharmacist’s hobbies. I guess our pharmacist friend had a green thumb! When I saw this, I thought it was pretty cool that even in the middle of an apocalypse, people still took the time to nurture plants. It really shows that no matter how bad things get, life finds a way.
Interact with the plants, and you’ll have documented the pharmacist’s hobbies.
Documenting the Pharmacist’s Taste
This last one can be a bit tricky to find if you don’t know where to look. From the plants, turn around and head toward the back of the room. You’ll find a dining table set up underneath the stairs that lead to the third floor.
This table represents the pharmacist’s taste. I’m not entirely sure what about the table shows their taste – maybe it’s the way it’s set up, or perhaps there are specific items on it that indicate their preferences. Whatever the case, interact with the table to document the pharmacist’s taste.
Once you’ve interacted with all four items, you’ll get a notification that the quest is complete! You can extract from the mission (dead or alive – no judgment here) and head back to Speranza to claim your rewards.
Quest Rewards
Alright, let’s talk about the good stuff – the rewards! When I completed this quest, I was pretty happy with what Lance gave me. Here’s what you can expect:
| Reward Item | Quantity | Description |
|---|---|---|
| Defibrillator | 1 | Life-saving medical device for reviving downed teammates |
| Surge Shield Recharger | 1 | Recharges your surge shield in the field |
| Sterilized Bandage | 3 | Quick healing items for patching up wounds |
| Experience Points | 29,000 | Helps you level up your character |
| Buried City Hospital Key | 1 | Opens up new areas in the Buried City |
I have to say, these rewards are actually pretty useful, especially if you’re playing solo or with a small team. The Defibrillator has saved my butt more times than I can count, and the Surge Shield Recharger is great for those prolonged firefights where your shield keeps getting depleted.
The Buried City Hospital Key is particularly valuable because it opens up new routes and areas in the Buried City for future quests. If you’re planning on doing the “Powering Up The Greenhouse” quest next, you’ll definitely want to hang onto this key!
2026 Common Problems and Solutions
Through my multiple playthroughs of this quest (and helping friends with it), I’ve noticed some common issues that players run into. Let me share some solutions to these problems:
Problem: Can’t Find the Pharmacy
Solution: Look for the bright green “FARMACIA” sign and green medical cross. It’s in the Piazza Arbusto area of the Buried City, near a collapsed highway. If you’ve done the “A Reveal in Ruins” quest, it’s the same building where you found the ESR Analyzer.
Problem: Interaction Prompt Won’t Appear
Solution: This happened to me a few times. Try moving around the object and looking at it from different angles. Sometimes the game can be picky about where you’re standing when you try to interact with something. If that doesn’t work, try leaving the area and coming back.
Problem: Quest Won’t Complete After Documenting All Items
Solution: Double-check that you’ve actually interacted with all four items. The game doesn’t always give clear feedback, so you might think you’ve documented something when you haven’t. Go back through each item and make sure you get the interaction prompt for each one.
Problem: Getting Killed by Raiders
Solution: The area around the pharmacy can be pretty dangerous. I recommend clearing the immediate area before you start the quest, and consider using a free loadout since you don’t need to extract anything. Also, try to do this quest during off-peak hours when there are fewer players around.
2026 Tips for a Smooth Run
Based on my experience, here are some additional tips that will help you complete this quest smoothly:
Work Methodically: Don’t just run around randomly. Go room by room and check each area thoroughly. I found it helpful to follow the order I outlined above: family portraits first, then piano, then plants, then table.
Bring a Friend: While you can definitely do this quest solo, having a teammate watch your back while you’re documenting items can make things much easier. Just make sure they know not to touch anything before you do!
Time Your Visit: Try to do this quest when the server isn’t too crowded. I’ve had the best luck early in the morning or late at night when there are fewer players around.
Know When to Cut Your Losses: If you’re getting overwhelmed by Raiders or other players, sometimes it’s better to extract and try again later. The items will still be there when you come back!
Why This Quest Matters In 2026?
You might be wondering why you should bother with this quest when there are so many others to do in ARC Raiders. Let me tell you why I think it’s worth your time:
First, the rewards are actually really useful, especially if you’re still early in the game. The medical items can be hard to come by unless you have a high-level Medical Lab, and the hospital key opens up new areas for future quests.
Second, it’s part of a quest chain that leads to “Powering Up The Greenhouse,” which is apparently a pretty important quest in the grand scheme of things. If you want to see all the content ARC Raiders has to offer, you’ll want to complete this one.
Finally, I just think it’s a really well-designed quest that adds to the lore of the game. Learning about the pharmacist who lived in the Buried City before the apocalypse really helps flesh out the world and makes it feel more alive. It’s these little details that make ARC Raiders such an immersive experience.
Final Thoughts
After spending so much time with this quest, I can honestly say that it’s one of my favorites in ARC Raiders. It’s not too difficult once you know what you’re doing, but it’s challenging enough to be satisfying. The rewards are useful, the story is interesting, and it fits perfectly into the larger narrative of the game.
I hope this guide has been helpful for you! I know I wish I had something like this when I was first trying to complete the quest. If you follow the steps I’ve outlined, you should be able to complete the Life of a Pharmacist quest without any problems.
Remember, the key is to take your time, be thorough, and don’t get frustrated if things don’t go perfectly the first time. ARC Raiders is all about learning from your mistakes and getting better with each run.
Happy raiding, and I’ll see you in the Buried City!
FAQ
How long does the Life of a Pharmacist quest take to complete?
From my experience, once you know where everything is, you can complete this quest in about 10-15 minutes. However, your first time might take longer as you get familiar with the location and the items you need to document.
Do I need to extract to complete the quest?
No, you don’t need to extract to complete the quest. Once you’ve documented all four items, the quest objectives are complete. However, you will need to return to Lance in Speranza to claim your rewards.
Can I complete this quest solo?
Absolutely! I’ve completed this quest multiple times solo. Just be prepared for potential encounters with Raiders or other players, and consider using a free loadout since you don’t need to extract anything.
What happens if I die after documenting the items but before extracting?
Don’t worry! The quest progress saves as soon as you document each item. If you die after documenting everything but before extracting, you’ll still have completed the quest objectives. You’ll just need to start a new raid to return to Speranza and claim your rewards from Lance.
Is the Buried City Hospital Key used in other quests?
Yes! The hospital key opens up new areas in the Buried City that you’ll need for future quests, particularly “Powering Up The Greenhouse” which follows this quest in the chain. Make sure to hang onto it!
Can I repeat this quest for additional rewards?
No, like most quests in ARC Raiders, you can only complete the Life of a Pharmacist quest once per character. However, the rewards are valuable enough that it’s worth doing on all your characters if you have multiple.
What level should I be before attempting this quest?
There’s no specific level requirement, but I recommend being at least level 10-15 before attempting this quest. The Buried City can be pretty dangerous, especially for newer players, and having some skills and better equipment will make things much easier.
Are there any other quests in the same area I should do at the same time?
Yes! If you’ve already done “A Reveal in Ruins,” you’ll know that this area has several quests. You might want to check if there are other active quests in the Buried City that you can complete during the same run to save time and resources.
What should I do if I can’t find one of the documentation items?
If you’re having trouble finding a specific item, refer back to the detailed descriptions in this guide. The most commonly missed item is usually the table under the stairs for documenting taste – make sure you’re looking in the back of the room with the plants, underneath the staircase leading to the third floor.
Is this quest worth doing for the rewards alone?
In my opinion, absolutely! The Defibrillator and Surge Shield Recharger are both extremely useful items that can be hard to come by, especially if you don’t have access to a high-level Medical Lab. Add in the experience points and the hospital key, and this quest is definitely worth your time.
Ready to tackle more ARC Raiders content? Check out our other guides and walkthroughs to become the ultimate Raider! Don’t forget to bookmark this page for future reference, and happy raiding in 2026!