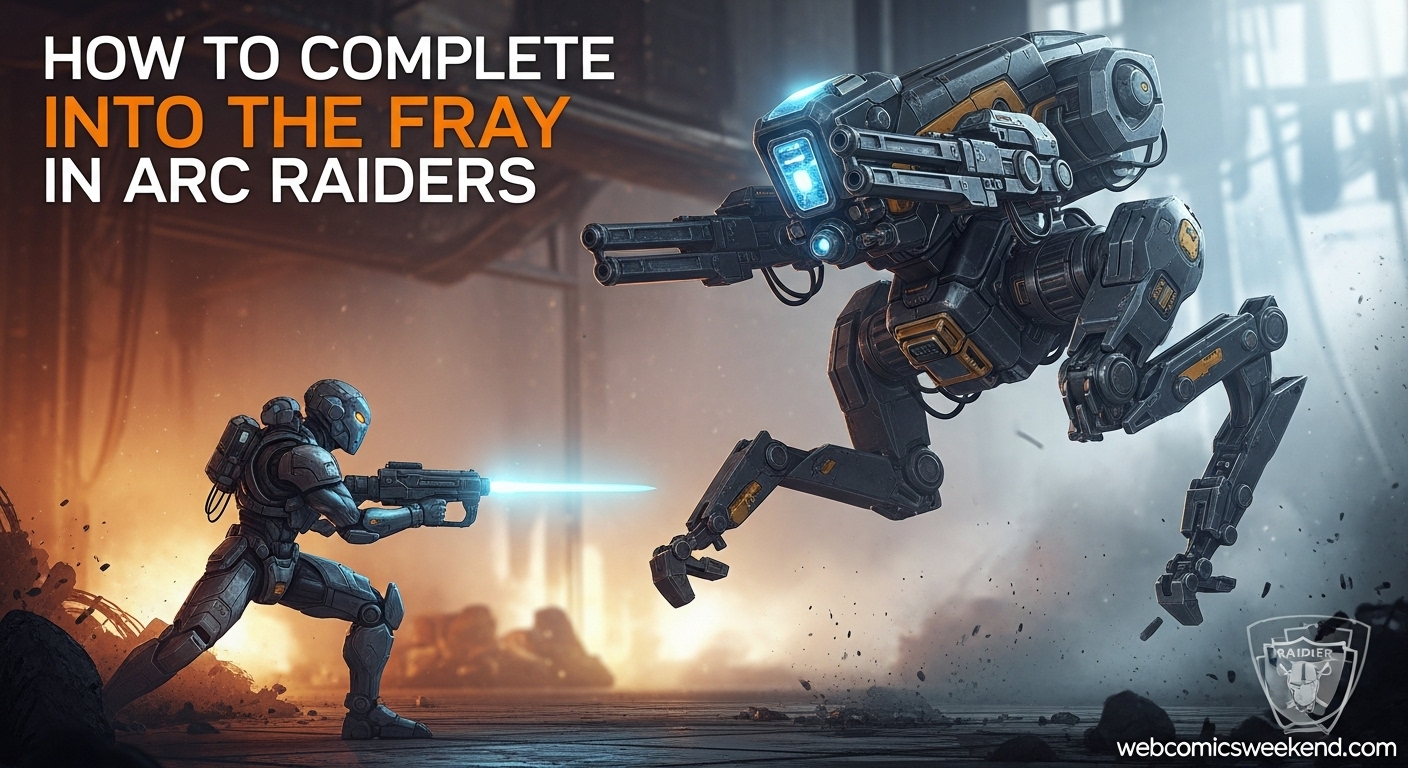
Let me tell you something straight up – when I first got the “Into the Fray” quest from Shani in ARC Raiders, I was absolutely terrified. I mean, this quest requires you to hunt down and kill a Leaper, and if you’ve been playing this game for any amount of time, you know these things are absolute nightmares. They can jump across entire maps, crush you in one hit, and generally make your life miserable.
But after failing miserably about five times and then finally figuring out the perfect strategy, I’m here to share everything I learned. This guide is going to walk you through exactly how I completed Into the Fray, got that sweet Radio Renegade outfit, and lived to tell the tale.
What Exactly Is the Into the Fray Quest?
Before we dive into the nitty-gritty of Leaper hunting, let me break down what this quest actually entails. When you talk to Shani, she’ll give you the Into the Fray quest, which has two main objectives:
- Destroy a Leaper – Yeah, that’s the scary part
- Obtain a Leaper Pulse Unit – The reward for your bravery (or stupidity, depending on how you look at it)
Now, I’m not gonna lie – this quest is no joke. Leapers are classified as “Critical” threat level for a reason. These four-legged brutes are fully armored, have 1100 health (that’s a lot!), and come equipped with some seriously nasty abilities. But don’t worry, I’ve got your back.
My Recommended Loadout for Leaper Hunting
Look, I learned this the hard way – you can’t just go into a Leaper fight with whatever weapons you happen to have on hand. After several embarrassing deaths, I figured out the perfect loadout that makes this fight actually manageable.
Primary Weapon: Anvil or Ferro
I personally prefer the Anvil, but the Ferro works just as well. The key here is that both of these weapons support Heavy Ammo, which is absolutely crucial for penetrating the Leaper’s thick armor. Trust me, I tried using light ammo weapons first, and it was like throwing pebbles at a tank.
Why Heavy Ammo? Leapers have full plate armor, and Heavy Ammo has the highest ARC armor penetration in the game. When I switched to Heavy Ammo weapons, my damage output literally tripled.
Secondary Weapon: Arpeggio or Hullcracker
For my secondary, I usually rock the Arpeggio because it’s great for medium to long-range damage. But if you’re lucky enough to have a Hullcracker, bring that instead. It makes taking down the Leaper so much faster, and believe me, faster is better when you’re dealing with something that can one-shot you.
Utility: Blaze Grenades (At Least 3)
This is non-negotiable, people. I’m telling you right now – Blaze Grenades are your best friend in this fight. Fire is the Leaper’s main weakness, and these grenades exploit that weakness perfectly. I always bring at least three, but if you can craft more, do it.
Pro Tip: You can craft Blaze Grenades at a level 3 Explosives Station with 1x Explosive Compound and 2x Oil. I always craft a few extra before heading out on this quest.
Where to Find Leapers?: My Favorite Hunting Spots
Okay, so you’ve got your gear sorted out. Now where do you actually find these beasts? I’ve spent hours exploring every map, and I’ve found a few spots that consistently have Leapers spawning.
Dam Battlegrounds – My Go-To Location
This is by far my favorite spot for completing Into the Fray. Specifically, I like the area around the elevator between the Water Treatment Control Building and the Research and Administration Building. There are usually several bunkers in this area, which is perfect for the strategy I’m about to teach you.
Why this spot works: The Leapers patrol this area regularly, and the bunkers provide excellent cover. Plus, there’s an elevator right there for easy extraction once you’ve got your Pulse Unit.
Spaceport Tunnels
Another great spot is the tunnels in the Spaceport map. I actually stumbled upon a Leaper there once while doing other quests, and it turned out to be one of the easiest kills I’ve ever had. The tight spaces work in your favor since Leapers can’t follow you into smaller areas.
General Leaper Behavior
Before we get into the actual fight strategy, let me share what I’ve learned about how Leapers behave. These aren’t just mindless machines – they have specific patterns and behaviors that you can exploit.
Movement Patterns: Leapers typically patrol open areas and are often found guarding valuable objectives. They’re usually accompanied by smaller ARC drones like Wasps or Hornets, which creates a layered threat situation.
Attack Patterns: The Leaper has two main attacks that you need to watch out for:
- The Leap: This is their signature move. They’ll crouch down and then launch themselves at you from incredible distances. If this connects, you’re pretty much dead in one hit.
- Shockwave Pulse: If they can’t land on you, they’ll release a blast of kinetic energy that shreds your health and shields.
My Step-by-Step Strategy for Killing Leapers
Alright, here’s the moment you’ve been waiting for. This is the exact strategy I used to finally beat the Into the Fray quest after failing so many times. Follow these steps, and you’ll be rocking that Radio Renegade outfit in no time.
Step 1: Clear the Area First
I learned this lesson the hard way. Before you even think about engaging the Leaper, take out any smaller ARC drones in the area. Wasps, Hornets, whatever else is lurking around – eliminate them first. The last thing you want is to be focusing on the Leaper while a bunch of smaller enemies are chipping away at your health.
Step 2: Find Your Bunker or Hiding Spot
This is crucial. Leapers can’t enter small spaces or buildings, so you need to find yourself a bunker or similar structure to use as cover. In my favorite Dam Battlegrounds spot, there are several bunkers that work perfectly.
Pro Tip: You don’t even need to keep the bunker doors closed. The Leaper physically can’t fit inside, so you’re safe as long as you stay within the building.
Step 3: Initiate the Fight
Once you’re safely in your bunker, it’s time to start the fight. I like to begin by shooting the Leaper in its eye with my Heavy Ammo weapon. This will definitely get its attention and draw it toward your location.
Why the eye? The eye is one of the Leaper’s main weak points, so you’re doing good damage while also baiting it toward your trap.
Step 4: The Blaze Grenade Strategy
This is where the magic happens. Once the Leaper has targeted you and is trying to get to you (but can’t because you’re in the bunker), it’s time to break out the Blaze Grenades.
Here’s exactly what I do:
- Chuck a Blaze Grenade directly at the Leaper’s eye – Aim carefully, you want this to land right on target
- Watch it burn – The Leaper will take massive fire damage while it’s burning
- Shoot the eye while it’s burning – While the Blaze Grenade is doing its work, keep shooting the eye with your Heavy Ammo weapon
- Repeat – Once the first Blaze Grenade wears off, throw another one and keep the cycle going
Why this works: Fire is the Leaper’s biggest weakness. When I discovered this, the fight became so much easier. The Blaze Grenades not only do massive damage but also seem to disorient the Leaper, making it less effective at fighting back.
Step 5: Watch for Special Attacks
Even though you’re relatively safe in the bunker, you still need to be careful. The Leaper has a couple of special attacks that can still reach you:
- EMP Surge: Sometimes the Leaper will release an EMP blast that can damage you even through walls
- Retreat: Occasionally, the Leaper will try to run away. If this happens, you might need to chase it down a bit, but be ready to duck back into cover if it turns around
Step 6: The Final Takedown
If you’ve been following the strategy correctly, the Leaper should be getting pretty low on health by now. Once it’s almost dead, you can finish it off with a couple more well-placed shots to the eye.
Victory! The Leaper goes down in a spectacular explosion, and you’re one step closer to completing Into the Fray.
Obtaining the Leaper Pulse Unit
Alright, so you’ve killed the Leaper – congratulations! But you’re not done yet. Now you need to get the Leaper Pulse Unit, which is the whole reason you’re doing this quest in the first place.
Looting Strategy
Here’s something I learned that’s super important: always loot the destroyed eye part first. The Leaper Pulse Unit is most likely to drop from the eye area, so make sure you check there first.
Safe Pocket Protocol
This is a pro tip that saved me so much frustration: immediately stash the Leaper Pulse Unit in your Safe Pocket. The Safe Pocket protects your most valuable items, so if you happen to die during extraction, you won’t lose the Pulse Unit and have to fight another Leaper.
Trust me, I learned this the hard way after losing my first Pulse Unit because I got ambushed by some Wasps on the way to extraction. Never again!
Extraction and Quest Completion
Now that you have the Leaper Pulse Unit safely tucked away in your Safe Pocket, it’s time to extract and complete the quest.
Extraction Strategy
If you’re using my recommended Dam Battlegrounds location, you’re in luck – there’s an elevator right there for easy extraction. Just make your way to the elevator, call it down, and ride it back to safety.
Pro Tip: Keep your head on a swivel during extraction. I’ve been ambushed plenty of times on the way to extraction, so don’t let your guard down just because the main fight is over.
Turning In the Quest
Once you’re back at Speranza, head over to Shani and turn in the quest. She’ll be impressed that you actually managed to take down a Leaper (I know I was impressed with myself the first time I did it).
The Rewards: Totally Worth It
So what do you get for all your hard work? Let me tell you, the rewards for completing Into the Fray are absolutely worth the effort:
Radio Renegade Outfit
This is probably the main reason most people do this quest. The Radio Renegade outfit looks absolutely badass, and I wear it all the time now. It’s one of the cooler cosmetic items in the game, and it definitely makes you stand out from other Raiders.
Burgerboy Backpack Charm
This is a fun little cosmetic item that attaches to your backpack. It’s not game-changing, but it’s a nice little bonus that adds some personality to your character.
Vulcano III
Now we’re talking about some actual useful gear. The Vulcano III is a solid weapon that you can use in future raids. It’s not the best weapon in the game, but it’s definitely reliable and has served me well in many fights.
40x Shotgun Ammo
And finally, you get 40 rounds of shotgun ammo. It’s not the most exciting reward, but ammo is always useful in ARC Raiders, and I’ve never been upset about getting free ammo.
Advanced Tips and Tricks
Okay, so you’ve got the basic strategy down. But if you want to really master Leaper hunting and make the fight even easier, here are some advanced tips I’ve picked up:
Weapon Combinations
While I recommended the Anvil/Ferro and Arpeggio combination earlier, there are other weapon combos that work well too:
- Hullcracker + Ferro: If you have a Hullcracker, this combo is absolutely deadly. The Hullcracker does massive damage to ARC machines, and when paired with the Ferro’s Heavy Ammo, you can melt through Leapers pretty quickly.
- Jolt Mines + Fireball Burners: I saw this strategy on a forum, and it works surprisingly well. Lay down some Jolt Mines to stun the Leaper, then hit it with Fireball Burners for massive fire damage.
Movement and Positioning
Even though the bunker strategy is my go-to, sometimes you need to be more mobile. Here are some movement tips:
- Always be moving: Leapers have a hard time hitting moving targets. I like to strafe side to side while shooting to make myself a harder target.
- Use the environment: Don’t just rely on bunkers. Any small structure or obstacle can provide cover from the Leaper’s attacks.
- Watch for the crouch: When a Leaper is about to jump, it does a distinctive crouch animation. Learn to recognize this, and you’ll have plenty of time to get to cover.
Team Strategies
If you’re playing with a squad (which I highly recommend for this quest), here are some team strategies that work well:
- The Bait and Switch: One player acts as bait to draw the Leaper’s attention while the others focus fire on its weak points.
- The Crossfire: Position your team members in different bunkers or cover positions so you can attack the Leaper from multiple angles.
- The Blitz: If your team is well-equipped and coordinated, you can just overwhelm the Leaper with concentrated fire before it has a chance to react.
Common Mistakes to Avoid
I’ve made pretty much every mistake possible when it comes to fighting Leapers. Let me share some common pitfalls so you can avoid them:
Mistake #1: Not Bringing Enough Blaze Grenades
I can’t tell you how many times I went into a Leaper fight with only one or two Blaze Grenades, only to run out before the fight was over. Always bring at least three, preferably more if you can craft them.
Mistake #2: Forgetting About Smaller Enemies
It’s easy to get tunnel vision on the Leaper, but those smaller ARC drones can be just as deadly if you ignore them. Always clear the area first before engaging the big guy.
Mistake #3: Standing Still
Leapers love it when you stand still because it makes you an easy target. I learned this the hard way after getting one-shot more times than I care to admit. Always keep moving!
Mistake #4: Not Using the Safe Pocket
Losing your Leaper Pulse Unit because you didn’t stash it in your Safe Pocket is one of the most frustrating experiences in ARC Raiders. Don’t let it happen to you – use that Safe Pocket!
FAQ: Everything Else You Need to Know
I’ve been getting a lot of questions about the Into the Fray quest, so let me answer some of the most common ones:
What level do I need to be to accept this quest?
From what I can tell, there’s no specific level requirement, but I’d recommend being at least level 15-20 before attempting it. The Leaper is no joke, and you want to have decent gear and weapons before taking it on.
Can I complete this quest solo?
Absolutely! That’s how I completed it, and the strategy I’ve outlined is specifically designed for solo players. In fact, I sometimes prefer doing it solo because you have more control over the situation.
How long does it take to complete the quest?
It really depends on how quickly you can find a Leaper. The actual fight, once you find one, usually takes me about 5-10 minutes now that I have the strategy down. Finding the Leaper can sometimes take a while, depending on the map rotation.
What happens if I die during the fight?
If you die, you’ll lose any items you were carrying except what’s in your Safe Pocket. That’s why it’s so important to stash the Leaper Pulse Unit as soon as you get it. You’ll respawn back at Speranza and can try again.
Can I farm Leapers for multiple Pulse Units?
Yes! Once you complete the quest, you can continue hunting Leapers to collect more Pulse Units. They’re used in various crafting recipes, so having extras is always useful.
Are there other quests like this one?
Yes, there’s a similar quest called “Our Presence Up There” that also requires you to take down a mighty ARC enemy. The strategies I’ve outlined here work well for that quest too.
Final Thoughts
Look, I’m not gonna lie – the Into the Fray quest is tough. When I first started playing ARC Raiders, I thought I’d never be able to complete it. But with the right strategy, equipment, and a little bit of patience, it’s totally doable.
The key is to be prepared, use the environment to your advantage, and exploit the Leaper’s weaknesses. Remember – fire is your best friend, bunkers are your safe haven, and the eye is your target.
Now that you have all my tips and strategies, you’re ready to tackle Into the Fray and get that awesome Radio Renegade outfit. Trust me, once you complete this quest, you’ll feel like a true ARC Raider.
Good luck out there, and happy hunting! And remember – if at first you don’t succeed, try, try again. That Leaper isn’t going to kill itself (well, actually, maybe it will if you’re not careful).
Want more ARC Raiders guides and tips? Check out our other articles on webcomicsweekend.com for everything you need to know about surviving in the Rust Belt. Don’t forget to bookmark this page for future reference – you never know when you’ll need to hunt another Leaper!