Hey there, fellow ARC Raiders! I’m here to walk you through one of the most challenging quests I’ve encountered so far – the “Eyes in the Sky” mission. When I first got this quest from Shani, I’ll be honest, I was pretty confused about where to go and what to do. But after spending hours figuring out all the LiDAR scanner locations and testing different approaches, I’ve got it down to a science.
Let me share everything I’ve learned so you can complete this quest without all the frustration I went through!
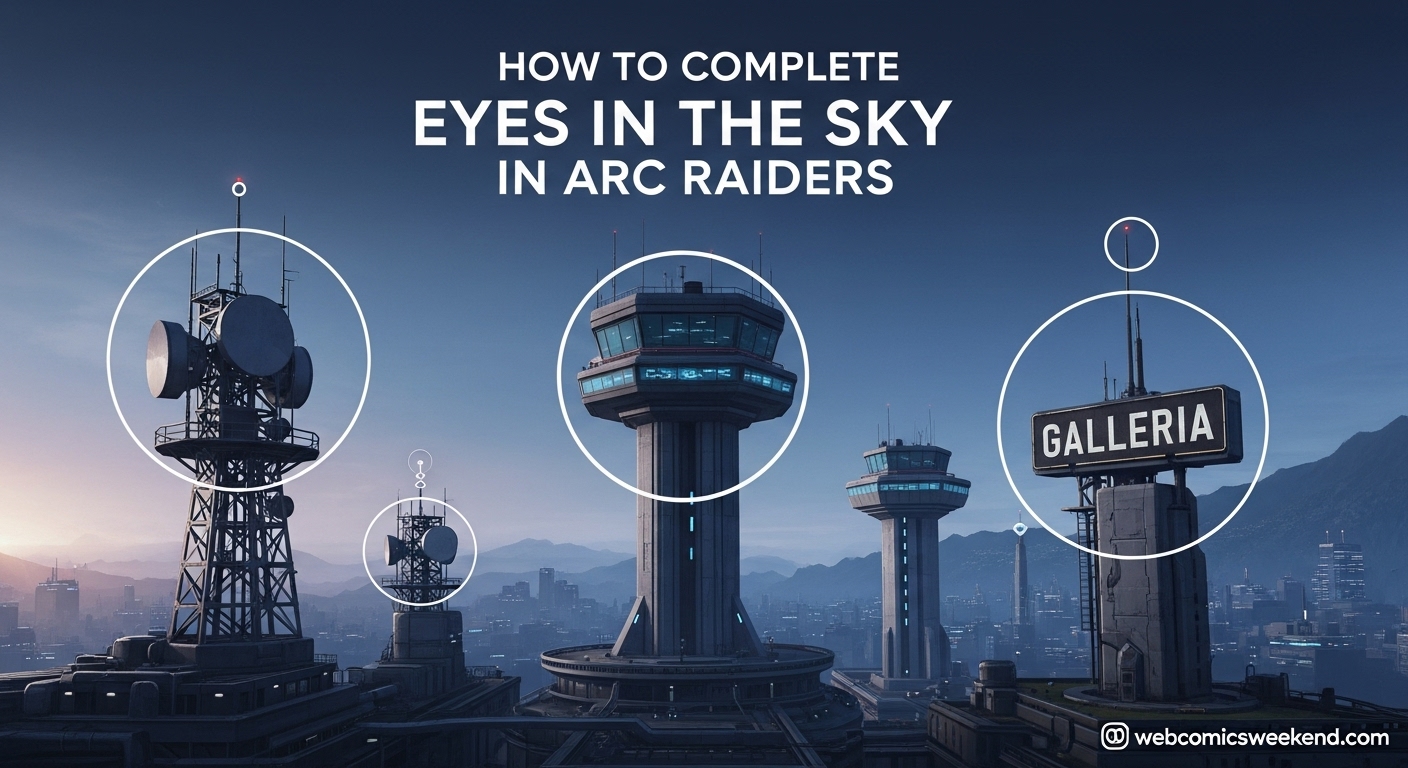
What is the Eyes in the Sky Quest?
The Eyes in the Sky quest is given by Shani, and she needs your help setting up LiDAR scanners at the highest points in three different areas: Dam Battlegrounds, Spaceport, and Buried City. The goal is to give the folks in Speranza a better view of what’s happening Topside with those pesky ARC machines.
When I started this quest, I thought it would be straightforward – just climb some towers and place some scanners, right? Wrong! This quest requires strategy, the right equipment, and a good understanding of each map’s layout. But don’t worry, I’ve got you covered.
What You’ll Need Before Starting?
Before you head out, make sure you’re prepared. Here’s what I learned the hard way:
Essential Equipment:
- Ziplines: Shani gives you one zipline at the start of the quest, but I recommend bringing extras if you have them
- Light weapons: You’ll want to move quickly, so heavy weapons might slow you down
- Healing items: Trust me, you’ll need them
Loadout Recommendations:
I found that using a free loadout or a cheap one with a Ferro shield works best for this quest. Since you’ll be exposed in high places, having some protection against ARC bots and other players is crucial. When I first attempted this with my expensive loadout, I regretted it after getting picked off by snipers multiple times.
Complete Quest Walkthrough
Alright, let’s dive into each location. I’ll walk you through exactly how I completed each part, including the shortcuts I discovered along the way.
Location 1: Dam Battlegrounds – Control Tower
The Control Tower in Dam Battlegrounds was actually the first location I tackled, and it’s probably the most straightforward of the three. Here’s how I did it:
Step-by-Step Instructions:
- Find the Control Tower: It’s that red loot building right in the middle of the Dam Battlegrounds map. You can’t miss it – it’s usually swarming with other players, so be careful!
- Enter the Tower: I found two ways to get inside:
- Method 1 (My preferred approach): Head to the top right side of the tower where you’ll find a barricaded entrance. Break through the barricade and you’ll see ropes leading up.
- Method 2: Use the entrance near the Red Lakes elevator. This leads to an elevator shaft with a zipline inside.
- Navigate Inside: Once inside, take the ropes or stairs up. I found that if you enter through the barricaded entrance, you’ll find stairs on your right that lead directly to the roof.
- Watch for Turrets: This is crucial! Before you head up, make sure to shoot any turrets above you. I learned this the hard way when I got blasted halfway up the zipline.
- Place the Scanner: Once you’re on the roof, head to the east corner (or left edge, depending on which entrance you used). You’ll see a small tripod – that’s where you place the LiDAR scanner.
Pro Tips I Discovered:
- The Control Tower is a hot spot for PvP, so I recommend going during off-peak hours or with a group
- If you’re playing solo, consider using a silenced weapon to avoid drawing attention
- There’s usually good loot inside the Control Tower, so take a moment to search while you’re there
Location 2: Spaceport – Communications Tower
The Communications Tower in Spaceport is by far the easiest of the three locations. When I got here, I was relieved at how simple it was compared to the Control Tower.
Step-by-Step Instructions:
- Locate the Tower: Head to the eastern side of the Spaceport map. The Communications Tower is that giant, skinny red tower that you can see from pretty much anywhere on the map.
- Climb Up: Unlike the other locations, you don’t need any special equipment here. Just find the ladder and start climbing.
- Find the Scanner: Once you reach the top, head to the right side of the walkway. You’ll see the tripod waiting for you.
- Place the Scanner: Simple interaction here – just get close and place the LiDAR scanner.
Pro Tips I Discovered:
- You’re very exposed when climbing this tower, so keep an eye out for snipers
- If you get shot while climbing, remember that you can press your Sprint button to quickly slide down the ladder
- I found that going early in the morning (in-game time) means fewer ARC bots flying around
Location 3: Buried City – Galleria Sign
This one… oh man, this one gave me the most trouble. The Galleria sign in Buried City is definitely the most challenging location, but once you know what you’re doing, it’s totally manageable.
Step-by-Step Instructions:
- Find the Galleria: The Galleria building is located to the right of Space Travel on the Buried City map. Look for the building with the big pillar that has a “G” (or what looks like a “Q”) symbol on top.
- Get to the Roof: I found two ways to get up there:
- Method 1: Work your way through the building from the inside
- Method 2: Go to the south side of the building group and climb up onto the roofs from there
- Navigate to the Pillar: Once you’re on the roof, head to the southeast side. You’ll need to jump across some wooden planks to get closer to the pillar.
- Use Your Zipline: This is where that zipline Shani gave you comes in handy. Aim your zipline at the walkway on top of the pillar and zip up.
- Place the Final Scanner: At the very top, you’ll find the last tripod. Place the scanner and congratulations – you’ve completed the quest!
Pro Tips I Discovered:
- This area is heavily contested, so I recommend bringing a Ferro shield for protection
- If you don’t have a zipline, you can buy or loot one from traders
- Time your placement when there aren’t many players around – I had the best luck during server maintenance times
Quest Rewards Comparison
After completing all three locations, I was pretty excited to see what Shani had in store for me. Here’s what you’ll get:
| Reward Item | Quantity | Description | My Personal Rating |
|---|---|---|---|
| Tagging Grenade | 3x | Tags enemies in blast radius, marking them for you and your team | ⭐⭐⭐⭐⭐ Super useful for team play |
| Vita Spray | 1x | Continuously restores health when used | ⭐⭐⭐⭐ Great for tough fights |
| Yellow Light Stick | 5x | Use to light up dark areas | ⭐⭐⭐ Handy but not essential |
I’ve got to say, the Tagging Grenades are my favorite reward. They’ve been incredibly useful in subsequent missions, especially when playing with a squad.
Common Problems and Solutions
During my time completing this quest, I ran into several issues that I want to help you avoid:
Problem 1: Can’t Find the Scanner Locations
Solution: Take your time to explore each area thoroughly. I found that using the in-game map and looking for the tallest structures helps a lot. The quest markers aren’t always precise, so you need to use your judgment.
Problem 2: Getting Killed by Other Players
Solution: This is an extraction shooter, so PvP is part of the experience. I recommend:
- Playing during off-peak hours
- Using stealth approaches
- Bringing a balanced loadout that’s good for both PvE and PvP
- Considering teaming up with friends for protection
Problem 3: Running Out of Ziplines
Solution: Shani gives you one zipline, but if you lose it or need extras, you can:
- Buy them from traders
- Loot them from other players or containers
- Complete other quests that might reward ziplines
My Personal Experience and Tips
After completing this quest multiple times (yes, I’m a bit of a completionist), I’ve developed some strategies that I think will help you:
Best Times to Attempt the Quest
I found that completing this quest during early morning hours (real-world time) meant fewer players and ARC bots to deal with. The servers are less crowded, making it easier to focus on the objectives.
Team vs. Solo Play
While you can definitely complete this quest solo, I had much more success when I teamed up with friends. Having someone watch your back while you’re placing scanners makes a huge difference, especially in the contested areas.
Loadout Optimization
Through trial and error, I discovered that a mid-range loadout works best. You want something that’s good for both close-quarters combat inside buildings and medium-range engagements when you’re exposed on rooftops.
Frequently Asked Questions
How long does the Eyes in the Sky quest take to complete?
From my experience, it takes about 30-45 minutes if you know what you’re doing. However, if you’re new to the maps or run into other players, it could take 1-2 hours.
Do I need to complete the quest in one session?
Yes, you need to place all three LiDAR scanners in one game session. If you extract or die before placing all three, you’ll have to start over.
Can I complete the quest with friends?
Absolutely! In fact, I recommend it. Having teammates makes it much easier to deal with other players and ARC bots.
What happens if I die after placing some scanners?
Unfortunately, you’ll lose progress and need to start over. That’s why I recommend being extra careful, especially when you’ve already placed one or two scanners.
Are the scanner locations the same every time?
Yes, the locations are fixed. Once you learn where they are, you’ll be able to complete the quest much faster on subsequent playthroughs.
Can I do this quest multiple times?
The quest itself is a one-time completion, but you can help friends with their Eyes in the Sky quest if they haven’t completed it yet.
Final Thoughts
Completing the Eyes in the Sky quest in ARC Raiders was definitely a challenge, but it was also incredibly rewarding. I learned so much about the game’s maps, mechanics, and PvP dynamics while working through it.
If I could give you one piece of advice, it would be to stay patient and persistent. There were times when I wanted to rage quit after getting killed right before placing the final scanner, but pushing through made the victory that much sweeter.
The rewards are definitely worth it, especially those Tagging Grenades. I’ve been using them constantly in other missions, and they’ve saved my team more times than I can count.
Remember, practice makes perfect. The first time I attempted this quest, it took me hours. Now, I can complete it in under 30 minutes. You’ll get there too!
Bookmark this guide for future reference, and feel free to share it with your squad mates who might be struggling with this quest. Good luck out there, and I’ll see you Topside!
Looking for more ARC Raiders guides and tips? Check out our other articles for everything you need to know about surviving and thriving in the Ruest Belt!