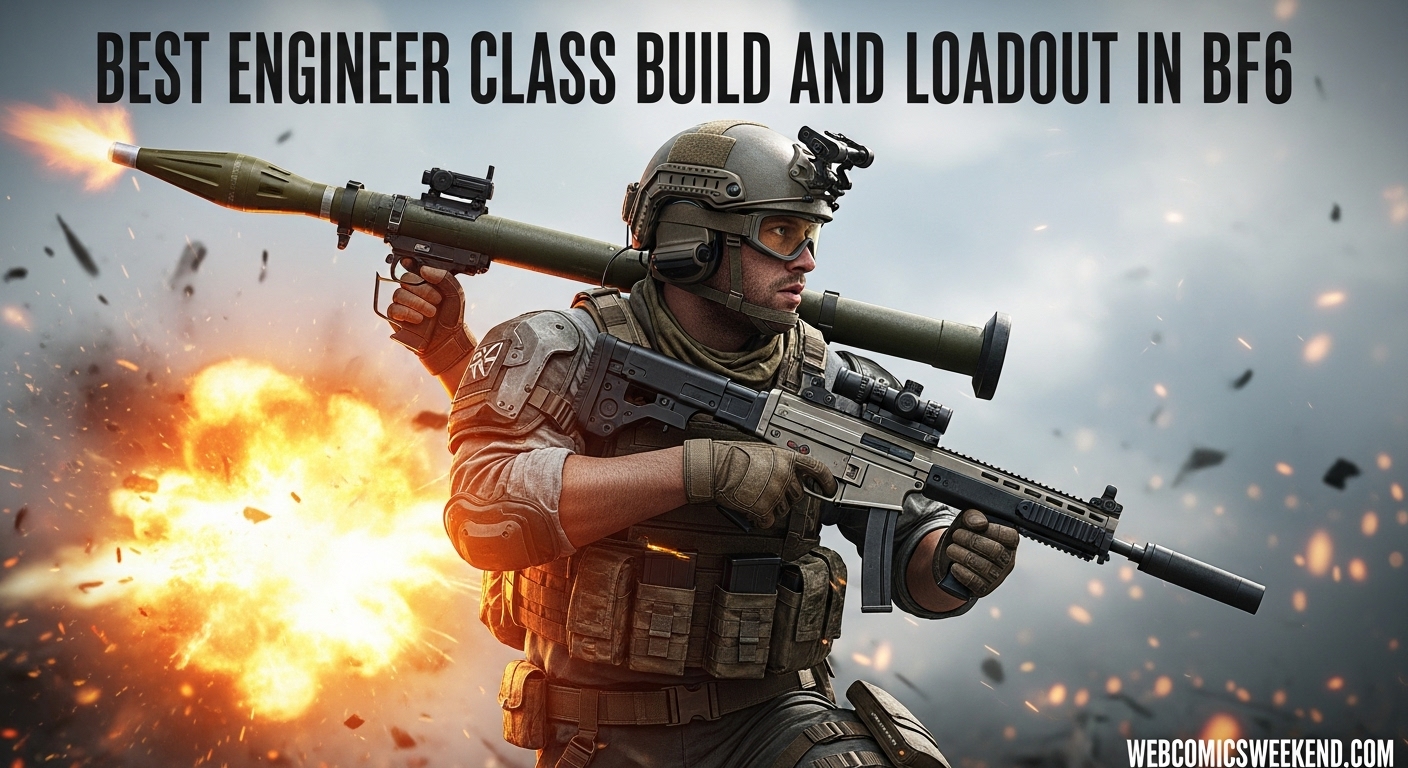
Let me tell you something – when I first jumped into Battlefield 6, I had no idea what I was doing with the Engineer class. I’d run around with my SMG, maybe toss a rocket or two, and generally feel useless against those massive tanks chugging across the map. But after hundreds of hours and countless destroyed vehicles later, I’ve figured out exactly what makes this class tick, and I’m here to share everything I’ve learned.
The Engineer class in BF6 is absolutely crucial if you want to make a real impact on the battlefield. Whether you’re the type who loves hunting down enemy armor or you prefer keeping your team’s vehicles alive and kicking, this class has something for everyone. I’ve experimented with just about every combination you can imagine, and I’m excited to break down what actually works in March.
Why Engineer is My Go-To Class in BF6?
Before we dive into the specific loadouts, let me explain why I’ve fallen in love with the Engineer class. When I play Engineer, I feel like I’m actually making a difference in the match. There’s nothing quite satisfying like taking down a fully-loaded enemy tank that’s been terrorizing your team for minutes, or keeping your squad’s armored vehicle alive through impossible odds.
What really sets the Engineer apart is its versatility. You’re not just a one-trick pony – you’ve got options. Need to clear out a building? The Engineer can do that. Want to shut down enemy air superiority? The Engineer has you covered. Looking to support your team’s vehicles? You guessed it – Engineer to the rescue.
I’ve found that playing Engineer effectively requires a different mindset than other classes. You need to think strategically about positioning, resource management, and timing. But once you master these elements, you’ll become an invaluable asset to any team.
The Core Engineer Loadout Framework
After testing countless combinations, I’ve developed a framework that works regardless of your preferred playstyle. Here’s what I consider the foundation of any solid Engineer build:
| Loadout Component | My Recommendation | Why It Works |
|---|---|---|
| Primary Weapon | PW7A2 SMG | Perfect balance of damage, range, and mobility |
| Sidearm | P18 Pistol | Reliable backup with good magazine size |
| Gadget 1 | RPG-7V2 or MAS 148 | Versatile anti-vehicle options |
| Gadget 2 | AV Mines or Repair Tool | Area denial or team support |
| Throwable | Fragmentation Grenade | Essential for infantry combat |
| Training Path | Anti-Armor or Field Mechanic | Depends on your preferred role |
This framework gives you the flexibility to adapt to different situations while maintaining effectiveness. I’ve used this as my starting point for months, and it’s never let me down.
My Top Engineer Builds for Different Playstyles
I’ve categorized my favorite Engineer builds based on different playstyles. Each one has been extensively tested in real combat situations, so I can vouch for their effectiveness.
1. The Tank Hunter (My Personal Favorite)
This is the build I use when I’m feeling particularly aggressive and want to make enemy tank drivers fear my name. There’s nothing quite like the feeling of single-handedly turning the tide of a battle by eliminating key enemy vehicles.
| Component | Choice | Reasoning |
|---|---|---|
| Primary Weapon | PW7A2 SMG | Excellent close-range performance for when infantry get too close |
| Attachments | Suppressor (Long), Standard Barrel (180mm), 40-Round Magazine | Stays off radar, balanced range, sustained fire capability |
| Sidearm | P18 | 17-round magazine gives you plenty of backup firepower |
| Gadget 1 | RPG-7V2 | Unguided rockets with fast firing rate for quick vehicle elimination |
| Gadget 2 | AV Mines | Perfect for area denial and catching unsuspecting vehicles |
| Throwable | Fragmentation Grenade | Great for clearing infantry hiding near vehicles |
| Training Path | Anti-Armor | Extra rockets, faster reloads, and repair bonuses |
When I run this build, I prioritize positioning myself at medium range from enemy armor. Too close, and you’ll eat splash damage; too far, and your rockets lose effectiveness. I’ve learned to use the Motion Sensor Mine to create early warning systems around choke points where vehicles frequently travel.
Pro Tip: Save your RPG-7V2 for guaranteed hits on stationary or slow-moving targets. Missing shots against agile vehicles leaves you vulnerable, and I’ve learned this the hard way more times than I’d like to admit.
2. The Combat Engineer (Team Player Build)
Sometimes I’m in the mood to support my team rather than hunt down enemy vehicles. That’s when I switch to my Combat Engineer build. This setup focuses on keeping your team’s vehicles alive and your squad supplied.
| Component | Choice | Reasoning |
|---|---|---|
| Primary Weapon | SGX SMG | Superior hipfire accuracy for close-quarters combat |
| Attachments | Vertical Grip, Extended Barrel, 40-Round Magazine | Better control, slightly extended range, sustained fire |
| Sidearm | M45A1 | Higher damage output for those clutch moments |
| Gadget 1 | Repair Tool | Essential for keeping friendly vehicles in the fight |
| Gadget 2 | Supply Crate | Keeps your team’s vehicles armed and ready |
| Throwable | Fragmentation Grenade | Personal defense and area clearing |
| Training Path | Field Mechanic | Enhanced repair capabilities and vehicle support bonuses |
I absolutely love how this build allows me to be in two places at once. I’ll park my EOD Bot somewhere near our allied vehicles, and just leave it there until my friends need repairs. Meanwhile, I can focus on supplying ammunition and providing covering fire.
Personal Experience: During one particularly intense match on Operation Harvest, I kept our team’s main battle tank alive through three separate enemy assaults using this build. The tank driver was so grateful that he spent the rest of the match giving me rides to key positions. Teamwork makes the dream work!
3. The Hybrid Engineer (Best of Both Worlds)
When I can’t decide whether I want to hunt vehicles or support my team, I go with my Hybrid build. This setup gives me the flexibility to adapt to whatever the battle needs.
| Component | Choice | Reasoning |
|---|---|---|
| Primary Weapon | USG-90 SMG | Fast-firing with large magazine and surprisingly good range |
| Attachments | Compensator, Tactical Grip, Extended Magazine | Reduced recoil, better control, more ammo |
| Sidearm | P18 | Reliable and consistent performance |
| Gadget 1 | MAS 148 (Lock-on Launcher) | Versatile anti-vehicle option with air defense capability |
| Gadget 2 | EOD Bot | Can repair, place mines, or destroy enemy gadgets |
| Throwable | Frag Grenade | Essential for all-around combat effectiveness |
| Training Path | Anti-Armor | Gives me the offensive edge when needed |
What I love about this build is its adaptability. If the enemy has strong air presence, I can use the MAS 148 to keep choppers and jets at bay. If my team needs vehicle support, I can deploy the EOD Bot to handle repairs while I focus on other tasks.
Game-Changing Moment: I remember this one time on Caspian Border where our team was getting dominated by enemy helicopters. I switched to this build, took down three enemy choppers in a single match, and completely turned the game around. The enemy team was so frustrated that they actually started targeting me specifically – which I consider a compliment!
Advanced Engineer Tactics I’ve Learned
Beyond just the loadouts, I’ve picked up some advanced tactics that really separate good Engineers from great ones. These are the little things that I wish someone had told me when I was starting out.
Movement and Positioning
The Engineer’s enhanced hipfire accuracy is a game-changer if you know how to use it. Instead of aiming down sights like other classes, I’ve learned to trust my crosshair placement and movement patterns. This approach allows for faster target acquisition and superior mobility during engagements.
When I’m playing Engineer, I’m constantly moving. I use the enhanced hipfire to engage while moving at full speed, which really throws off enemies who expect me to stop and aim. This mobility advantage is something I exploit constantly, especially in close-quarters situations.
Resource Management
One thing I see many Engineers struggle with is ammo management. The 40-round magazine on the PW7A2 provides sustained fire, but I’ve learned not to waste ammunition. I use controlled bursts to maintain accuracy while conserving ammo for extended fights.
For rocket launchers, I’ve developed a simple rule: only fire when I’m confident I’ll hit my target. Missing shots not only wastes valuable ammo but also leaves you vulnerable while reloading. I’ve lost count of how many times I’ve seen Engineers fire rockets at distant, moving targets only to be eliminated while their launcher is empty.
Vehicle Engagement Strategies
Engaging vehicles effectively is an art form, and I’ve learned several key strategies:
- Aim for Weak Points: Most vehicles have weaker armor on the sides, top, and rear. I always try to position myself where I can hit these vulnerable areas.
- Use Cover Wisely: After firing a rocket, I immediately move to new cover. Experienced vehicle drivers will remember where you shot from and return fire.
- Coordinate with Teammates: If I have Recon teammates using Laser Designators or Tracer Darts, I’ll switch to lock-on launchers for devastating effect.
- Mine Placement: I’ve learned that the best mine placements aren’t always on roads. Sometimes placing mines just off the main path catches vehicles trying to avoid obvious traps.
Weapon Attachments That Actually Work
I’ve experimented with just about every attachment combination imaginable, and I’ve found that some work significantly better than others for the Engineer class. Here are my go-to attachment setups:
For SMGs (PW7A2, SGX, USG-90)
| Attachment Slot | My Choice | Why It’s Effective |
|---|---|---|
| Barrel | Standard Barrel (180mm) | Perfect balance between range and mobility |
| Underbarrel | Vertical Grip | Significantly improves recoil control for sustained fire |
| Magazine | 40-Round Extended Magazine | Essential for extended engagements and multiple targets |
| Muzzle | Suppressor (Long) | Keeps you off enemy radar during flanking maneuvers |
| Optic | Reflex Sight (1x) | Fast target acquisition for close-quarters combat |
I’ve found that this attachment combination gives me the best balance of stealth, control, and firepower. The suppressor is particularly important for my playstyle, as I love flanking enemy positions and catching them off guard.
For Sidearms
While sidearms are secondary weapons, I’ve learned that having the right setup can save your life in clutch situations:
| Attachment Slot | My Choice | Why It’s Effective |
|---|---|---|
| Muzzle | Compensator | Reduces muzzle climb for faster follow-up shots |
| Magazine | Extended Magazine | More rounds mean more chances to survive |
| Trigger | Hair Trigger | Faster firing rate for those panic moments |
Gadget Synergies I’ve Discovered
One of the most satisfying aspects of playing Engineer is discovering how different gadgets work together. I’ve spent countless hours experimenting with various combinations, and these are the synergies I’ve found most effective:
The Classic: RPG-7V2 + AV Mines
This is my go-to combination for maximum vehicle destruction potential. The RPG-7V2 gives me immediate anti-vehicle capability, while the AV Mines provide passive area denial. I love placing mines in high-traffic areas and then using my rocket launcher to finish off damaged vehicles that try to escape.
Pro Strategy: I’ll often place AV Mines near destroyed vehicles. Enemy Engineers will sometimes approach to repair the wreck, only to be taken out by my carefully placed mines. It’s a dirty trick, but it works!
The Support Combo: Repair Tool + Supply Crate
When I’m feeling team-oriented, this combination is unbeatable. The Repair Tool keeps friendly vehicles alive, while the Supply Crate ensures they never run out of ammunition. I’ve single-handedly kept a tank alive through entire matches using this setup.
Team Play Tip: I’ll often place my Supply Crate near our team’s main vehicle spawn point. This gives newly spawned vehicles immediate access to ammunition, which can be crucial for maintaining map control.
The Tech Combo: EOD Bot + Motion Sensor Mine
This is for the more technically-minded Engineers out there. The EOD Bot can repair vehicles, place mines, or destroy enemy gadgets, while the Motion Sensor Mine provides valuable intelligence about enemy movements. I love using this combination on defensive maps where information is key.
Training Paths: Which One Should You Choose?
BF6 offers several Training Paths for the Engineer class, and I’ve experimented with all of them. Here’s my breakdown of which ones work best for different playstyles:
Anti-Armor Training Path
This is my personal favorite and the one I use most frequently. The Anti-Armor path gives you:
- Enhanced Targeting: Launcher is now aim-guided via magnified optic
- Devastating Impact: Damaging enemy vehicles reduces their repair effectiveness
- Mobility-Kill Warhead: Launcher hits temporarily immobilize vehicles
- Stockpile: Class gadget resupply rate increases by 10% with each improvement
I love this path because it makes me significantly more effective against vehicles. The ability to immobilize enemy vehicles with a well-placed rocket shot is game-changing, and the increased gadget resupply rate means I can stay in the fight longer.
Field Mechanic Training Path
When I’m in a supportive mood, I switch to the Field Mechanic path. This one focuses on keeping friendly vehicles alive and includes:
- Enhanced Repair Speed: Repairs vehicles 25% faster
- Mechanized Infantry: Take less explosives damage near friendly vehicles
- Vehicle Recovery: Can recover destroyed friendly vehicles
- Supply Efficiency: Supply crates resupply 50% faster
This path is essential if you’re the type who enjoys supporting your team’s vehicles. I’ve used it to turn the tide of matches by keeping key vehicles alive when they should have been destroyed multiple times over.
2026 Common Mistakes I See Engineers Making
After playing hundreds of hours as Engineer, I’ve seen countless players make the same mistakes over and over. Here are the most common ones and how to avoid them:
1. Neglecting Infantry Combat
I see so many Engineers focus exclusively on vehicles that they forget how to handle infantry combat. Remember, you’ll spend most of your time fighting enemy soldiers, not vehicles. Always be prepared for close-quarters engagements.
2. Poor Mine Placement
Placing mines directly in the middle of roads is obvious and easily avoided. I’ve found much more success placing mines just off the main path or in areas where vehicles are likely to seek cover.
3. Wasting Rockets
Firing rockets at distant, moving vehicles is almost always a waste of ammo. I’ve learned to be patient and wait for the perfect shot or target vehicles that are stationary or moving slowly.
4. Forgetting About Team Support
The Engineer class isn’t just about destroying enemy vehicles – it’s also about supporting your team’s vehicles. I always try to balance my offensive actions with supportive ones like repairing friendly vehicles or placing supply crates.
My Favorite Maps for Engineer Play
Different maps favor different playstyles, and I’ve learned which maps work best for my preferred Engineer setups:
Urban Maps (Downtown Siege, Industrial District)
These maps are perfect for my close-quarters Engineer builds. The abundance of cover and tight spaces makes SMGs extremely effective, and there are plenty of opportunities for ambushes. I love using my SGX build with enhanced hipfire on these maps.
Vehicle-Heavy Maps (Caspian Border, Operation Firestorm)
This is where my Tank Hunter build really shines. The open terrain and abundance of vehicles give me plenty of targets, and I can use the terrain to my advantage for positioning and cover.
Balanced Maps (Operation Metro, Grand Bazaar)
These maps require a more balanced approach, which is why I usually go with my Hybrid build. I need to be prepared for both vehicle combat and close-quarters infantry engagements.
Frequently Asked Questions
What’s the best SMG for Engineers in BF6?
In my experience, the PW7A2 is the best all-around SMG for Engineers. It offers the perfect balance of damage, range, and mobility. However, if you prefer a higher rate of fire, the SGX is an excellent alternative, especially for close-quarters combat.
Should I use lock-on or unguided rocket launchers?
It depends on the situation and your personal preference. I prefer unguided launchers like the RPG-7V2 for most situations because they fire faster and give me more control. However, if the enemy has strong air presence or I’m playing with teammates who use laser designators, I’ll switch to lock-on launchers like the MAS 148.
What’s the best way to deal with enemy helicopters?
Helicopters can be tough for Engineers, but I’ve found a few effective strategies. The MAS 148 lock-on launcher works well if you can maintain a lock. For unguided launchers, I try to predict where the helicopter will be and lead my shots. Positioning is key – I try to stay near cover where I can duck away after firing.
How do I balance vehicle destruction with team support?
This is something I struggled with early on, but I’ve found that the best approach is to switch between roles based on what the team needs. If we’re getting overwhelmed by enemy vehicles, I focus on anti-armor duties. If our team’s vehicles are struggling, I switch to a support role. The Hybrid build I mentioned earlier is perfect for this balanced approach.
What’s the most underrated Engineer gadget?
In my opinion, the EOD Bot is the most underrated Engineer gadget. Many players overlook it, but it’s incredibly versatile. You can use it to repair vehicles, place mines, destroy enemy gadgets, or even create distractions. I’ve saved countless vehicles and won numerous engagements thanks to my trusty EOD Bot.
Final Thoughts
After spending countless hours mastering the Engineer class in BF6, I can confidently say it’s one of the most rewarding and versatile classes in the game. Whether you’re hunting down enemy vehicles, supporting your team’s armor, or engaging in intense close-quarters combat, the Engineer has something to offer.
The key to success with this class is finding the right balance for your playstyle and the specific needs of your team. Don’t be afraid to experiment with different loadouts and strategies – that’s how I discovered my favorite builds and tactics.
Remember, the most effective Engineers are those who can adapt to changing battlefield conditions. One match you might need to focus on anti-armor duties, while the next you might be better served supporting your team’s vehicles. The flexibility to switch between these roles is what makes the Engineer class so powerful.
I hope this guide helps you on your journey to becoming a master Engineer in BF6. If you found this helpful, be sure to check out our other Battlefield 6 guides for more tips and strategies. And if you’re experiencing any server queue issues, we’ve got you covered with solutions to that too.
Now get out there and show those enemy vehicles who’s boss! I’ll see you on the battlefield.
Looking for more gaming content? Check out our comprehensive guides for Helldivers 2 and other popular games. Stay tuned to WebComicsWeekend.com for all the latest gaming news, guides, and tips!