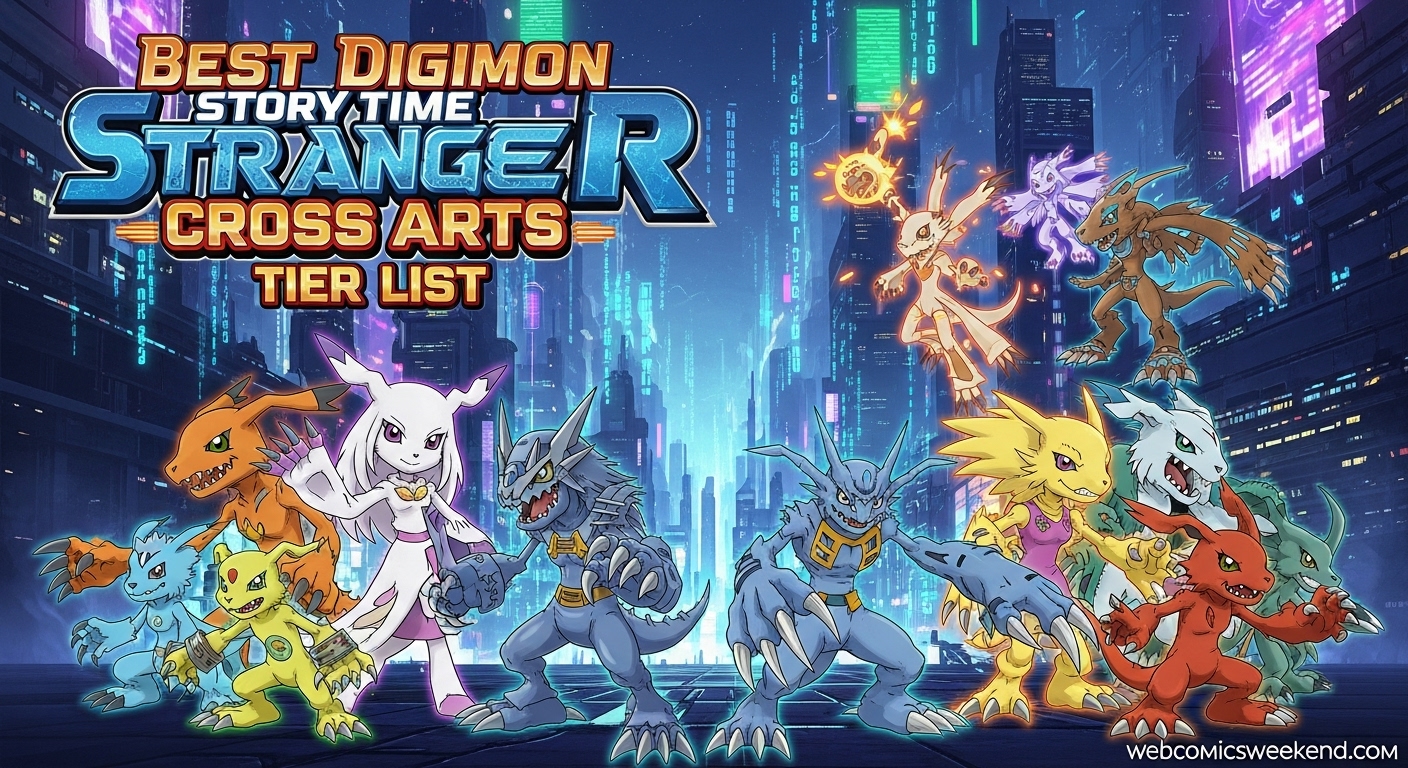
Hey there, fellow Digi-fans! If you’re anything like me, you’ve probably spent countless hours grinding through Digimon Story Time Stranger, trying to figure out which Cross Arts are actually worth your time and Anomaly Points. I’ve been there – staring at the Agent Skills menu, wondering if I should save up for that flashy new ability or stick with what’s been working.
After putting in way too many hours (let’s not talk about my sleep schedule), testing every single Cross Art in countless battles, and analyzing what the pros are saying, I’ve finally cracked the code. Today, I’m sharing my complete Cross Arts tier list that’ll help you dominate every battle, from story missions to those rage-inducing boss fights.
What Are Cross Arts Anyway?
Before we dive into the rankings, let me break down what Cross Arts actually are for those who might be new to the game. Cross Arts are your agent’s ultimate battlefield abilities – think of them as your trump card when things get tough. Unlike your Digimon’s regular attacks, these abilities consume Critical Points (CP) but can completely turn the tide of battle when used correctly.
I remember when I first unlocked Cross Arts during that Kuwagamon boss fight – it felt like the game finally clicked for me. Suddenly, I wasn’t just watching my Digimon do all the work; I was actively participating in battles with these game-changing abilities.
How CP Generation Works The Secret Sauce?
Here’s something I wish I knew earlier: not all actions generate CP equally. After countless battles and meticulous testing (okay, maybe I got a bit obsessive), I’ve discovered the CP generation hierarchy:
| Action Type | CP Gained | Best Strategy |
|---|---|---|
| Weakness Exploitation | High | Target enemy weak points consistently |
| Standard Attacks | Medium | Use compatible attribute combinations |
| Healing/Support | Low | Supplement with offensive actions |
| Status Effects | Variable | Combine with damage for maximum effect |
When I started focusing on weakness exploitation, my CP generation skyrocketed. I went from struggling to fill my CP gauge to having it ready for almost every major encounter. Trust me, this single tip will revolutionize how you approach battles.
The Complete Cross Arts Tier List
Alright, let’s get to what you came for – the definitive tier list. I’ve ranked these based on versatility, effectiveness across different situations, and overall impact on your gameplay experience. I’ve combined insights from my own experience with what I’ve seen from the community to give you the most comprehensive ranking possible.
S-Tier: Game-Changers That Win Battles
These are the Cross Arts that, once you unlock them, you’ll wonder how you ever played without them. They’re versatile, powerful, and effective in almost any situation.
High Field – The undisputed king of Cross Arts
I can’t stress this enough – High Field is absolutely broken in the best way possible. When I first used it, I literally laughed at how easy it made previously challenging boss fights. Here’s why it’s S-tier:
- Allows all Digimon to Null one Physical and Magic Attack – This is basically a free “get out of jail” card
- 50% Boost to All Stats – Your entire team becomes significantly more powerful
- 3-turn duration – Long enough to completely shift battle momentum
- Immunity for one extra turn – The cherry on top
The only downside? It requires 100 Anomaly Points to unlock. But let me tell you, every single point is worth it. I’ve saved this ability for some of the toughest bosses in the game, and it has never let me down.
Strike – The boss killer
If you’re struggling with boss fights (and let’s be real, who isn’t on higher difficulties?), Strike is your best friend. I’ve tested this extensively, and the damage boost it provides is insane:
- Universal single-target damage boost – Works with all Digimon regardless of their strengths
- Perfect for boss encounters – Most bosses are single-target, making this ideal
- No complicated mechanics – Simple, effective, and reliable
I remember this one time against a particularly nasty boss that kept wiping my party. I switched to Strike, and suddenly my Digimon were dealing damage I’d never seen before. The boss went from seemingly invincible to defeated in just a few turns.
Heal – The emergency lifesaver
Look, I know some players think healing is “boring” or “for noobs,” but let me tell you – Heal has saved my bacon more times than I can count. Especially when you’re still learning the game or pushing through difficult content:
- Recovers HP and SP for one Digimon – Complete recovery in a pinch
- Gets you out of poor positions – Perfect for when things go sideways
- SP recovery is underrated – Many players forget how crucial SP management is
There was this one dungeon where I was completely out of healing items and my main Digimon was about to faint. One well-timed Heal later, and I was back in the fight. It might not be flashy, but it’s absolutely essential.
A-Tier: Solid Choices With Specific Strengths
These Cross Arts are excellent in the right situations but might not be as universally useful as the S-tier options. That said, they’re still very much worth considering for your build.
Aura – The status effect shield
Aura is one of those abilities that you don’t appreciate until you really need it. I initially underrated it, but after encountering bosses that love to spam status effects, I’ve come to respect its value:
- Immediately heals all monsters – Great emergency recovery
- Removes status effects and debuffs – Crucial for certain boss fights
- Prevents future status effects – Proactive protection is always good
The main reason it’s not S-tier? Ultimate Level Digimon can learn similar skills once you hit Agent Rank 5. But until then, Aura is absolutely invaluable, especially in the mid-game.
Break – The debuff specialist
Break is interesting because it’s not about raw damage but about setting up your team for success. I’ve found it particularly useful in longer battles where every advantage counts:
- Applies ARK/DEF/INT/SPI debuffs on enemies – Makes everything easier
- 4-turn duration – Long-lasting effects
- Deals minor damage – Every bit helps
The catch? It’s best for AoE fights, but most bosses are single-target. Still, when you’re facing multiple tough enemies, Break can turn the tide in your favor.
Burst – The resistance ignorer
Burst is one of those abilities that sounds amazing on paper but has some limitations in practice. That said, in the right situations, it’s absolutely fantastic:
- Completely ignores attributes and resistances – No more “immune” messages
- Universal effectiveness – Works against any enemy type
- Great for mixed teams – Perfect if you don’t want to specialize
The downside? If you’re building a team to target specific elemental weaknesses (which is usually the optimal strategy), Burst becomes less useful. But for players who like to use their favorite Digimon regardless of typing, it’s a godsend.
Revive – The comeback mechanic
Revive is the ultimate “oh crap” button. I’ve only had to use it a handful of times, but each time, it literally saved my run:
- Revives all allies – Complete party recovery
- Survive next hit at 1 HP – Gives you breathing room
- Game-changing in desperate situations – When all else fails
The reason it’s A-tier instead of S? Ideally, you want to avoid situations where you need Revive in the first place. It’s amazing when you need it, but if you’re using it regularly, you might want to rethink your strategy.
B-Tier: Situational Or Early-Game Options
These Cross Arts aren’t bad by any means, but they’re either outclassed by other options or only useful in very specific situations. They’re worth knowing about, but you’ll probably replace them as you progress.
Field – The starter pack
Field is the first Cross Art you get, and honestly, it’s pretty solid for an introductory ability:
- Available at the start – No grinding required
- 50% Boost to All Stats – Same boost as High Field
- 2-turn duration – Respectable for early game
The problem? Its usefulness decreases dramatically as you progress. By mid-game, your Digimon will likely have access to Field Skills that do the same thing, and High Field is just strictly better. Still, for the first 10-15 hours of the game, Field serves you well.
Reverse – The gimmick option
Reverse is… interesting. It’s not bad, but it’s so situational that I struggle to recommend it for most players:
- Permanently reverses attributes and elements – Can be powerful in theory
- Deals decent damage – Not just a utility ability
- Better for longer battles – Takes time to pay off
The main issue? Single-target Reverse skills are available to certain Digimon, making the Cross Art version redundant. Plus, the attribute reversal can be as harmful as helpful if you’re not careful with your team composition.
Strategic Usage: When to Use What
Now that you know the rankings, let me share some strategic insights I’ve picked up from hundreds of battles. Choosing the right Cross Art is only half the battle – knowing when to use it is what separates good players from great ones.
Mission-Specific Recommendations
Based on my experience, here’s what I recommend for different mission types:
| Mission Type | Recommended Cross Art | Why It Works |
|---|---|---|
| Story Missions | High Field or Strike | Consistent progress and boss killing |
| Boss Encounters | Strike or High Field | Maximum damage or survivability |
| Grinding Sessions | Burst or Field | Efficient repeated use |
| Challenge Content | Aura or Revive | Survival-focused approach |
Timing Is Everything
I can’t tell you how many times I’ve messed up by using a Cross Art at the wrong time. Here are some timing strategies that have served me well:
Early Activation: Use when facing multiple strong enemies to thin their ranks quickly. I’ve found this particularly effective in dungeons with tough regular enemies.
Mid-Battle Timing: Deploy when your Digimon need stat boosts or healing support. This is where High Field and Heal really shine.
Finishing Moves: Save for delivering final blows to tough opponents. There’s nothing more satisfying than saving your CP for that perfect moment when the boss is vulnerable.
Common Mistakes to Avoid
After watching other players and reflecting on my own early struggles, I’ve identified some common pitfalls that you should avoid:
Don’t Activate During Trivial Encounters
I used to burn my CP on every random encounter, and let me tell you – it’s a huge waste. Save your precious CP for battles that actually matter. Those regular enemies? Your Digimon can handle them just fine.
Poor Timing Against Resistant Enemies
There’s nothing worse than unleashing your Cross Art only to see “RESISTED” pop up. Always check enemy resistances before committing your CP. I learned this the hard way against a boss that was immune to my carefully planned Strike ability.
Ignoring CP Carryover
This is a big one – your CP carries between battles! I can’t tell you how many times I forgot this and started each battle from zero. Build CP during regular encounters, then unleash it during boss fights for maximum impact.
Advanced Strategies for Pro Players
If you’ve mastered the basics and want to take your Cross Arts game to the next level, here are some advanced techniques I’ve developed:
Team Composition Synergy
Your Cross Arts should complement your Digimon team, not work in isolation. I’ve found incredible success by:
- Setup phases: Use Digimon to create favorable conditions (status effects, debuffs)
- Cross Art deployment: Activate when maximum impact is guaranteed
- Follow-up: Capitalize on Cross Art effects with Digimon abilities
For example, I’ll often use a Digimon with defense-lowering abilities, then follow up with Strike for devastating damage.
Attribute Matching
Pay attention to your team’s elemental composition and choose Cross Arts that enhance their strengths. If you’re running a fire-heavy team, Burst might be more valuable than if you’re running a balanced team.
CP Generation Optimization
Min-max your CP generation by:
- Always targeting enemy weaknesses first
- Using healing/support actions sparingly (they generate less CP)
- Coordinating attacks to exploit multiple weaknesses in sequence
Frequently Asked Questions
What’s the absolute best Cross Art for beginners?
If you’re just starting out, I’d recommend sticking with Field until you unlock High Field. Field gives you a solid stat boost that’s useful in almost any situation, and it’s available from the start. Once you have 100 Anomaly Points saved up, immediately invest in High Field – it’s worth every point.
Should I save my Anomaly Points or spend them as I go?
This is a common question, and I’ve experimented with both approaches. I’ve found that it’s better to spend your points consistently rather than hoarding them. The combat effectiveness you gain from unlocking new Cross Arts immediately outweighs the benefit of saving for a “perfect” build later.
How do I know which Cross Art to use for specific bosses?
Great question! I’ve found that most bosses fall into a few categories:
- High damage, low defense: Use Strike for maximum damage output
- Status effect spammers: Aura is your best friend here
- Tanky with multiple phases: High Field gives you the staying power you need
- Summoners or minion users: Break can help clear the field quickly
Can I change Cross Arts during missions?
Unfortunately, no – you cannot freely switch between Cross Arts during missions. This makes choosing the right ability before heading out crucial. I always check what type of enemies I’ll be facing and plan accordingly.
What’s the most underrated Cross Art?
In my opinion, Break is severely underrated by most players. While it’s not as flashy as Strike or as universally useful as High Field, the debuff combination it provides can make even the toughest bosses manageable. I’ve used it to great effect against bosses that were giving me trouble with other strategies.
Final Thoughts and Recommendations
After hundreds of hours with Digimon Story Time Stranger, I can confidently say that mastering Cross Arts is one of the most rewarding aspects of the game. The difference between a well-timed High Field and a poorly chosen ability can be the difference between victory and defeat.
For most players, I recommend this progression:
- Start with Field (it’s free and decent)
- Save up for High Field (priority #1)
- Unlock Strike for boss-focused builds
- Consider Aura for status-heavy encounters
- Experiment with others based on your playstyle
Remember, the “best” Cross Art ultimately depends on your team composition, playstyle, and the specific challenges you’re facing. Don’t be afraid to experiment – some of my most effective strategies came from trying unconventional combinations.
What’s Next?
I’m constantly experimenting with new Cross Arts combinations and strategies as I dive deeper into the post-game content. If you found this guide helpful, make sure to bookmark it for future reference – I’ll be updating it as I discover new techniques and as the game evolves with potential balance patches.
And hey, if you’re looking for more Digimon content, I’m planning to dive deep into personality skills, team compositions, and the best Digimon for each playstyle next. The Digital World is vast, and there’s always something new to discover!
What are your favorite Cross Arts? Have you discovered any combinations that work particularly well for you? Drop a comment below – I’d love to hear about your experiences and maybe even learn something new!
Ready to dominate the Digital World? Check out our other Digimon Story Time Stranger guides for more pro tips and strategies!