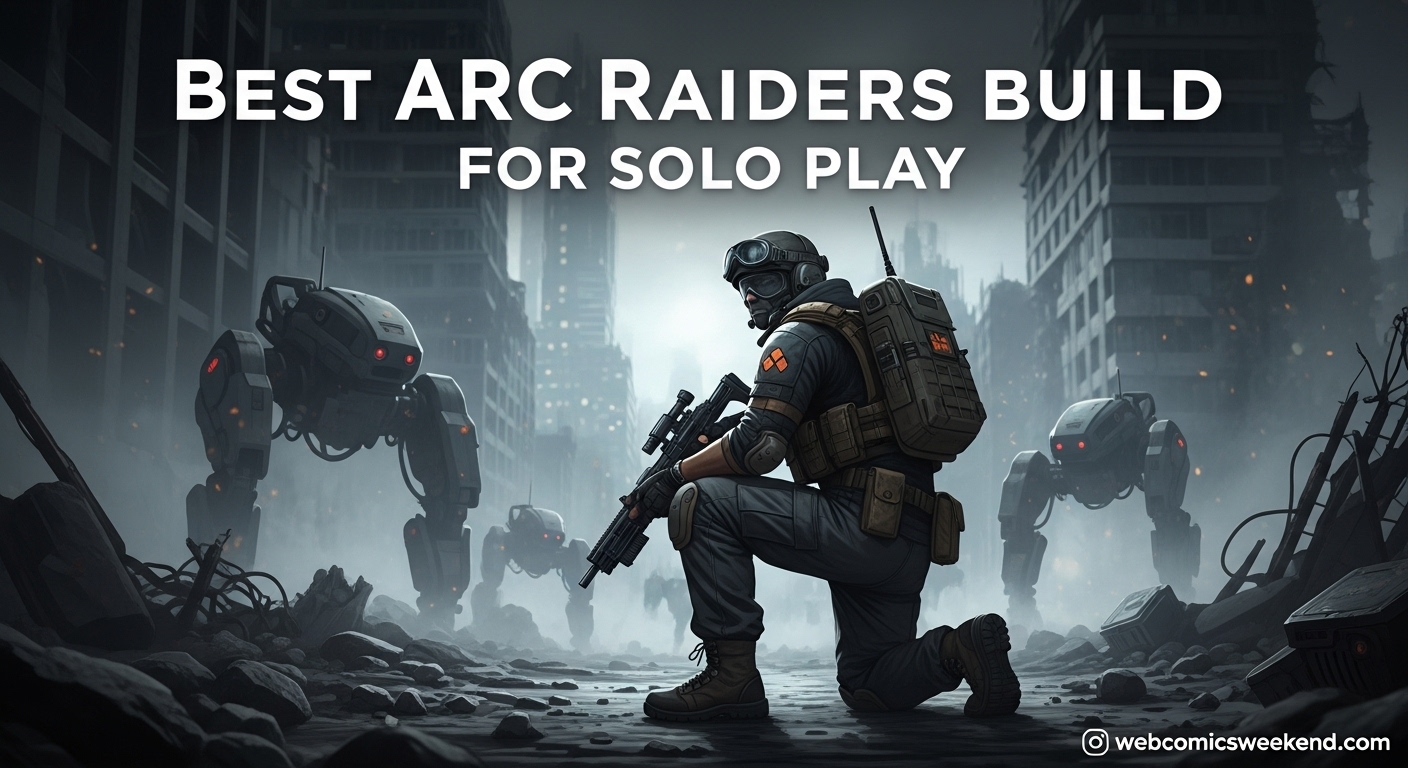
Let me tell you something straight up – going solo in ARC Raiders is brutal. I’ve spent countless hours getting my ass handed to me by squads, picked off by ARC robots, and losing hard-earned loot right before extraction. But through all that pain, I’ve figured out what actually works. Today, I’m sharing my ultimate solo build that’s helped me go from cannon fodder to a genuine threat on the battlefield.
I’m not gonna lie to you – playing solo means you’re at the bottom of the food chain. Squads will always have the advantage in straight-up fights. But here’s the thing: with the right build, you don’t have to fight fair. You can out-maneuver, out-survive, and out-smart everyone else. This build is all about making you a ghost who slips in, grabs the good stuff, and vanishes before anyone even knows you were there.
Why This Solo Build Works When Others Don’t?
Before I dive into the specifics, let me explain why most solo builds fail. I’ve tried everything – pure DPS builds, tank builds, even stealth-focused builds that left me helpless when things went wrong. The problem? They all focus on one aspect while ignoring the brutal reality of solo play.
The truth about solo play:
- You can’t trade hits with squads
- You can’t rely on revives
- Every encounter could be your last
- Extraction is the hardest part of any run
My build addresses all these issues by focusing on what actually matters for solo players: stamina management, stealth capabilities, and survival mechanics. It’s not about being the strongest – it’s about being the smartest and most adaptable player in the match.
The Core Philosophy: Be a Rat, Not a Lion
I learned this the hard way after losing dozens of fully-loaded kits. When you’re solo, you’re not a soldier – you’re a rat. And rats get the cheese while the lions fight over scraps. This entire build is built around three core principles:
- Movement is life – If you can’t run, you can’t survive
- Stealth is armor – The best fights are the ones you avoid
- Stamina is king – Without stamina, you’re just waiting to die
Every skill choice, every point allocation, every tactical decision flows from these three principles. Trust me, once you embrace this mindset, you’ll start surviving runs you never thought possible.
Complete Skill Tree Breakdown
Alright, let’s get into the meat of it. I’ve tested this build extensively, and I’m confident it’s the most effective solo setup currently available. I’ll break it down by tree and explain exactly why each choice matters for solo play.
Mobility Tree: Your Foundation for Survival
The Mobility tree isn’t just about moving faster – it’s about having options when everything goes to hell. As a solo player, your ability to disengage from bad situations is literally life or death.
| Skill | Points | Why It’s Essential for Solo |
|---|---|---|
| Nimble Climber | 1/5 | Required to unlock the tree, but still useful for quick escapes |
| Marathon Runner | 5/5 | NON-NEGOTIABLE – Reduces stamina cost for all movement |
| Youthful Lungs | 5/5 | ABSOLUTELY ESSENTIAL – More stamina means more escape options |
| Slip and Slide | 3/5 | Sliding regenerates stamina and makes you a smaller target |
| Sturdy Ankles | 1/5 | Reduces fall damage – crucial when taking shortcuts |
| Calming Stroll | 1/1 | Regenerate stamina while walking – game-changing for long runs |
| Carry the Momentum | 1/1 | Maintain speed after actions – helps when you need to keep moving |
| Effortless Roll | 5/5 | LATE GAME PRIORITY – Dodge rolls cost less stamina |
My progression order: I always max Marathon Runner and Youthful Lungs first. These two skills alone will transform your solo experience. Being able to run longer and faster than everyone else gives you options they simply don’t have.
Survival Tree: Your Loot and Stealth Engine
The Survival tree is where solo players really shine. While squads might focus on combat skills, you’ll be mastering the arts of looting quickly, moving quietly, and crafting what you need on the fly.
| Skill | Points | Solo Play Benefits |
|---|---|---|
| Agile Croucher | 4/5 | Move faster while crouched – essential for stealth |
| Revitalizing Squat | 4/5 | Regenerate stamina faster while crouched – pairs perfectly with Agile Croucher |
| In-Round Crafting | 1/1 | GAME-CHANGER – Craft bandages, shields, and grenades mid-raid |
| Looter’s Instinct | 5/5 | Reveal loot faster – spend less time exposed |
| Silent Scavenger | 1/5 | Make less noise while looting – avoid drawing attention |
| Traveling Tinkerer | 1/1 | Unlock more crafting recipes – become self-sufficient |
| Looter’s Luck | 5/5 | MUST HAVE – Find more high-value items per search |
| Suffer in Silence | 1/1 | Less noise when critically hurt – escape while wounded |
| Good as New | 1/1 | Faster stamina regen while healing – recover faster |
Why this order works: I prioritize Looter’s Instinct and Looter’s Luck early because they compound over time. The more you can loot quickly and find valuable items, the faster you can build your wealth and get out. In-Round Crafting comes next because it makes you independent of finding specific items – you can craft what you need.
Conditioning Tree: Your Tank Foundation
Many solo players neglect the Conditioning tree, thinking it’s only for team players. That’s a huge mistake. The right Conditioning skills make you incredibly resilient and give you staying power when things get messy.
| Skill | Points | Why Solo Players Need It |
|---|---|---|
| Used to the Weight | 5/5 | Move faster with heavy shields – essential for late-game gear |
| Good as New | 1/1 | Faster stamina regen while healing – recover quicker between fights |
| Broad Shoulders | 5/5 | CRITICAL – Carry more loot without being encumbered |
| Stubborn Mule | 5/5 | Stamina regen less affected by encumbrance – keep moving even when loaded |
| Gentle Pressure | 5/5 | Less noise while breaching – stealth access to high-value areas |
| Proficient Pryer | 5/5 | Faster breaching – spend less time exposed |
| Unburdened Roll | 1/1 | First dodge after shield break is free – lifesaver in ambushes |
| Loaded Arms | 5/5 | LATE GAME ESSENTIAL – Weapon weight barely affects encumbrance |
| Fight or Flight | 5/5 | Regain stamina when hurt – turn damage into escape fuel |
| Security Breach | 1/1 | Access security lockers – exclusive high-value loot |
My Conditioning strategy: I don’t go deep into Conditioning early game, but by mid-game, these skills become essential. Broad Shoulders and Stubborn Mule are my priorities because they let me carry more loot without sacrificing mobility. Fight or Flight is surprisingly good for solo play – getting stamina back when hurt helps you escape situations where other players would be trapped.
Complete Leveling Path: From Level 1 to 75
I know the skill tree can be overwhelming, so here’s exactly how I level up this build. This progression ensures you always have the most impactful skills first, with weaker choices saved for when you have extra points.
Early Game (Levels 1-20): Foundation Building
Levels 1-5:
- Nimble Climber 1/5 (Mobility unlock)
- Marathon Runner 5/5 (immediate stamina efficiency)
- Youthful Lungs 5/5 (massive stamina pool increase)
Levels 6-10:
- Agile Croucher 1/5 (Survival unlock)
- Looter’s Instinct 5/5 (faster looting = less exposure)
- Silent Scavenger 1/5 (quieter looting)
Levels 11-15:
- Used to the Weight 5/5 (Conditioning unlock + mobility with gear)
- In-Round Crafting 1/1 (crafting independence)
- Revitalizing Squat 1/5 (stamina regen while crouched)
Levels 16-20:
- Agile Croucher 4/5 (max stealth movement)
- Slip and Slide 3/5 (stamina regen while moving)
- Broad Shoulders 3/5 (more carry capacity)
Mid Game (Levels 21-50): Core Build Completion
Levels 21-30:
- Broad Shoulders 5/5 (max carry weight)
- Stubborn Mule 5/5 (stamina regen while encumbered)
- Looter’s Luck 5/5 (more valuable loot finds)
Levels 31-40:
- Gentle Pressure 5/5 (stealth breaching)
- Proficient Pryer 5/5 (faster access to locked areas)
- Traveling Tinkerer 1/1 (expanded crafting options)
Levels 41-50:
- Calming Stroll 1/1 (stamina regen while walking)
- Carry the Momentum 1/1 (maintain speed after actions)
- Loaded Arms 3/5 (reduce weapon encumbrance)
Late Game (Levels 51-75): Optimization and Specialization
Levels 51-60:
- Loaded Arms 5/5 (minimal weapon weight impact)
- Fight or Flight 5/5 (stamina on damage taken)
- Effortless Roll 5/5 (dodge roll efficiency)
Levels 61-75:
- Security Breach 1/1 (exclusive locker access)
- Unburdened Roll 1/1 (free dodge after shield break)
- Suffer in Silence 1/1 (stealth when critically hurt)
- Remaining points in personal preference (I like more Slip and Slide)
Playstyle and Tactics: How to Actually Use This Build
Having the right skills is only half the battle. Let me share the tactics and mindset that make this build devastatingly effective in real matches.
The Free Loadout Strategy
I know it’s tempting to bring your best gear every run, but here’s the truth: the Free Loadout is your best friend as a solo player. I probably use it 70% of the time, especially when learning new maps or trying risky plays.
Why Free Loadout works:
- Zero loss if you die – experiment without fear
- Forces you to rely on skills rather than gear
- Complete quests without risking valuable equipment
- Learn maps and mechanics without pressure
My Free Loadout approach: I treat every Free Loadout run as a scouting mission. I focus on learning extraction points, loot locations, and common player paths. Once I’m comfortable with a map, that’s when I start bringing real gear.
Movement is Your Primary Weapon
With this build, you’re faster and more mobile than 90% of players. Use that advantage ruthlessly.
Key movement tactics:
- Always holster your weapon (H or 5 key) when moving long distances – you sprint significantly faster
- Slide on every slope – it regenerates stamina and makes you a smaller target
- Use verticality – climb buildings and take routes other players won’t expect
- Never stop moving when in potential combat zones – static targets are dead targets
Personal story: I once survived an entire squad hunting me just by constantly moving and using the terrain. They had better gear and numbers, but I had Marathon Runner and Youthful Lungs maxed. After 10 minutes of cat and mouse, they gave up and I extracted with their loot.
Stealth: Your Real Armor
This build makes you incredibly stealthy, but you need to know how to use it effectively.
Stealth fundamentals:
- Crouch whenever possible – with Agile Croucher 4/5, you’re still quite fast
- Use melee for silent kills – one hit kills on weak bots, completely silent
- Time your looting – wait for patrols or other players to pass before opening containers
- Sound is your enemy – Silent Scavenger and Gentle Pressure make you quieter, but you still need to be smart about it
Pro tip: If you hear another player, don’t engage. Find cover, go prone, and stop moving completely. Most players scan for movement first. I’ve had squads walk right past me while I was hiding in bushes with valuable loot.
Extraction: The Hardest Part
Getting the loot is easy. Getting it out is where most solo players fail. This build gives you specific advantages for extraction scenarios.
Extraction tactics:
- Always have an exit plan before entering any building or high-risk area
- Call elevators early – they have a 2-minute auto-recall, so you can bait other players
- Use smoke grenades – craft them with In-Round Crafting for emergency escapes
- Remember you can extract while downed – if you’re crawling into the elevator, keep going
My extraction routine: About 5 minutes before I want to extract, I start moving toward my chosen point. I scout it from a distance, then call the elevator and pull back to a safe position. Let other players fight over it, then make my move when the coast is clear.
Loadout Synergy: What Gear Works Best
While this build is designed to work with any loadout, some gear choices synergize particularly well with our skill priorities.
Primary Weapons
| Weapon Type | Why It Works With This Build | Recommended Loadouts |
|---|---|---|
| Assault Rifles | Balanced for all ranges, good for suppressing fire | Combat MK1, Burletta |
| SMGs | Excellent for close-quarters mobility | Vector, MP5 |
| Shotguns | Devastating up close, punishes aggressive players | Mossberg, SPAS-12 |
My personal favorite: I run with the Burletta most of the time. It’s versatile, has good ammo capacity, and pairs well with our mobility-focused playstyle. When I need to go quiet, I switch to melee for bot clearance.
Armor and Shields
| Shield Type | Build Synergy | When to Use |
|---|---|---|
| Light Shield | Maximum mobility, minimal stamina penalty | Early game, speed runs |
| Medium Shield | Good balance, Used to the Weight minimizes penalty | Mid-game, general use |
| Heavy Shield | Maximum protection, late-game with Loaded Arms | High-risk, high-reward runs |
Shield strategy: I start with light shields until I have Used to the Weight at least 3/5. Then I move to medium shields as my standard. Heavy shields are situational – I only use them when I’m planning to fight rather than avoid.
Essential Items to Craft
With In-Round Crafting and Traveling Tinkerer, you can create game-changing items mid-raid. Here’s what I prioritize:
Always craft if possible:
- Bandages – obvious healing choice
- Shield Rechargers – essential for extended fights
- Smoke Grenades – escape tool and extraction aid
- Light Impact Grenades – for quick bot clearance
Crafting priority: I always try to craft at least 2-3 bandages and 1-2 shield rechargers per run. If I find extra materials, smoke grenades are my next priority. They’ve saved my life more times than I can count.
Common Mistakes to Avoid
I’ve made every mistake in the book with this build. Let me save you some pain by sharing what NOT to do.
Mistake #1: Overcommitting to Fights
Just because you CAN win a fight doesn’t mean you SHOULD. I lost count of how many times I’ve died because I got greedy and tried to take on a squad that I could have easily avoided.
The rule: If you can run away and extract safely, that’s always better than fighting. Loot is replaceable – your time and progress aren’t.
Mistake #2: Ignoring Stamina Management
With all this focus on stamina, you’d think this would be obvious, but I still see players (including myself sometimes) sprint everywhere and then have no stamina when it matters.
Stamina discipline:
- Walk when safe (Calming Stroll helps here)
- Crouch to regenerate (Revitalizing Squat is your friend)
- Save sprint for actual emergencies, not just convenience
Mistake #3: Poor Route Planning
The fastest route between two points isn’t always a straight line, especially in ARC Raiders. I used to take direct routes and wonder why I kept running into enemy squads.
Smart routing:
- Use vertical space and cover
- Avoid open areas when possible
- Plan multiple escape routes before entering any area
- Learn common player traffic patterns and avoid them
Advanced Tactics for Experienced Players
Once you’ve mastered the basics, here are some advanced tactics that separate good solo players from great ones.
The “Please Don’t Shoot” Gambit
This sounds crazy, but it works surprisingly often. If you get cornered with no escape, hit G for the emote wheel and use “DON’T SHOOT!” I’ve had at least a dozen encounters where the other player just… stopped. Sometimes they emote back, sometimes they just walk away.
When to use it:
- You’re completely cornered with no escape
- The other player seems hesitant (they’re not immediately shooting)
- You have nothing to lose anyway
Success rate: Maybe 30% for me, but that’s 30% more than the 0% chance you have if you just stand there and die.
Luring ARC to Your Enemies
This is some next-level stuff that I only recently mastered. If you’re being chased by players, you can lead them toward ARC patrols and let the robots do your work for you.
How to do it:
- Get ARC attention first (shoot or get close)
- Lead them toward your pursuers
- Break line of sight and let the ARC engage
- Either escape or pick off distracted players
Warning: This is high-risk. If it backfires, you now have both players AND ARC to deal with. But when it works, it’s beautiful.
The Extraction Bait
I mentioned this earlier, but it’s worth emphasizing as an advanced tactic. You can use extraction mechanics to outsmart other players.
The play:
- Call extraction early and move away
- Let other players assume you’re coming and set up ambushes
- Circle around and approach from an unexpected angle
- Extract while they’re waiting for someone who isn’t coming
Variation: Sometimes I’ll call an extraction and then go do something else entirely. The sound and visual cue draws players to that area, leaving other parts of the map clear for me to loot in peace.
Frequently Asked Questions
Is this build viable for PvP-focused solo play?
Absolutely. While this build emphasizes survival and escape, those same attributes make you incredibly effective in PvP. You can out-maneuver opponents, choose when to engage, and escape when things go wrong. I’ve won plenty of 1v2 and even 1v3 fights with this build simply because I could move better and manage my stamina more effectively.
How does this build compare to pure DPS builds for solo play?
Pure DPS builds fail in solo play for one simple reason: they assume you can win every fight through damage alone. In reality, solo players can’t afford to trade hits. This build gives you options that DPS builds don’t have – you can run, you can hide, you can escape. A DPS build that gets cornered is just a dead DPS build. This build keeps you alive to fight another day.
Can I use this build if I prefer playing with a squad?
You can, but it’s not optimal. This build is specifically designed for solo play, where self-sufficiency and escape options are paramount. If you mostly play with a squad, you’d be better off with a build that complements your team – maybe focusing on support skills or area denial. That said, the mobility and stamina aspects of this build are valuable for any playstyle.
What’s the minimum level I need to make this build effective?
You’ll see benefits immediately, but it really shines around level 25-30. The early skills (Marathon Runner, Youthful Lungs, Looter’s Instinct) make a huge difference right away. By level 25, you should have the core of the build and be noticeably more effective than most other solo players. The late-game skills (Security Breach, Loaded Arms maxed) are nice-to-haves rather than essentials.
How do I handle squads as a solo player with this build?
The short answer: you don’t. The longer answer: you avoid them, out-maneuver them, and pick your battles extremely carefully. This build gives you the tools to escape from almost any situation, but it doesn’t make you bulletproof. My general rule is: if I see a squad, I either avoid them completely or wait for them to engage something else (like ARC) before making my move.
What maps work best with this solo build?
This build excels on maps with:
- Multiple vertical layers (for climbing and escaping)
- Plenty of cover and concealment
- Multiple extraction points
- Complex building interiors
I find that urban maps tend to be better than open terrain maps, simply because there are more escape routes and places to hide. That said, the core principles work on any map – you just need to adapt your tactics to the specific environment.
Final Thoughts: Why This Build Works
After hundreds of hours testing different approaches, I keep coming back to this build because it addresses the fundamental challenges of solo play in ARC Raiders. It’s not about being the strongest or having the biggest guns – it’s about being the smartest, most adaptable player on the field.
What makes this build special:
- It turns your biggest weakness (being alone) into your biggest strength (mobility and stealth)
- It’s self-sufficient – you don’t need to rely on finding specific items
- It scales well from early game to late game
- It gives you options in every situation, not just one way to play
I’m not going to lie to you – solo play in ARC Raiders is still tough. Even with this build, you’ll have runs where everything goes wrong and you extract with nothing. But you’ll also have those magical runs where you slip in unnoticed, grab incredible loot, and vanish while squads are still fighting over scraps.
Those are the moments that make solo play worth it, and this build will help you have more of them.
Stay safe out there, and happy raiding!
Looking for more ARC Raiders content? Check out our guide on how to complete Out of the Shadows in ARC Raiders for more advanced tactics and strategies to dominate the extraction scene.
Bookmark this page and come back after the next update – I’ll be keeping this guide current with the latest meta shifts and balance changes!