Hey there, fellow Raiders! If you’re anything like me, you’ve probably spent countless hours topside, getting wrecked by ARC machines and outplayed by other raiders. I’ve been there – trust me. But after grinding through hundreds of raids and testing every possible combination, I’ve finally cracked the code on what makes a truly killer build in ARC Raiders.
Look, I’m not gonna lie to you – the skill tree in this game can be overwhelming at first. When I first started, I was just throwing points everywhere like a confused newbie. But after talking with top players and testing everything myself, I’ve discovered that the best builds aren’t about maxing out everything – they’re about specializing in what makes you deadly.
Understanding ARC Raiders’ Skill Tree System
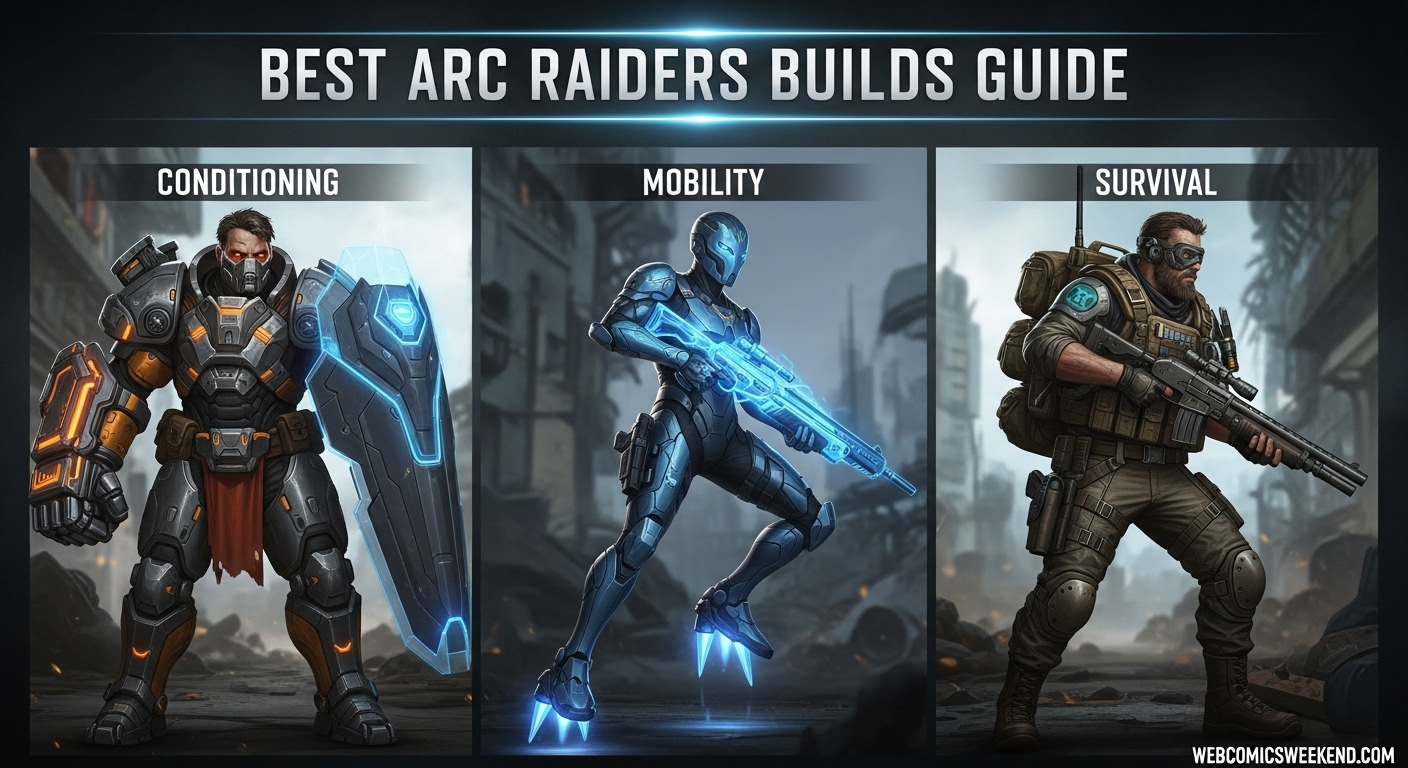
Before we dive into the specific builds, let me break down how the skill system works because this is crucial. ARC Raiders gives you three main branches to work with:
- Conditioning: All about stamina, health, and combat endurance
- Mobility: Movement speed, climbing, and getting around the map faster
- Survival: Looting, crafting, and staying alive when things go wrong
Here’s the thing – you can’t max out everything. At level 75 (the current cap), you’ve got enough points to either fully max out two trees or go deep in one and split the rest between the other two. From my experience, the balanced approach usually works better unless you’re going for a very specific playstyle.
The Combat Specialist Build (My Personal Favorite)
Let me start with the build that’s carried me through countless raids – the Combat Specialist. This is for those of you who, like me, believe that the best defense is a good offense. When I’m running this build, I feel like I can take on anything the ARC throws at me.
Skill Point Allocation
| Conditioning | Mobility | Survival |
|---|---|---|
| Used to the Weight 5 | Nimble Climber 1 | Agile Croucher 1 |
| Blast-Born 2 | Marathon Runner 4 | Revitalizing Squat 5 |
| Flight or Fight 5 | Youthful Lungs 5 | In-Round Crafting 1 |
| Survivor’s Stamina 1 | Slip and Slide 4 | Looter’s Instinct 1 |
| Downed but Determined 3 | Sturdy Ankles 1 | Silent Scavenger 1 |
| Turtle Crawl 2 | Carry the Momentum 1 | N/A |
| Back on Your Feet 1 | Calming Stroll 1 | N/A |
| A Little Extra 1 | Effortless Roll 3 | N/A |
| Loaded Arms 1 | Heroic Leap 3 | N/A |
| Gentle Pressure 5 | Crawl Before You Walk 3 | N/A |
| Proficient Pryer 5 | Vigorous Vaulter 1 | N/A |
| Unburned Roll 1 | Off The Wall 1 | N/A |
| Effortless Swing 2 | N/A | N/A |
| Sky-Clearing Swing 1 | N/A | N/A |
Why This Build Works?
I’ll be honest – when I first tried this setup, I was skeptical. But after my first raid with it, I was completely sold. The combination of Fight or Flight and Gentle Pressure means you’re constantly regenerating stamina during combat, which is absolute gold when you’re in those prolonged firefights.
What really makes this build shine is how it turns you into a raiding tank. I’ve survived situations that would have wiped me out with any other setup. The Downed but Determined skill has saved my butt more times than I can count, giving me that extra chance to crawl to cover or get revived.
Loadout Recommendations
For weapons, I roll with:
- Primary: A heavy assault rifle for mid-range engagements
- Secondary: A close-range SMG for when things get up close and personal
- Shield: Medium-weight shield for that perfect balance of protection and mobility
The Perpetual Motion Build (Speed Demon)
If you’re like me and hate feeling slow, this build is going to be your jam. I started experimenting with this when I got tired of getting outmaneuvered by faster raiders, and let me tell you – it’s a complete game-changer.
Key Skills to Focus On
- Used To The Weight: Reduces encumbrance from shields and gear
- Survivor’s Stamina: Increases your overall stamina pool
- Unburdened Roll: Makes dodging cost less stamina
- Loaded Arms: Lets you aim longer without stamina drain
- Marathon Runner: Increases sprint duration
- Youthful Lungs: Reduces stamina consumption from all actions
- Calming Stroll: Faster movement while crouched
- Agile Croucher: Less stamina drain while crouched
My Experience With This Build
I remember this one time I was being chased by three other raiders near the old industrial zone. With this build, I was able to outmaneuver them completely, using the terrain and my superior mobility to lose them and then circle back for the ambush. They never saw me coming!
The beauty of this build is how it lets you control engagements. You can choose when to fight and when to run, and believe me, sometimes running is the smartest play. I’ve extracted with so much more loot simply because I could move faster and more efficiently than anyone else.
The Pack Horse Build (For the Loot Goblins)
Alright, let’s talk about the build for those of us who can’t leave anything behind – the Pack Horse. I’ll admit it, I’m a total loot goblin at heart, and this build lets me indulge that habit without sacrificing too much combat effectiveness.
Core Skills
- Revitalizing Squat: Faster healing while crouched
- In-Round Crafting: Craft items anywhere, not just at workbenches
- Looter’s Instinct: Highlights nearby loot containers
- Silent Scavenger: Quieter looting (less likely to attract attention)
- Safe Pocket: Extra secure inventory slot
- Backpack Master: Increased carry capacity
- Quick Fingers: Faster looting animation
Why I Love This Build
There’s nothing quite like the feeling of extracting with a backpack full of rare loot while other raiders are leaving empty-handed. I’ve made more profit with this build than any other, simply because I can carry more and find the hidden stashes that others miss.
One time, I found a locked room that everyone else had passed by. Thanks to my Proficient Pryer skill, I was able to get it open and found enough rare materials to upgrade my entire loadout. That’s the kind of moment that makes this build so rewarding.
The All-Rounder Build (Balanced and Versatile)
Sometimes you don’t want to specialize too much – you want a build that can handle anything the game throws at you. That’s where the All-Rounder comes in, and it’s become my go-to when I’m not sure what to expect from a raid.
Skill Distribution
- Conditioning: 7 points
- Mobility: 18 points
- Survival: 23 points
Key Skills in Each Tree
Conditioning:
- Used to the Weight (1/5)
- Fight or Flight (3/5)
- Survivor’s Stamina (3/5)
Mobility:
- Nimble Climber (1/5)
- Marathon Runner (5/5)
- Youthful Lungs (5/5)
- Effortless Roll (3/5)
- Heroic Leap (3/5)
Survival:
- Agile Croucher (1/5)
- Revitalizing Squat (5/5)
- In-Round Crafting (1/5)
- Looter’s Instinct (1/5)
- Silent Scavenger (1/5)
- Safe Pocket (3/5)
- Backpack Master (3/5)
My Take on This Build
What I love about the All-Rounder is its flexibility. I’ve run this build in every type of situation – solo raids, team operations, heavy combat zones, and quiet looting runs. It never feels like the wrong choice.
The balance between mobility and survival means you can get in, get the loot, and get out without too much trouble. I’ve found that this build is especially good for newer players who haven’t quite figured out their preferred playstyle yet.
Equipment-Focused Builds (Beyond Just Skills)
Now, let me talk about something that a lot of guides overlook – your equipment loadout. Skills are important, but what you bring into the raid matters just as much, if not more.
Weapons Setup
I’ve learned that the best raiders always bring a combination of weapons:
- Fight Controller: Something for close to medium range (AR, SMG, or shotgun)
- Anchor: A long-range option for picking off targets or dealing with armored enemies
My personal favorite combo is a modified assault rifle with a good scope and a heavy pistol that packs a punch. This lets me handle everything from close-quarters combat to taking out snipers.
Augment Choices
Your augment is probably the most important piece of equipment you’ll bring. Here’s what I recommend based on your playstyle:
For Combat Builds:
- Extra weapon slots
- Reduced weapon weight
- Faster reload speed
For Mobility Builds:
- Extra quick-use slots
- Reduced overall weight
- Stamina regeneration bonuses
For Looting Builds:
- Safe pocket slots
- Increased carry capacity
- Backpack space upgrades
Shield Selection
Don’t sleep on your shield choice – it can make or break your raid:
- Heavy Shields: Great for aggressive players who like to push fights
- Medium Shields: The balanced choice for most situations
- Light Shields: Perfect for mobility-focused builds where speed is key
Best Individual Skills (If You’re Just Starting Out)
If you’re new to ARC Raiders or just starting to think about your build, here are the must-have skills I recommend getting first:
Conditioning Must-Haves
- Used to the Weight: This should be your first unlock. Period. It makes everything easier.
- Fight or Flight: Stamina regeneration during combat is broken good.
- Gentle Pressure: More stamina regeneration – yes, please!
- Proficient Pryer: Those locked rooms have the best loot, trust me.
Mobility Essentials
- Marathon Runner: Being able to sprint longer saves lives.
- Youthful Lungs: Less stamina consumption on everything.
- Effortless Roll: Dodging is your best defense, make it cost less.
- Heroic Leap: The ultimate mobility tool for getting out of bad situations.
Survival Priorities
- Revitalizing Squat: Faster healing is always good.
- Agile Croucher: Crouch more, use less stamina.
- Looter’s Instinct: Highlights loot – what’s not to love?
- Silent Scavenger: Loot without alerting the whole map.
Advanced Build Strategies
Once you’ve got the basics down, here are some advanced tips I’ve picked up from the pros:
Synergy Between Skills
The real magic happens when you start combining skills that work together. For example:
- Youthful Lungs + Calming Stroll: You can crouch-walk forever without running out of stamina
- Fight or Flight + Gentle Pressure: Nearly infinite stamina during combat
- Looter’s Instinct + Silent Scavenger: Find and grab loot without anyone knowing you’re there
Situational Adaptations
I’ve learned that the best raiders adapt their build based on the situation:
- For Heavy Combat Zones: Stack Conditioning and Mobility
- For Looting Runs: Focus on Survival with some Mobility
- For Extraction Missions: Balance all three but lean toward Survival
Common Mistakes to Avoid
Let me save you some pain by sharing the mistakes I made when I was starting out:
- Spreading Points Too Thin: Don’t try to be good at everything. Pick a focus and stick with it.
- Ignoring Survival: Everyone wants to be a combat god, but if you can’t survive, you can’t fight.
- Forgetting About Equipment: Skills are great, but the right gear matters just as much.
- Not Adapting: The meta changes, and so should your build. Don’t get stuck in one way of thinking.
My Personal Tier List of Builds
After hundreds of raids, here’s how I rank the builds:
S-Tier
- Combat Specialist: The most versatile and powerful build in most situations
- Perpetual Motion: Unmatched mobility and control over engagements
A-Tier
- All-Rounder: Great for beginners and flexible enough for any situation
- Pack Horse: Amazing for profit, but can struggle in heavy combat
B-Tier
- Pure Survival: Great for living, but lacks combat effectiveness
- Pure Mobility: Fun to play, but can feel lacking in direct confrontations
Frequently Asked Questions
What’s the best build for solo players?
In my experience, the Combat Specialist or All-Rounder builds work best for solo play. They give you enough combat power and survival tools to handle most situations without relying on teammates.
How many skill points do I need for a good build?
You can start making a functional build around level 30-40, but the real magic happens at level 60+ when you have enough points to really specialize.
Can I respec my skills?
Yes, but only after a successful extraction. Choose wisely because you might be stuck with your choices for a few raids.
What’s the most underrated skill?
Silent Scavenger, hands down. Being able to loot without making noise has saved me so many times from ambushes.
How often should I change my build?
I recommend experimenting with different builds every 10-15 levels until you find what works best for your playstyle. After that, only change if the meta shifts or you’re struggling with a particular aspect of the game.
Final Thoughts
Look, at the end of the day, the best build is the one that works for you. I’ve given you my recommendations based on hundreds of hours of gameplay, but don’t be afraid to experiment. Some of my most successful raids have come from builds I put together on a whim.
The key is to understand what each skill does and how they work together. Once you grasp that, you can start creating builds that are perfectly tailored to your playstyle.
Remember to bookmark this guide (May 2026) because I’ll be updating it as the meta evolves and new strategies emerge. And if you’re looking for more gaming content, check out our gaming section for the latest guides and tips.
Now get out there and show those ARC machines who’s boss! Happy raiding, and I’ll see you topside!