Hey there, fellow Guardians! If you’re anything like me, you’ve been drooling over that sweet Wolfsbane Exotic axe ever since Bungie dropped the Ash and Iron update. I mean, who wouldn’t want a flaming nanite axe that shoots healing nanites and creates tornadoes? Trust me, I’ve spent countless hours grinding through the Heliostat Exotic mission to master this beast, and I’m here to share everything I’ve learned so you can get your hands on this Solar powerhouse too.
What Makes Wolfsbane So Special?
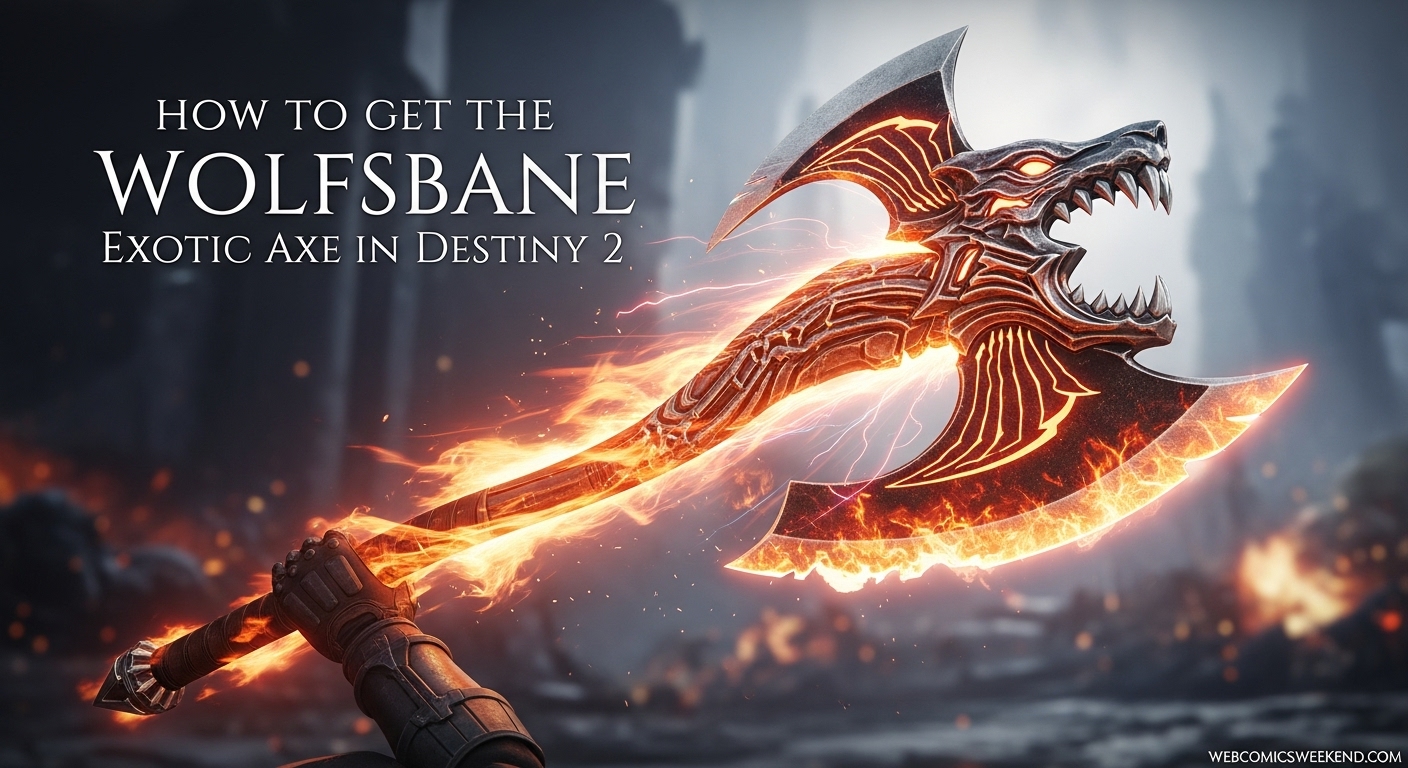
Before we dive into the nitty-gritty of how to get it, let me tell you why this axe is worth your time. When I first got my hands on Wolfsbane, I was blown away by its unique mechanics. This isn’t just another melee weapon – it’s a game-changer.
Exotic Perk: Resurgence Directive Your light attacks generate Sword energy and have a chance to spawn seeking Quicksilver nanites that actually heal you when they attach. I’m not kidding – this axe heals you while you’re smashing faces! And it gets better as you upgrade it through Resurgence Directive II, III, and IV, each time boosting your Impact, Stability, Guard Resistance, Ammo Capacity, Guard Endurance, and Ammo Generation.
Exotic Trait: Nano-Assault This is where things get really crazy. Those Quicksilver nanites that attach to you charge up the blade. When it’s fully charged, you can press R to overclock the nanites, enhancing your offensive capabilities. Your light attacks deal increased damage, and fully charged heavy attacks create a freaking flaming Quicksilver swarm-nado. I’ve cleared entire rooms of enemies with this thing – it’s absolutely ridiculous in the best way possible.
How to Access the Heliostat Exotic Mission?
Alright, let’s get down to business. To get Wolfsbane, you need to complete the Heliostat Exotic Mission. Here’s how to get started:
- Navigate to The Portal – Open up your Director and head to The Portal
- Select Pinnacle Ops – Look for the Pinnacle Ops tab
- Find Heliostat – It might not be the first mission listed (it was the sixth one for me), so scroll down until you see “Heliostat Exotic Mission”
- Launch the Mission – Select it and jump right in
Pro Tip: The first time you run this mission, it’ll be at a fixed difficulty with no modifiers. Once you complete it, you’ll unlock the ability to customize the difficulty, which is great for farming catalysts later.
Complete Heliostat Mission Walkthrough
I’ve run this mission more times than I can count, and I’m going to walk you through every step so you don’t get lost like I did my first few times.
Step 1: Entering the Warsat Facility
When you load into Heliostat, you’ll find yourself in a Warsat facility in the Plaguelands. You’ll see a path leading around the cliffside toward the facility with some Cabal enemies to clear out. Take them down, and you’ll come across a white interact ring on the floor that says “Call Radiation Shielding Psion.”
Important: Don’t just run forward into the building! Interact with the ring to summon “Decima, Shielding Psion.” This psion creates a protective bubble around itself. Step into that bubble before entering the building – it’ll give you a “Psionic Protection” buff that lasts 15 seconds and protects you from the deadly radiation ahead.
As you move through the facility, keep an eye out for more of these interact rings. You’ll need to keep refreshing your Psionic Protection buff or you’ll quickly succumb to the radiation damage.
Step 2: First Encounter – Access the Bunker
Eventually, you’ll reach a large room where your HUD will update to show “Access the Bunker” with “Security nodes destroyed: 0 of 4.” Here’s what you need to do:
- Shoot the First Node – Look up at the ceiling of the machine in the center of the main room and shoot the glowing blue button
- Spawn and Kill Minotaurs – Enemies will spawn, including Radiolaria Nexus Minotaurs. Kill them to get Vex pools on the ground
- Get Radiolarial Saturation – Stand in the white pools to charge your Radiolarial Suffusion meter until it becomes Radiolarial Saturation
- Follow the Psion – Once you have the buff, follow Thysaeuc, the Quicksilver Psion, to a blocked doorway
- Help Dissolve Barrier – Interact to help the psion dissolve the barrier
- Clear and Destroy – Go into the side room, clear enemies, and shoot the security node on the ceiling
- Repeat – Do this for all four security nodes (one in the main room, three in side rooms)
When I first did this, I kept forgetting to refresh my Radiolarial Saturation buff and kept dying to the radiation. Learn from my mistake – keep that buff active!
Step 3: The Descent
Once all four nodes are destroyed, a massive hole will open in the center of the room. Jump down into the water-filled area below (but don’t touch the water – it’ll kill you instantly).
- Find the Terminal – Look for a terminal with green text and a green diamond symbol, then interact with it
- Take the Safe Door – Turn around and go through the door with the diamond marking – it’s the only safe one
- Navigate the Platforms – You’ll enter a hallway with platforms. Jump to the third platform on the left wall
- Continue Forward – From there, jump to the longer yellow platform, enter the door, turn left, and drop down the vent
Step 4: The Hacking Section
In this area, you’ll meet your third psion friend:
- Summon Hacking Psion – Interact with the terminal to call the Hacking Psion
- Check the Red Screen – One of the computer monitors will be red – interact with it
- Execute Partner Hack – Go through the glass door and find another terminal to “Execute Partner Hack”
- Match the Symbol – The psion will open a new room. Send them to hack again, then check the middle terminal for a red symbol
- Activate Matching Symbol – Go to the terminal with three monitors and activate the one that matches the symbol you saw
This will open a hole in the floor with electric barriers. You need to shoot the blue security nodes as you slide down to disable the barriers – time your shots carefully!
Step 5: Security Code Puzzle
Now you’ll enter a room with three buildings and need to enter a security code:
- Enter the Middle Building – Go inside and summon the Hacking Psion
- Memorize the Symbols – Look at the pillar in the middle with three symbols from left to right
- Match Each Symbol – Each symbol corresponds to a side room. Enter each room, summon the psion, and activate the matching symbol in the correct order
- Clear Enemies – Once all three symbols are matched correctly, clear the enemies that spawn
- Activate Green Terminal – Find and activate the green terminal to power the elevator
Step 6: Gravlift Override
Take the elevator up and navigate through a jumping puzzle section:
- Use Radiation Protection – Summon psions when needed to protect from radiation
- Find Both Terminals – You’ll reach a glass hallway with two green terminals and orange teleporters
- Activate Both Terminals – Activate both terminals before teleporting
- Take the Gravlift – Follow the green glow to the gravlift and ride it up to the final boss area
Step 7: Final Boss – Valus Thunn
This is it – the moment you’ve been waiting for! Here’s how to take down Valus Thunn:
- Clear Adds and Get Buff – Start by clearing enemies and killing Radiolaria Nexus Minotaurs to get Radiolarial Saturation
- Open First Side Room – Use the buff to help the Quicksilver Psion open the first side room
- Hack Terminal – Clear the room and summon the Hacking Psion to hack the terminal
- Repeat for Second Room – Get the buff again and open the second side room, then execute the Partner Hack
- Damage Phase – This will spawn Valus Thunn. Start damaging him
- Immunity Phase – When he goes immune (at about 66% and 33% health), kill the “Warden” Wyvern to break his shield and free your psion allies
- Repeat Until Victory – Continue this cycle until the boss is defeated
Pro Tip: During the immunity phases, stay near the corners of the room to avoid the radiation damage if your psion allies are trapped.
Step 8: Claim Your Reward
Once Valus Thunn is defeated:
- Interact with the Ring – Go to the middle of the room and interact with the ring
- Shoot the Satellite – Shoot the satellite in the center
- Reach Through Time – Interact with the “Reach Through Time” prompt
Congratulations! You’ve now completed the Heliostat Exotic Mission and the Wolfsbane Exotic axe is yours!
Wolfsbane Catalysts: Taking Your Axe to the Next Level
If you’re anything like me, you won’t be satisfied with just the base version of Wolfsbane. You’ll want all four catalysts to really maximize its potential. Here’s how to get them:
Important Note: All catalysts require you to run the Heliostat mission on Master difficulty or higher.
Attrition Orbs Catalyst
This catalyst makes dealing sustained damage create an Orb of Power – super useful for team activities!
How to Get It:
- Start the Heliostat mission on Master difficulty
- At the very beginning, look for a datapad and console to interact with
- Complete the mission to receive the Attrition Orbs catalyst
Relentless Strike Catalyst
This one gives you Sword ammo for landing three light-attack hits in quick succession – perfect for extended encounters!
How to Get It:
- Start Heliostat on Master difficulty
- When you reach the lower level of the shaft (where you summon the Hacking Psion), interact with the right console
- Jump on the elevator and enter the opened room to collect the datapad
- Jump back down and interact with the left console to call the elevator
- Interact with the middle console
- Jump back on the elevator and go into the opened rooms to insert the datapad
- Complete the mission to get the catalyst
Burning Ambition Catalyst
This catalyst makes your sustained damage scorch targets, and dealing damage to scorched targets inflicts more scorch – excellent for add-clear and boss damage!
How to Get It:
- Start Heliostat on Master difficulty
- During the security code puzzle section, look for hidden datapads in the side rooms
- Complete the puzzle and mission to receive the catalyst
Subroutine ~Recursion Catalyst
This is the crown jewel – Quicksilver nanites grant more health the higher your Nano-Assault stacks are, and taking damage while Nano-Assault is active can generate nanites nearby!
How to Get It:
- Start Heliostat on Master difficulty
- During the final boss fight, look for hidden consoles in the arena
- Interact with them during the damage phases
- Complete the mission to unlock this powerful catalyst
Resurgence Directive Upgrades
Beyond the catalysts, you can also upgrade Wolfsbane’s intrinsic perk. Here’s how to get each upgrade:
Resurgence Directive II
- Complete the first main encounter (Access the Bunker)
- In the traversal section afterward, destroy three Vex nodes using Wolfsbane
- The upgrade will unlock automatically
Resurgence Directive III
- Complete the second main encounter (Security Code puzzle)
- In the large platforming section, use the gravlift to reach the higher level
- Destroy three Vex nodes with Wolfsbane (one on the right, two on the left)
- The upgrade will be yours
Resurgence Directive IV
- Reach the final boss room
- Destroy three Vex nodes using Wolfsbane in the arena
- Complete the mission to unlock the final upgrade
My Personal Tips and Tricks
After spending dozens of hours with Wolfsbane, I’ve picked up some tricks that I wish I knew when I started:
For the Mission:
- Always keep your Psionic Protection buff refreshed – radiation damage is no joke
- Learn the symbol patterns in the security code section – they’re always the same order
- In the final boss fight, focus on the Warden Wyvern immediately when it spawns – don’t get greedy with boss damage
For Using Wolfsbane:
- The healing nanites are your best friend in high-damage activities – don’t be afraid to be aggressive
- Save your overclocked Nano-Assault for big moments – the swarm-nado can clear entire rooms
- Pair it with abilities that grant healing or damage resistance for maximum survivability
- In PvP, the unpredictability of the nanites can really throw opponents off guard
Best Builds for Wolfsbane:
- Titan: Use with Code of the Siegebreaker for maximum melee synergy
- Warlock: Pair with Well of Radiance for constant healing while attacking
- Hunter: Combine with Way of the Trapper for add-clear potential
Frequently Asked Questions
How long does it take to get Wolfsbane?
Honestly, if you know what you’re doing, you can complete the Heliostat mission in about 30-45 minutes. Your first run might take longer as you learn the mechanics, but it’s definitely one of the shorter exotic missions in Destiny 2.
Do I need to own the Ash and Iron expansion?
Great question! The Heliostat mission is actually available to all players, whether you purchased the expansion or not. Bungie made this one free for everyone, which is pretty awesome of them.
Can I get Wolfsbane on multiple characters?
Absolutely! I’ve got it on all three of my characters. Each character needs to complete the Heliostat mission individually, but the mission is account-wide, so you only need to unlock it once.
What’s the best way to farm catalysts?
For catalyst farming, I recommend running Master difficulty with a fireteam of three. It’s challenging but manageable, and having teammates makes finding the hidden datapads and consoles much easier. Plus, you can split up during the platforming sections to save time.
Is Wolfsbane good for endgame content?
In my experience, Wolfsbane is surprisingly viable for a lot of endgame content. The healing makes it great for Grandmaster Nightfalls where survivability is key, and the crowd control from the swarm-nado is excellent for raids and dungeons. It might not replace your primary DPS weapons, but it’s an amazing utility option.
How does Wolfsbane compare to other exotic swords?
While it’s technically classified as a sword, Wolfsbane plays very differently from other exotics like The Lament or Falling Guillotine. The healing and crowd control aspects make it more of a support/utility weapon, whereas most other exotic swords are pure DPS. I’d say it fills a unique niche in your arsenal.
Final Thoughts
Look, I’ll be straight with you – Wolfsbane might not be the meta-breaking DPS monster that some other exotics are, but it’s honestly one of the most fun and unique weapons I’ve used in Destiny 2. There’s something incredibly satisfying about smashing enemies with a flaming axe while healing nanites swarm around you.
Whether you’re a completionist who needs every exotic, a fan of unique weapon mechanics, or just someone who wants to try something different, Wolfsbane is absolutely worth your time. The Heliostat mission is well-designed, the weapon is a blast to use, and the catalysts add meaningful depth to its gameplay.
So what are you waiting for, Guardian? Get out there, tackle that Heliostat mission, and claim your Wolfsbane! Trust me, you won’t regret adding this flaming beauty to your collection.
Want more Destiny 2 content? Check out our guide on how to upgrade Wolfsbane’s intrinsic for even more ways to maximize this exotic’s potential!
Happy hunting, and may your nanites always find their mark!