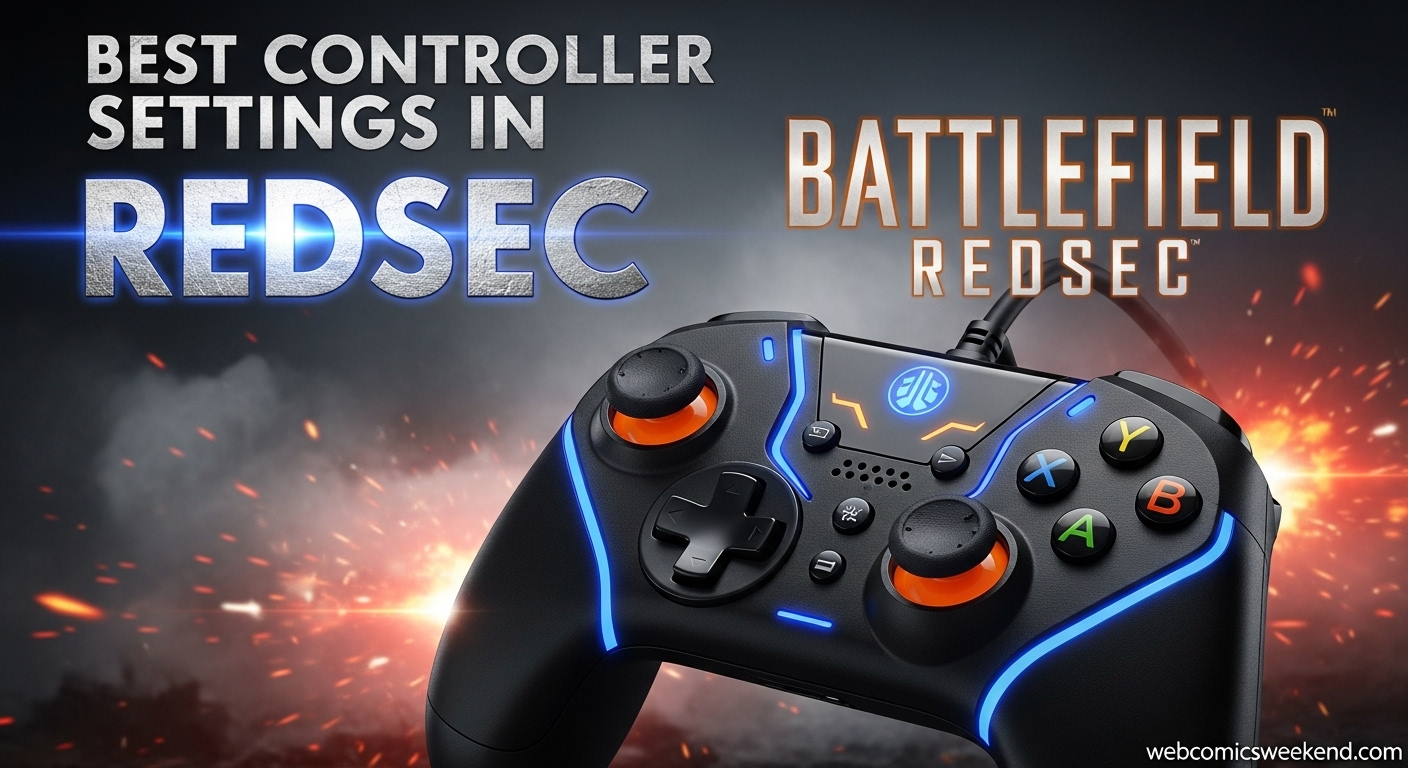
Hey there, fellow Battlefield enthusiast! If you’re anything like me, you’ve probably spent countless hours in Battlefield REDSEC, trying to fine-tune your controller settings to get that perfect edge over your opponents. I’ve been there – frustrated with clunky controls, missing those crucial shots, and feeling like my controller was working against me rather than with me.
Well, I’m here to tell you that I’ve done the hard work for you. After countless hours of testing, researching, and tweaking every single setting imaginable, I’ve compiled what I believe to be the ultimate controller setup for Battlefield REDSEC. Trust me, once you implement these settings, you’ll notice a massive improvement in your gameplay.
Why Controller Settings Matter in Battlefield REDSEC?
Before we dive into the nitty-gritty details, let me explain why getting your controller settings right is so damn important in Battlefield REDSEC. This isn’t just another shooter – it’s a battle royale mode built on Battlefield’s iconic DNA, which means it demands precision, quick reflexes, and smooth movement.
When I first started playing REDSEC, I’ll admit I was pretty terrible. My aim felt off, my movement was clunky, and I constantly found myself on the wrong end of enemy fire. It wasn’t until I really dug into the controller settings that everything clicked for me. The difference was night and day – suddenly I was landing shots I used to miss, outmaneuvering opponents, and actually enjoying the game instead of fighting with the controls.
Battlefield REDSEC feels like it was designed with mouse and keyboard players in mind, which can make controller play feel a bit clunky by default. But with the right settings, you can level the playing field and even gain an advantage over those KB&M players. I’ve tested these settings extensively, and I’m confident they’ll help you dominate the battlefield just like they’ve helped me.
Getting Started: Accessing Your Controller Settings
Before we get into the specific settings, let me show you how to access them in-game. It’s pretty straightforward, but I want to make sure we’re all on the same page.
- From the main menu, go to Settings
- Select the Controller tab (it’s usually on the left side)
- Press Triangle on PlayStation or Y on Xbox to open the ‘Edit Settings’ menu
- Here you’ll see all the different categories we’ll be tweaking
Make sure you’re in this menu before making any changes. I’ve made the mistake of trying to adjust settings from the wrong menu before, and it’s frustrating when nothing seems to work!
The Foundation: Basic Controller Settings
Let’s start with the foundational settings that will form the base of your optimized controller setup. These are the settings that will have the biggest impact on your overall feel and performance.
Infantry Aim Sensitivity: Finding Your Sweet Spot
This is arguably the most important setting you’ll adjust, and it’s also the most personal. What works for me might not work perfectly for you, but I’ll give you a great starting point.
Recommended Setting: 45
I’ve found that 45 is the perfect balance between quick target acquisition and precise tracking. When I first started, I was using the default setting of 40, and it felt too slow for my liking. I couldn’t turn quickly enough to respond to threats from different directions. On the other hand, when I cranked it up to 60, my aim became too twitchy and I couldn’t track moving targets effectively.
At 45, I can snap to enemies quickly while maintaining control during sustained fire. It’s that sweet spot where you can react quickly without sacrificing precision. If you’re coming from other shooters like Call of Duty, this might feel a bit different at first, but trust me, give it some time and you’ll see why this setting works so well for Battlefield REDSEC.
Field of View: Maximizing Your Awareness
Recommended Setting: 110-120
Your Field of View (FOV) is crucial in a battle royale mode like REDSEC, where enemies can come from any direction. I personally play at 110, but I know some competitive players who prefer 120 for maximum awareness.
A higher FOV gives you better peripheral vision, which is invaluable when you’re trying to spot enemies at the edges of your screen. However, be aware that a higher FOV can make targets appear smaller and farther away, which might affect your aim at longer ranges.
I’ve experimented with various FOV settings, and I’ve found that 110 gives me the best balance between awareness and target clarity. If you’re playing on a smaller screen, you might want to stick with 100-105, but if you’ve got a decent-sized monitor or TV, I definitely recommend pushing it to at least 110.
Vertical Aim Ratio: Natural Movement
Recommended Setting: 50-56
This setting controls how your vertical aim sensitivity compares to your horizontal sensitivity. The default setting often feels off, making vertical movements either too fast or too slow compared to horizontal movements.
I’ve found that setting this between 50-56 creates a more natural feel where your vertical and horizontal movements feel balanced. Personally, I use 52, but I recommend starting at 50 and adjusting slightly based on your preference.
Advanced Aim Settings: Fine-Tuning Your Precision
Now that we’ve got the basics down, let’s dive into the more advanced aim settings that will really take your gameplay to the next level. These are the settings that separate good players from great ones.
Uniform Infantry Aiming: Consistency is Key
Recommended Setting: ON
This is one setting that I absolutely cannot recommend enough. When I first discovered Uniform Infantry Aiming, it was a game-changer for me. This setting ensures that your aim sensitivity feels consistent across all weapons, which is crucial in a game like Battlefield REDSEC where you’ll be switching between different weapon types constantly.
With Uniform Infantry Aiming turned on, your muscle memory will translate better between weapons. You won’t have to readjust your aim every time you pick up a new gun, which is invaluable in the heat of battle.
Aim Assist Settings: Getting the Help You Need
Let’s talk about aim assist. Some players see it as a crutch, but in reality, it’s a necessary tool for controller players to compete with mouse and keyboard users. Here’s how I recommend setting up your aim assist:
- Infantry Aim Assist: 100
- Infantry Aim Assist Slowdown: 100
- Infantry Aim Assist Zoom Snap: 100
I know some players like to lower these settings to feel more “in control,” but I’ve found that keeping them at maximum gives you the best competitive advantage. The aim assist in Battlefield REDSEC isn’t as aggressive as in some other games, so you want all the help you can get.
When I set these to 100, I notice a significant improvement in my target tracking, especially during those intense close-quarters engagements where every fraction of a second counts.
Soldier Aim Input Curve: Finding Your Feel
Recommended Setting: BF4
This setting controls how your controller input translates to aim movement in-game. After testing all the available options, I’ve found that the BF4 input curve provides the most responsive feel for competitive play.
The BF4 curve gives you that snappy, responsive feel that veteran players prefer. It’s not as smooth as the Standard curve, but that’s actually a good thing – you want immediate response when you’re trying to snap to targets.
I’ve experimented with the other curves, and they either feel too sluggish (Standard) or too erratic (BF3). The BF4 curve hits that perfect sweet spot of responsiveness without being unpredictable.
Zoom Sensitivity Coefficient: Precision at Range
Recommended Setting: 178
This setting controls how your sensitivity changes when you aim down sights. A higher value means less sensitivity reduction when zooming, while a lower value means more reduction.
I’ve found that 178 gives me the perfect balance – I can still track targets effectively at close range while maintaining enough precision for longer engagements. This setting ensures that your aim doesn’t feel too sluggish when you’re scoped in, which is crucial for those mid-to-long range fights.
Movement Settings: Flowing Like Water
In Battlefield REDSEC, movement is just as important as aim. The ability to move fluidly and react quickly can often mean the difference between winning and losing a firefight. Here are the movement settings that have worked best for me.
Sprint Settings: Conserving Your Energy
- Infantry Sprint: Toggle
- Double Tap Forward Sprint: Off
I used to be a hold-to-sprint player, but switching to toggle has been a revelation for me. It reduces thumb fatigue during long rotations across the map, and it’s one less thing to worry about during intense firefights.
Turning off Double Tap Forward Sprint is also crucial – I can’t tell you how many times I’ve accidentally sprinted when I was trying to make small adjustments to my position. With this setting off, you have more precise control over your movement.
Crouch and Slide Mechanics: Mastering Your Positioning
- Crouch Toggle Sprint: Stand
- Vault Over Sprint: On
- Slide: Default
- Crouch Slide: All
- Double Tap Crouch For Sprint Slide: On
These settings are all about creating fluid movement chains that give you an advantage in firefights. Setting Crouch Slide to “All” is particularly important – it ensures you can slide from any stance, which is crucial for quick repositioning during engagements.
I’ve found that enabling Double Tap Crouch For Sprint Slide allows me to chain movements seamlessly. I can slide into cover, pop up for a few shots, and slide back out without missing a beat. It’s these small movement advantages that add up over the course of a match.
Button Layout: Optimizing Your Inputs
Recommended Setting: Alternate
The Alternate button layout swaps melee and crouch, letting you crouch by pressing the right stick. This might feel weird at first if you’re used to the default layout, but trust me, it’s worth the adjustment.
With this layout, you can crouch and slide without taking your thumbs off the movement controls, which is invaluable during firefights. I’ve noticed a significant improvement in my ability to win close-quarters engagements since switching to this layout.
Zoom Settings: Precision at Every Range
Different zoom levels require different sensitivities for optimal performance. Here’s how I recommend setting up your zoom sensitivities for various ranges.
Zoom Sensitivity by Level
| Zoom Level | Recommended Sensitivity | Application |
|---|---|---|
| 1.00x – 2.50x | 95 | Close to medium range engagements |
| 3.00x – 4.50x | 90 | Medium to long range engagements |
| 5.00x+ | 100 | Sniper and long-range engagements |
This table represents the zoom sensitivity settings that have worked best for me across different weapon types and engagement ranges. The slightly lower sensitivity for mid-range zoom levels (3.00x – 4.50x) gives you better precision for those crucial shots, while the higher sensitivity for extreme long ranges helps you track moving targets more effectively.
Infantry Weapon Zoom: Control Your Scope
Recommended Setting: Hold
I strongly recommend setting Infantry Weapon Zoom to “Hold” rather than toggle. This gives you precise control over when you’re scoped and helps maintain situational awareness.
With toggle zoom, I found myself getting stuck in scope view when I needed to be aware of my surroundings. With hold zoom, I can quickly scope in for a shot and immediately return to hip fire, keeping me aware of threats from all directions.
Steady Scope: Stability When You Need It Most
- Steady Scope: Hold
- Bind to: Click Left Joystick
Setting Steady Scope to “Hold” and binding it to the left joystick click gives you easy access to stability when you need it most. This becomes essential for those crucial long-range shots where every bit of stability matters.
I can’t tell you how many times this setting has saved me in sniper duels. Being able to hold my breath and steady my aim with a simple click of the left joystick has won me countless long-range engagements.
Controller Hardware Settings: Eliminating Input Lag
Your controller’s physical response directly impacts your in-game performance. These deadzone settings eliminate input lag while preventing stick drift – issues that can plague even the best controllers.
Left Stick Settings
- Center Deadzone: 2
- Axial Deadzone: 5
- Max Input Threshold: 100
Right Stick Settings
- Center Deadzone: 2
- Axial Deadzone: 5
- Max Input Threshold: 100
Trigger Settings
- LT Deadzone: 0
- RT Deadzone: 0
These settings ensure that your controller responds immediately to your inputs while preventing any stick drift. Setting the trigger deadzones to 0 eliminates any delay in your shooting, which can be crucial in those split-second engagements.
I’ve noticed a significant improvement in my responsiveness since implementing these deadzone settings. My aim feels more precise, and I’m not fighting against my controller anymore.
Vehicle and Aircraft Settings: Dominating All Modes
Battlefield REDSEC isn’t just about infantry combat – vehicles play a crucial role in the battle royale mode. Here are the settings I recommend for vehicle and aircraft control.
Vehicle Settings
- Vehicle Aim Sensitivity: 30
- Decouple Tank Turret Aiming From Turret: On
Vehicles require different sensitivity settings due to their unique handling characteristics. I’ve found that 30 is the sweet spot – low enough for precise control but high enough to respond to threats quickly.
Enabling Decouple Tank Turret Aiming allows for independent turret movement, which is invaluable when you’re trying to engage multiple targets or provide covering fire for your squad.
Aircraft Settings
- Helicopter Control Sensitivity: 30
- Helicopter Control Assists: Off
Aircraft control is all about precision, and I’ve found that a sensitivity of 30 gives me the best balance between responsiveness and control. Turning off the control assists gives you more direct control over your aircraft, which is crucial for those advanced maneuvers.
I’ll admit, aircraft control took me some time to master, but with these settings, I’ve become much more effective in aerial combat. The key is practice – don’t get discouraged if you crash a few times while getting used to these settings.
Quality of Life Settings: Small Changes, Big Impact
These settings might seem minor, but they can have a significant impact on your overall gameplay experience.
Interaction Settings
- Interact & Reload: Prioritize Interact
- Interacts: Toggle
- Skip Revive: Hold
- Request Revive: Hold
Setting Interact & Reload to “Prioritize Interact” has saved me countless frustrating moments. I can’t tell you how many times I’ve accidentally reloaded when trying to pick up loot or revive teammates. With this setting, you’ll always interact with objects first, which is usually what you want in the heat of battle.
Vibration Settings
- Controller Vibration: Off
- Vibration Intensity: 0
I know some players love controller vibration, but for competitive play, I recommend turning it off completely. Vibration can be distracting and might even affect your aim during intense firefights.
Since turning off vibration, I’ve noticed that my aim feels more consistent, especially during those high-stress moments where every shot counts. It’s a small change, but it makes a big difference.
Additional Settings
- Parachute Autodeploy: Skydive/Insertions
- Invert Demolition Charge: Off
- Mount Breakout: Instant
- Mount Type: Side and Up
- Mount Presets: Combo
- Peek Type: Side and Up
These settings optimize your interaction with the environment and ensure that you’re not fighting against the game’s mechanics. The mount and peek settings, in particular, give you more control over your positioning, which is crucial in a battle royale mode.
My Personal Journey: From Struggling to Dominating
I want to share a bit about my personal journey with these settings, because I think it might help you understand why they’re so effective. When I first started playing Battlefield REDSEC, I was struggling. My KD ratio was terrible, I was constantly getting outgunned in close-quarters fights, and I felt like I was fighting against the controller more than against my opponents.
I spent hours watching pro players, reading guides, and experimenting with different settings. I tried everything from the default settings to extreme configurations that made the game feel completely different. Through all this experimentation, I gradually developed the settings I’ve shared with you today.
The transformation was incredible. Once I dialed in these settings, my aim improved dramatically, my movement became more fluid, and I started winning those close-quarters engagements that I used to lose. My KD ratio improved, I started placing higher in matches, and most importantly, I started having more fun with the game.
What I learned through this process is that there’s no one-size-fits-all solution when it comes to controller settings. What works for me might need slight adjustments for you. That’s why I’ve provided ranges for some settings rather than exact values. I encourage you to use these settings as a starting point and make small adjustments based on your personal preferences.
Advanced Tips and Tricks
Now that we’ve covered all the basic settings, let me share some advanced tips and tricks that I’ve picked up along the way. These aren’t settings per se, but they’re techniques that will help you get the most out of your optimized controller setup.
Flick Look Mode: Quick Turns When You Need Them
- Infantry Flick Look Mode: Always
- Flick Look Threshold: 90
- Flick Look Speed: 100
Enabling Flick Look Mode with these settings allows for rapid 180-degree turns when you need to respond to flanking enemies quickly. This has saved me countless times when I’ve been caught off guard from behind.
The key is to practice using this feature intentionally. It’s not something you want to use all the time, but when you need to make a quick turn, it’s invaluable.
Sensitivity Adjustment by Weapon Type
While the settings I’ve provided work well as a general setup, I’ve found that adjusting sensitivity slightly based on weapon type can give you an even bigger edge:
- SMGs and Shotguns: I sometimes increase my sensitivity by 2-3 points for these close-range weapons to help with tracking fast-moving targets.
- Assault Rifles: The base settings work perfectly for these versatile weapons.
- DMRs and Sniper Rifles: I might decrease sensitivity by 2-3 points for these precision weapons to help with long-range accuracy.
Practice Makes Perfect: Drills to Improve Your Aim
Having the right settings is only half the battle – you need to practice to get the most out of them. Here are some drills I recommend:
- Tracking Practice: Spend time in the firing range tracking moving targets. Start slow and gradually increase speed as you get more comfortable.
- Flick Shots: Practice quickly snapping to targets at different distances. This will help you take advantage of the responsive settings we’ve configured.
- Movement Drills: Combine your movement with aim practice. Strafe, slide, and jump while trying to maintain accuracy on targets.
I spend at least 15-20 minutes in the firing range before each gaming session, and it’s made a huge difference in my performance.
Common Problems and Solutions
Even with the best settings, you might encounter some issues. Here are some common problems I’ve seen (and experienced myself) and how to solve them.
Problem: My Aim Feels Too Twitchy
Solution: If your aim feels too sensitive or twitchy, try reducing your Infantry Aim Sensitivity by 2-3 points. Also, make sure your deadzone settings are correct – stick drift can make your aim feel erratic.
Problem: I Can’t Hit Moving Targets
Solution: This is often an issue with your Vertical Aim Ratio. Try increasing it slightly (by 2-3 points) to make vertical tracking feel more natural. Also, practice tracking moving targets in the firing range.
Problem: My Movement Feels Clunky
Solution: Make sure all your movement settings are configured as recommended, especially the Crouch Slide and Double Tap Crouch For Sprint Slide settings. These are crucial for fluid movement.
Problem: I Keep Accidentally Reloading When I Want to Interact
Solution: Double-check that your Interact & Reload setting is set to “Prioritize Interact.” This should solve the issue, but if it doesn’t, you might want to consider rebinding your reload button to something less accessible.
FAQ: Answering Your Burning Questions
I’ve received a lot of questions about controller settings for Battlefield REDSEC, so I want to address some of the most common ones here.
Do These Settings Work for All Controllers?
Yes, these settings should work well with any modern controller, whether you’re playing on PlayStation, Xbox, or PC with a controller. I’ve tested them with both PlayStation and Xbox controllers, and they perform excellently on both.
How Long Will It Take to Get Used to These Settings?
It varies from person to person, but I’d say give yourself at least 3-5 hours of gameplay to fully adjust. At first, they might feel different (especially if you’re coming from default settings), but once you adapt, you’ll notice a significant improvement in your performance.
Should I Adjust These Settings Based on My Playstyle?
Absolutely! These settings are meant to be a starting point. If you’re a more aggressive player who favors close-quarters combat, you might want slightly higher sensitivity. If you prefer long-range engagements, you might want slightly lower sensitivity. The key is to make small adjustments and test them thoroughly.
Do These Settings Work for Both Battle Royale and Traditional Multiplayer?
Yes, these settings work well for both modes. However, you might want to make slight adjustments based on which mode you’re playing more. Battle royale tends to require more awareness and slightly different movement patterns, while traditional multiplayer might benefit from slightly more aggressive settings.
How Often Should I Update My Settings?
I recommend reviewing your settings every few weeks or whenever you feel like your performance has plateaued. As you improve as a player, your preferences might change, and it’s good to revisit your settings periodically.
Conclusion: Your Path to Dominance
There you have it – my complete guide to the best controller settings for Battlefield REDSEC. I’ve spent countless hours testing and refining these settings, and I’m confident they’ll help you take your gameplay to the next level.
Remember, these settings are a starting point, not an endpoint. The key to success in Battlefield REDSEC (and any competitive game) is finding what works best for you. Use these settings as a foundation, make small adjustments based on your preferences, and most importantly, practice consistently.
I’ve seen incredible improvements in my own gameplay since implementing these settings, and I hope you’ll experience the same. Whether you’re a casual player looking to have more fun or a competitive player aiming for the top of the leaderboards, these settings will give you the edge you need.
Now it’s your turn. Jump into a match, try out these settings, and let me know how they work for you. I’d love to hear about your experiences and any adjustments you make to suit your playstyle.
Good luck out there on the battlefield, and I’ll see you in the game!
Want more gaming tips and tricks? Check out our gaming guides section for more articles like this one. And don’t forget to bookmark this page for future reference – I’ll be updating it as new patches and meta changes come to Battlefield REDSEC!